.png)
Editing Widgets on a Dashboard
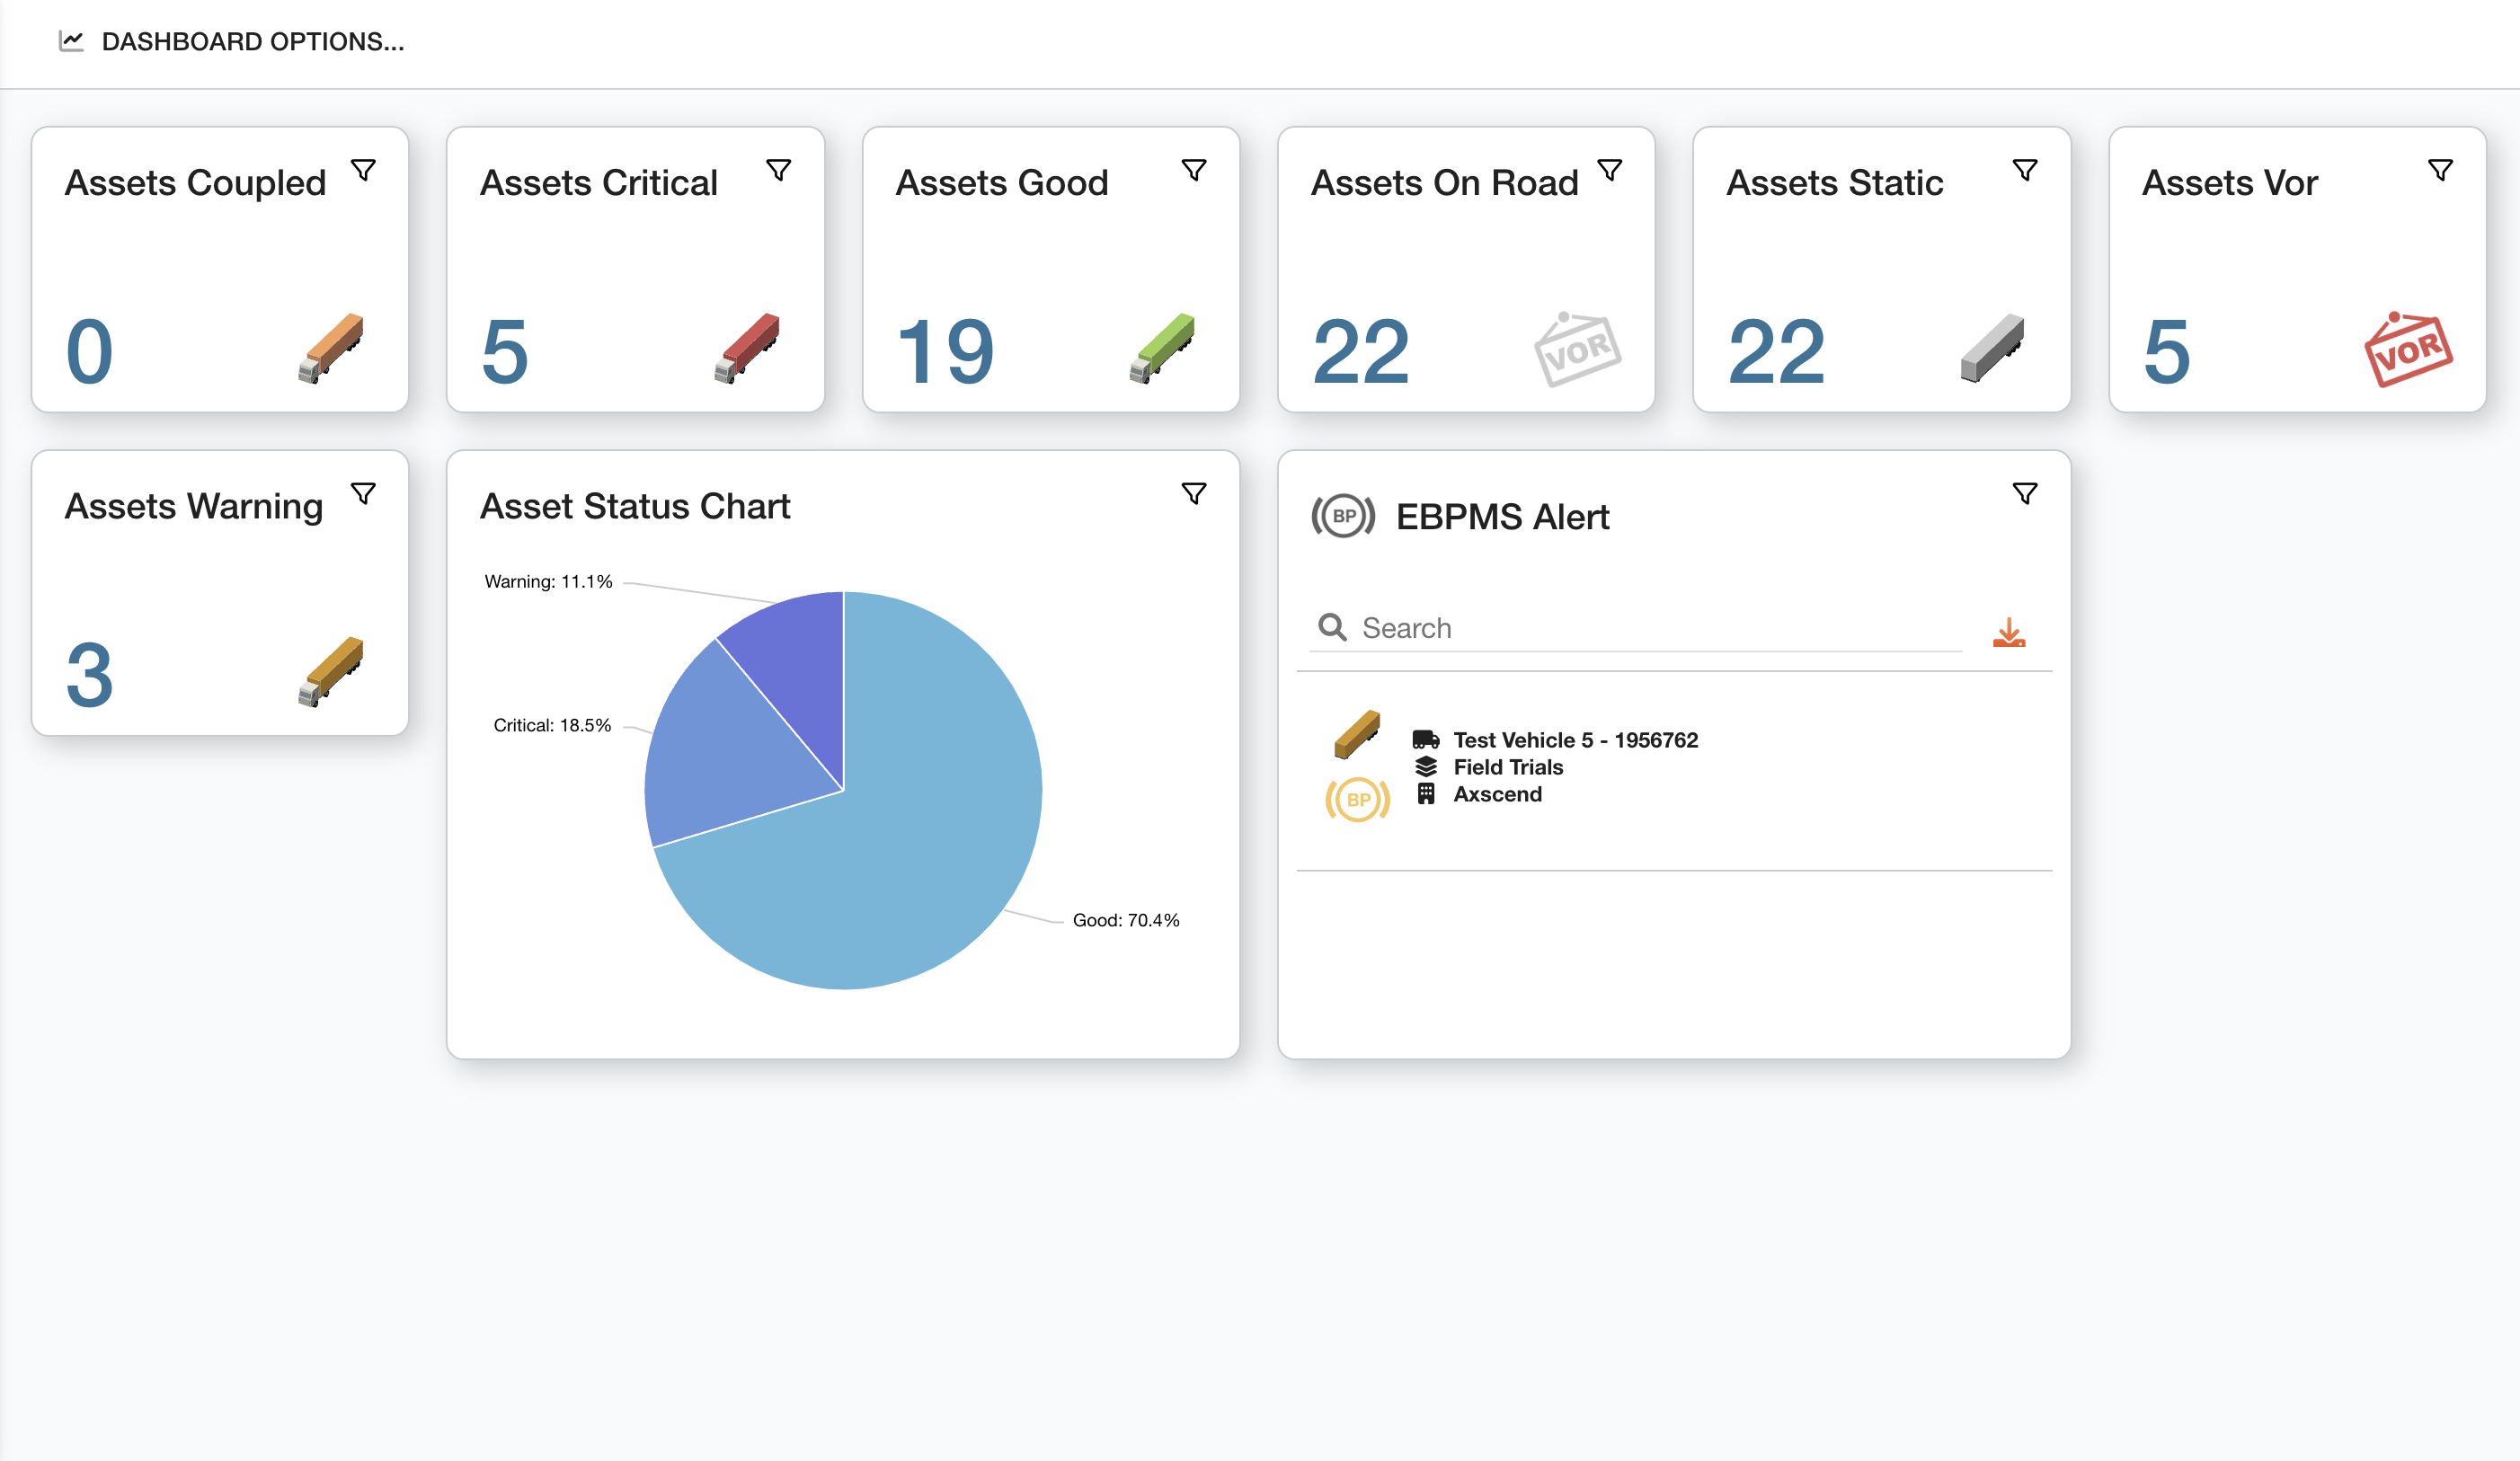
To edit the widgets on a dashboard, ensure you are on the Dashboard page. These instructions will show how to add, remove and filter the widgets included in your dashboard.
For other ways to edit a Dashboard, see Editing a Dashboard's Name and Editing a Dashboard Grid Layout.
Adding Widgets
Removing Widgets
Filtering Widgets
Adding Widgets
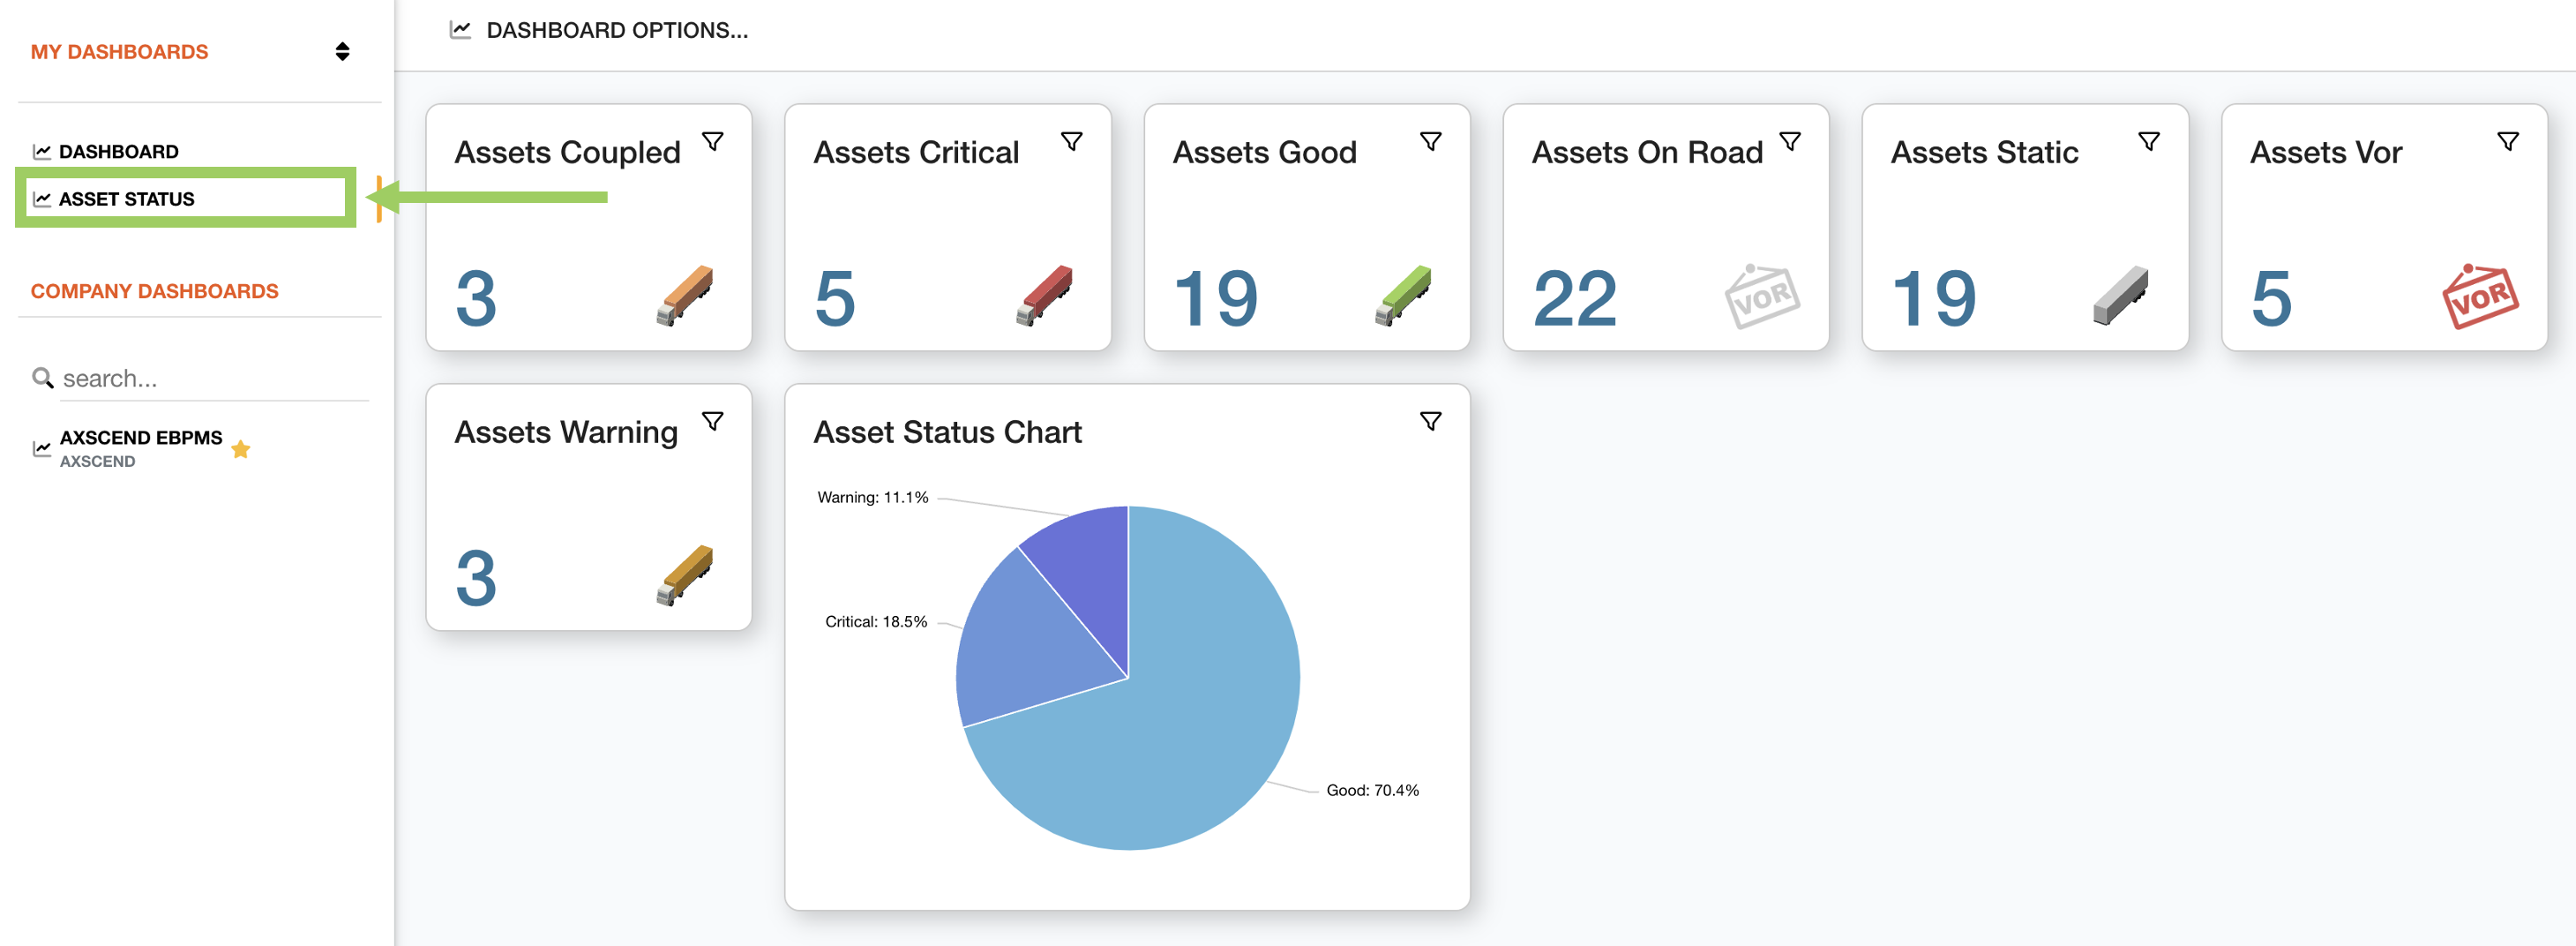
Using the left sidebar, select the dashboard you want to edit. This will open the dashboard in the main content area.
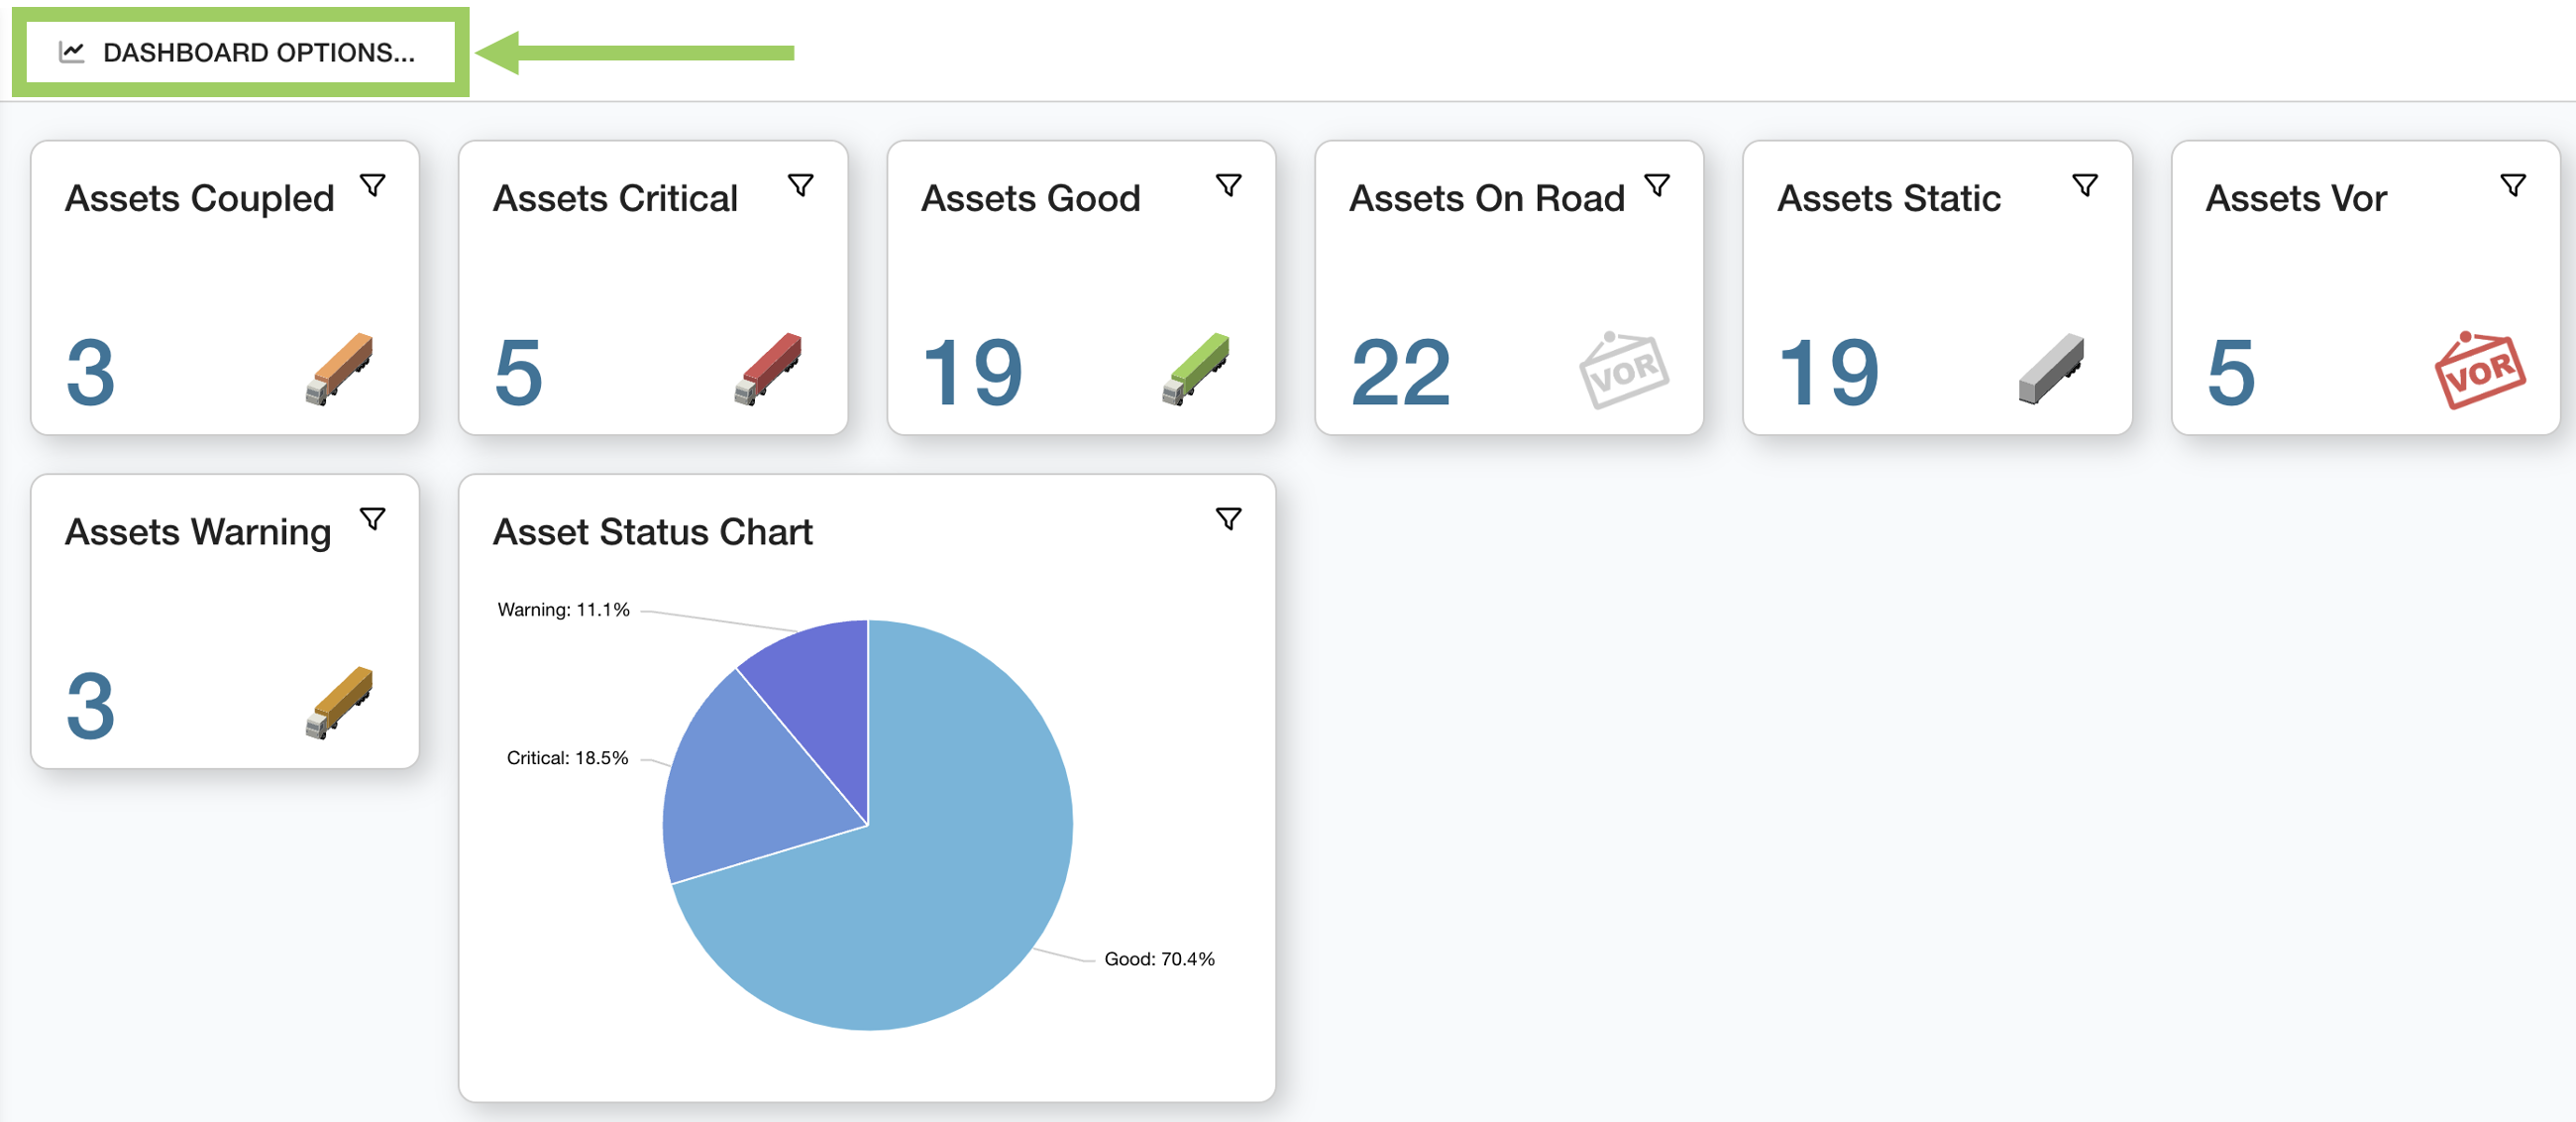
Above the dashboard, click on the ‘Dashboard Options’ button to open the options menu.
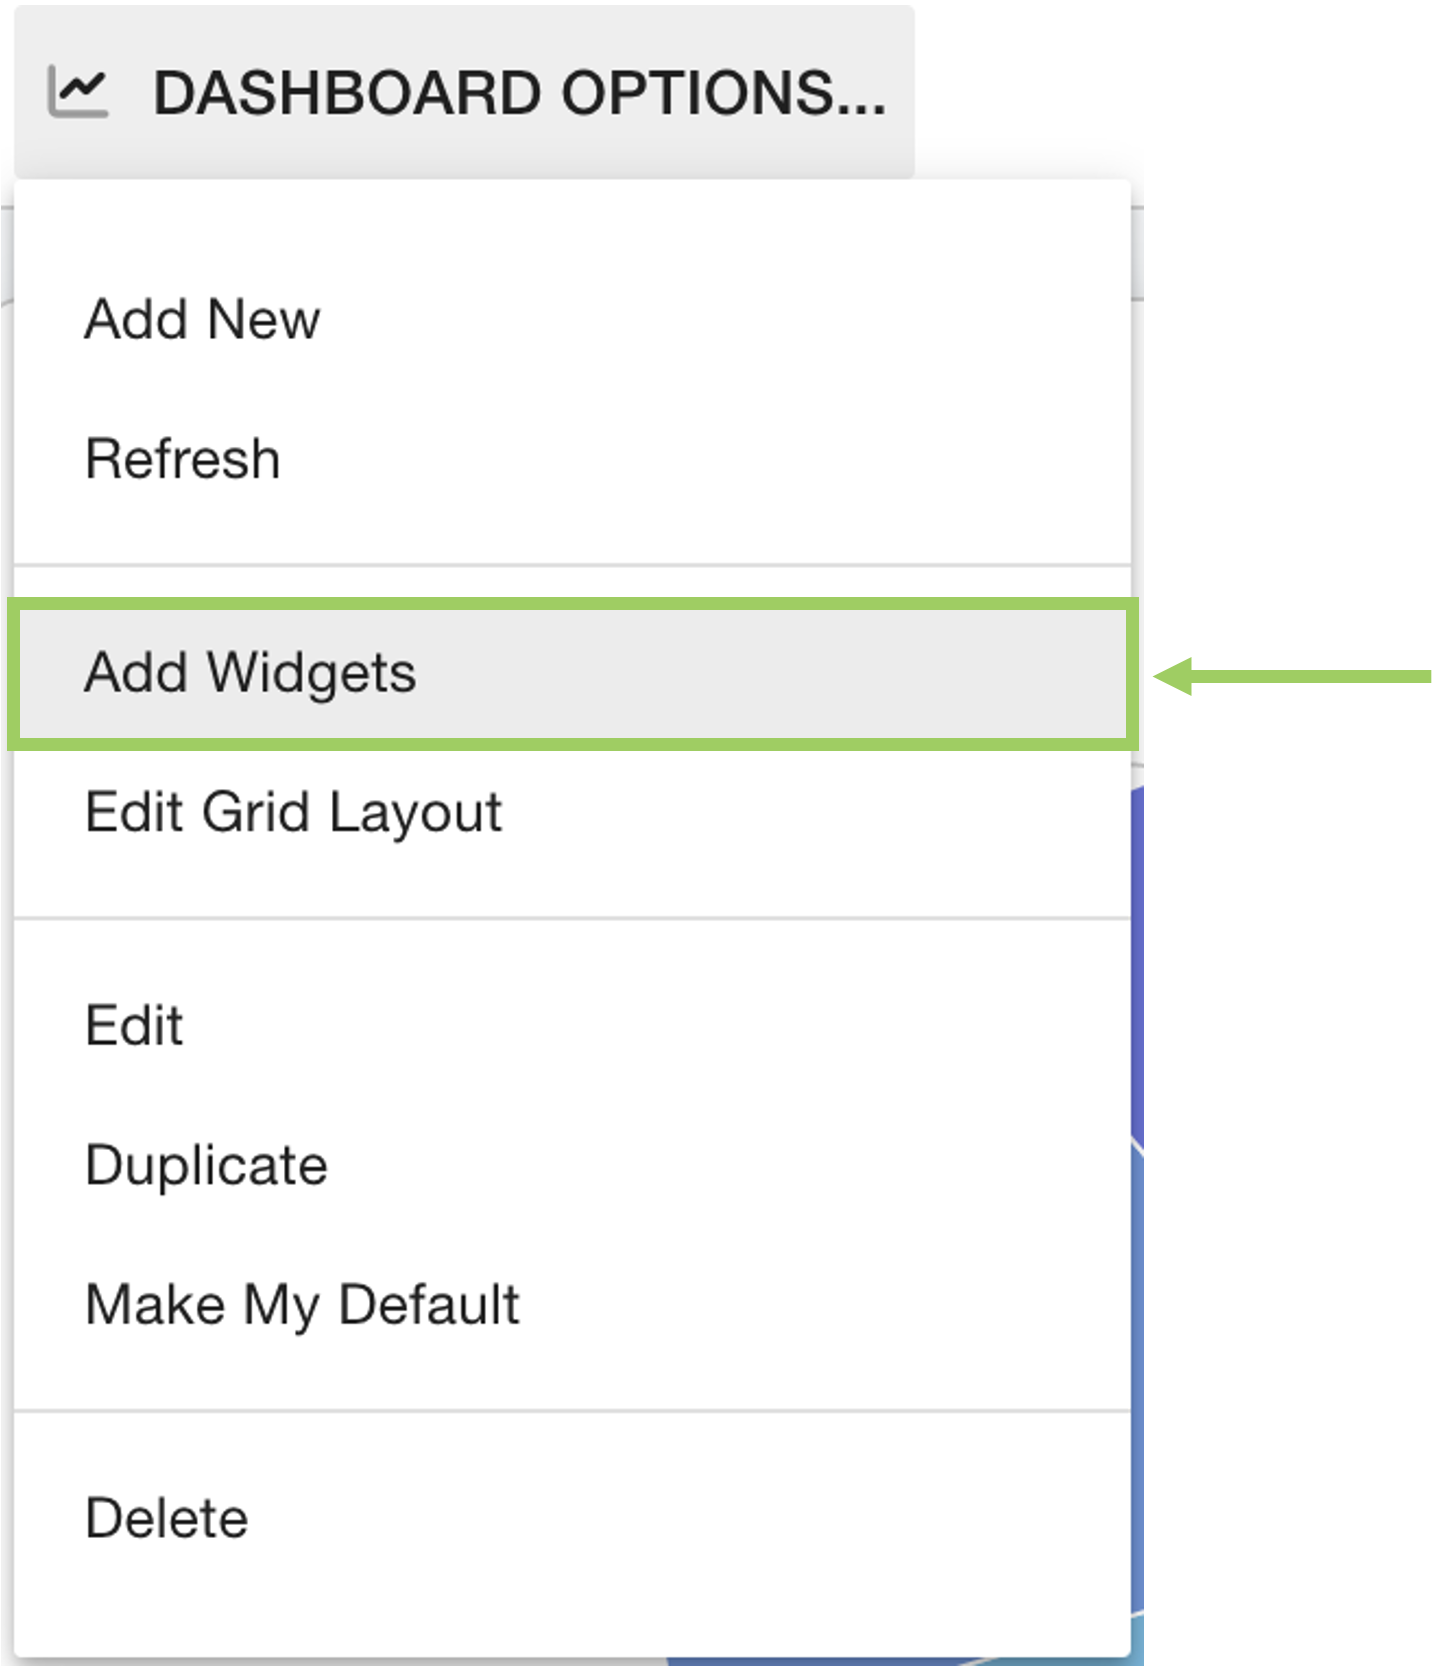 | Click on the ‘Add Widgets’ option. |
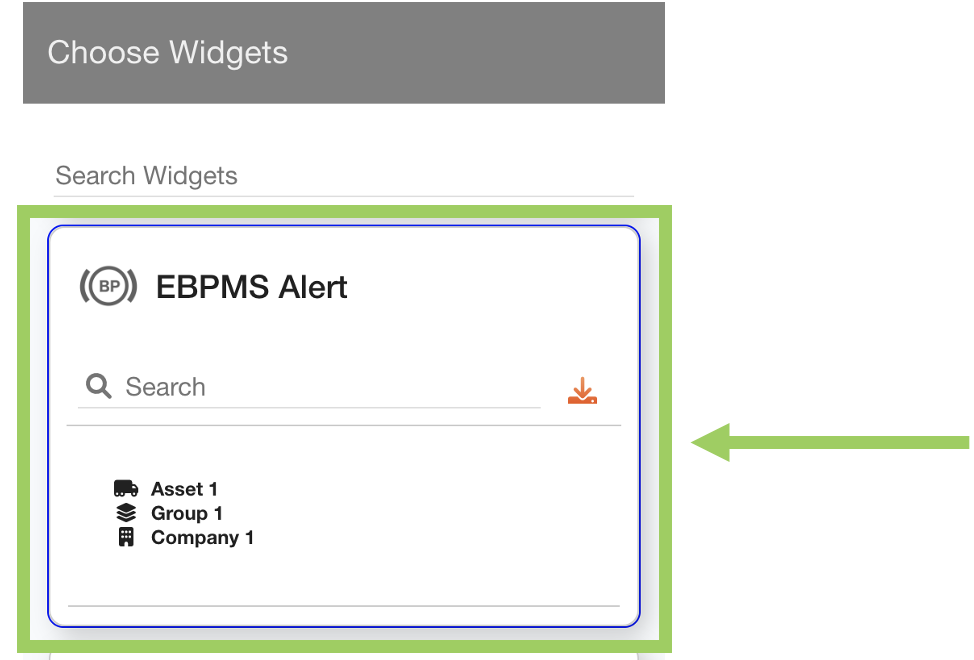
The left sidebar will change to the Widget Selection menu. This is where you can add more widgets to your dashboard.
You can add widgets which already exist on your dashboard.
This is because you can add filters and uniquely rename widgets. See the ‘Filter Widgets’ section of this page for more information.
Click on a widget to add it to your ‘cart’ of widgets. Your widget cart is the group of widgets which you have selected, which will be included in your dashboard. Widgets already on the dashboard will not be included in your cart. The cart will only include widgets you are adding. | |
 | You will see the widget now has a purple border to show it is selected, and in-cart. |
 | You will see the number increment at the bottom of the menu as you add widgets to your cart. This shows the total widgets selected. Once all widgets have been selected, click the ‘Choose (xx) Widgets’ button. |
This will save the dashboard, and you should now see the new widgets added to the dashboard.
The dashboard will try and find the best location for the new widgets. If you want to edit the layout, see Editing a Dashboard Grid Layout.
Removing Widgets
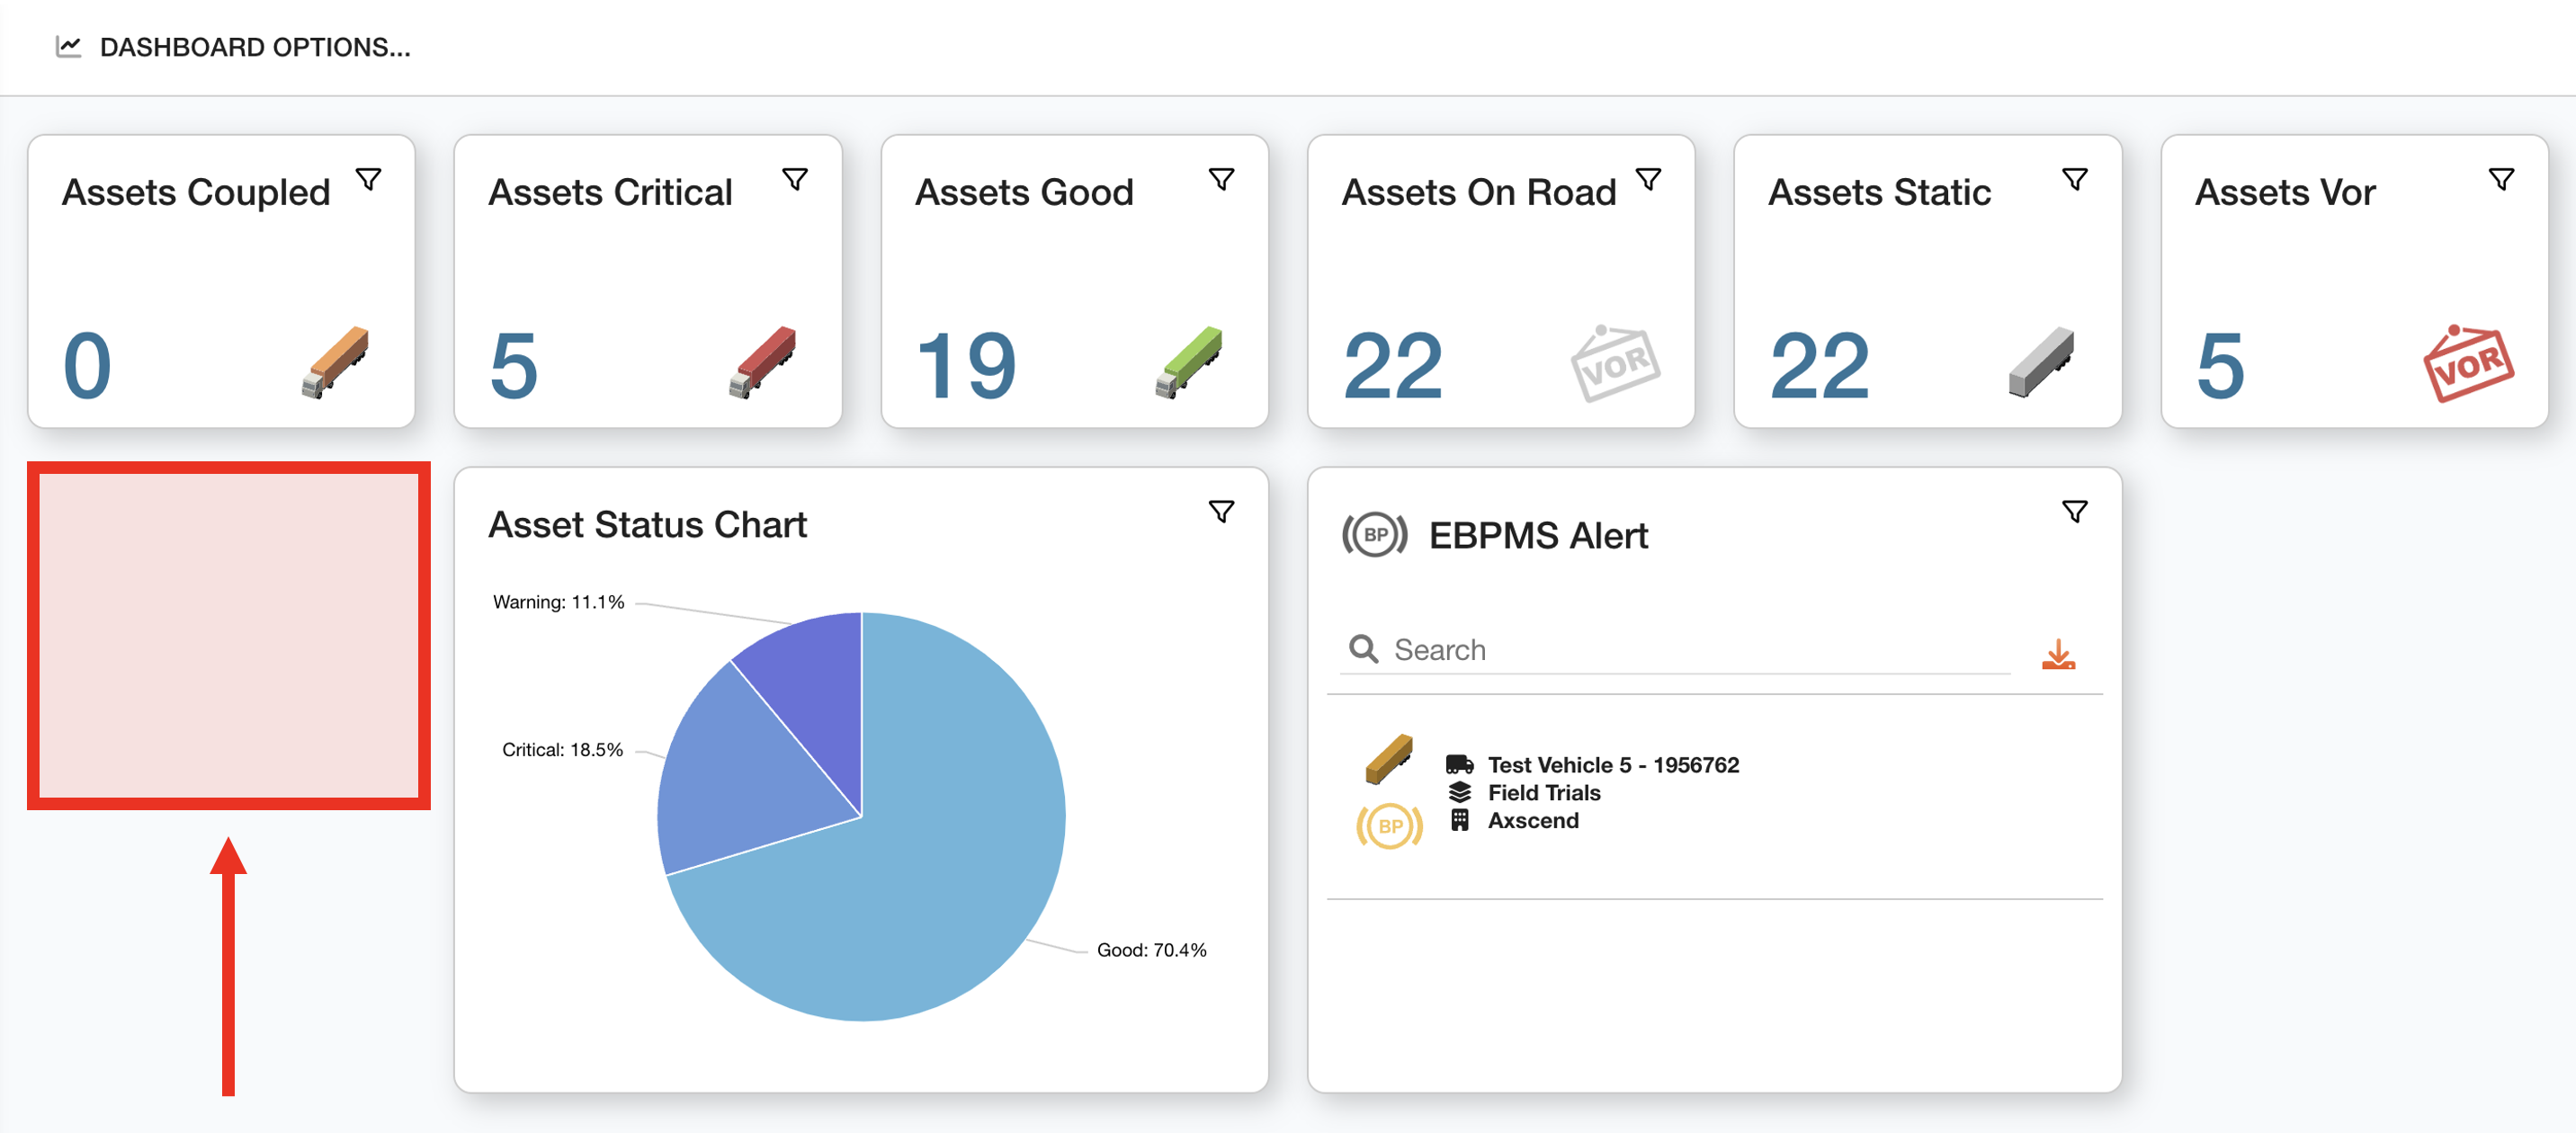
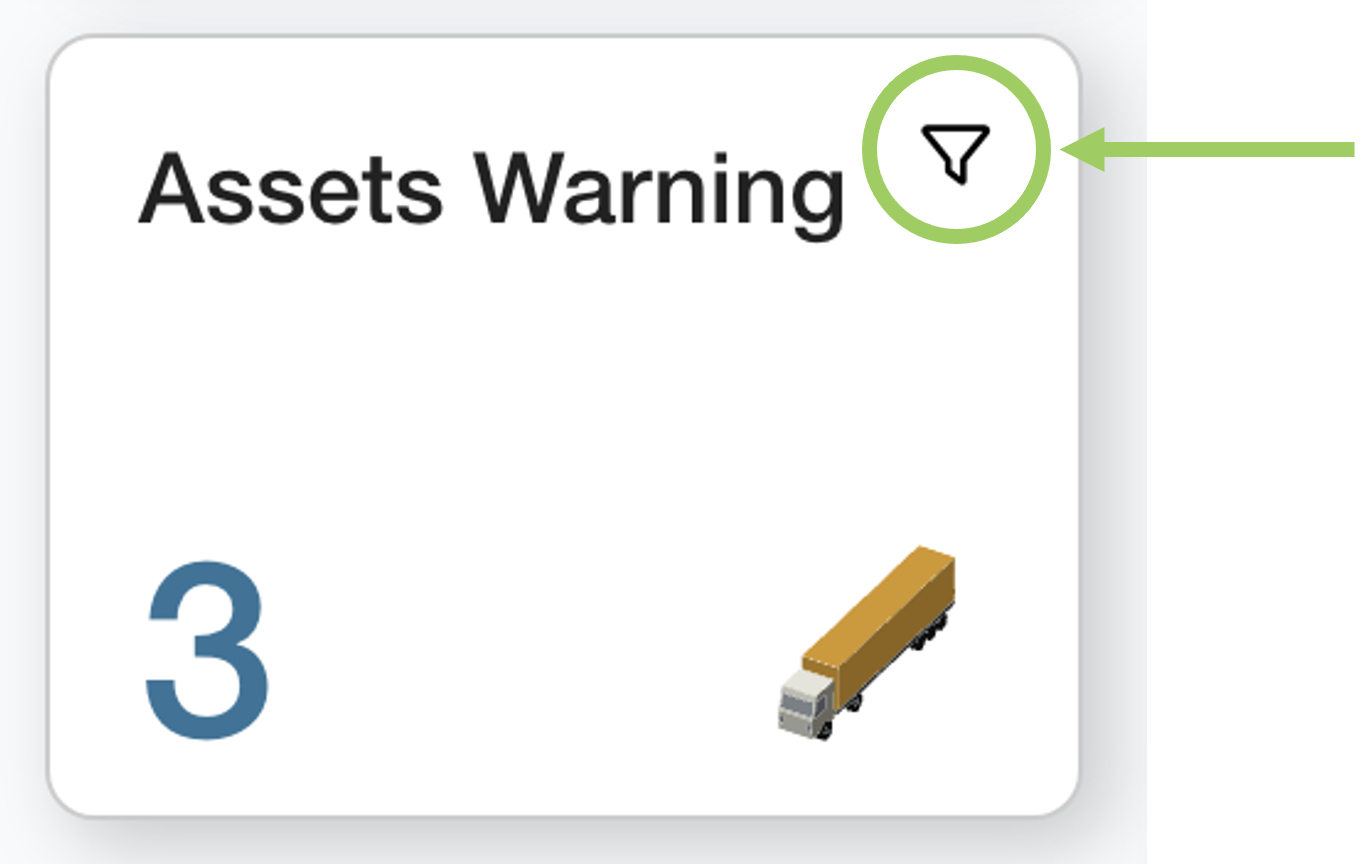 | To delete a widget, click on the filter icon on the widget. |
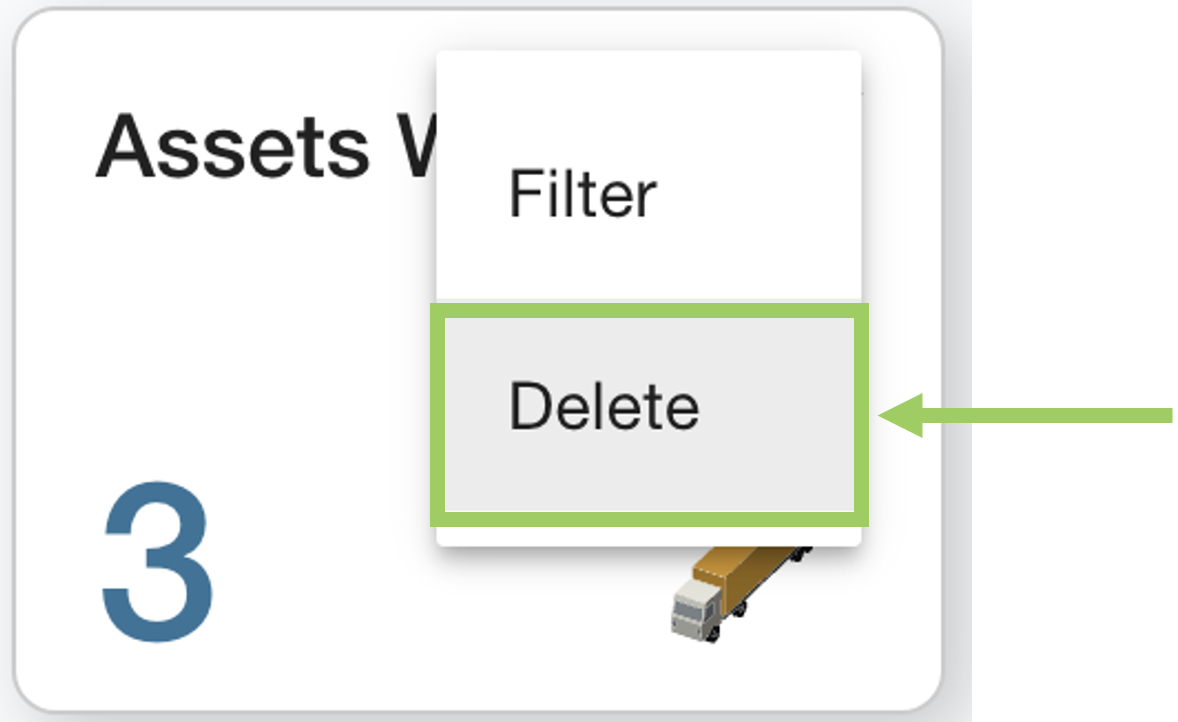 | From the dropdown menu select the ‘Delete’ option. |
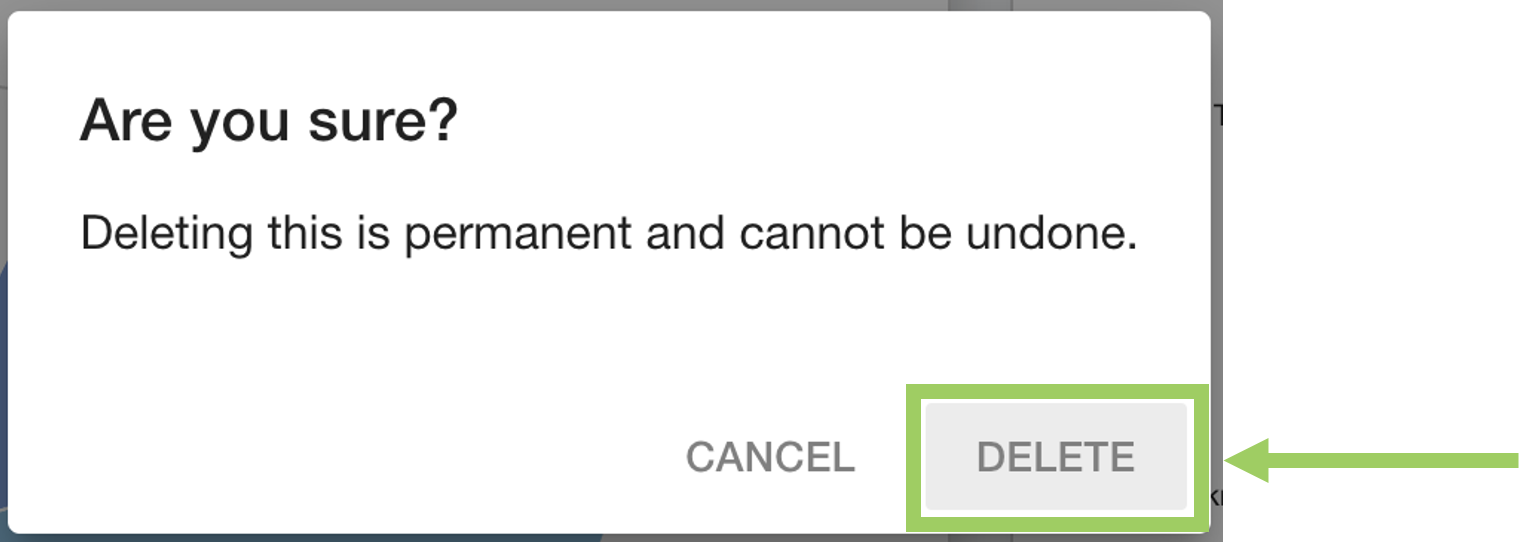 | If you are sure you want to remove the widget, click the ‘Delete’ button from the prompt dialog. |
You should now see the widget has been removed from the dashboard.
Filtering Widgets
Filtering widgets is a useful way to make your widgets even more valuable for your fleet by selecting only the assets you want to be included in a widget.
This also means you can have several of the same widgets with different filters, to further break down your data. Each widget can be re-named and any filters applied are shown in the widget so you know exactly what each widget is showing, and how your data is being sifted.
| To filter a widget, click on the filter icon on the widget. |
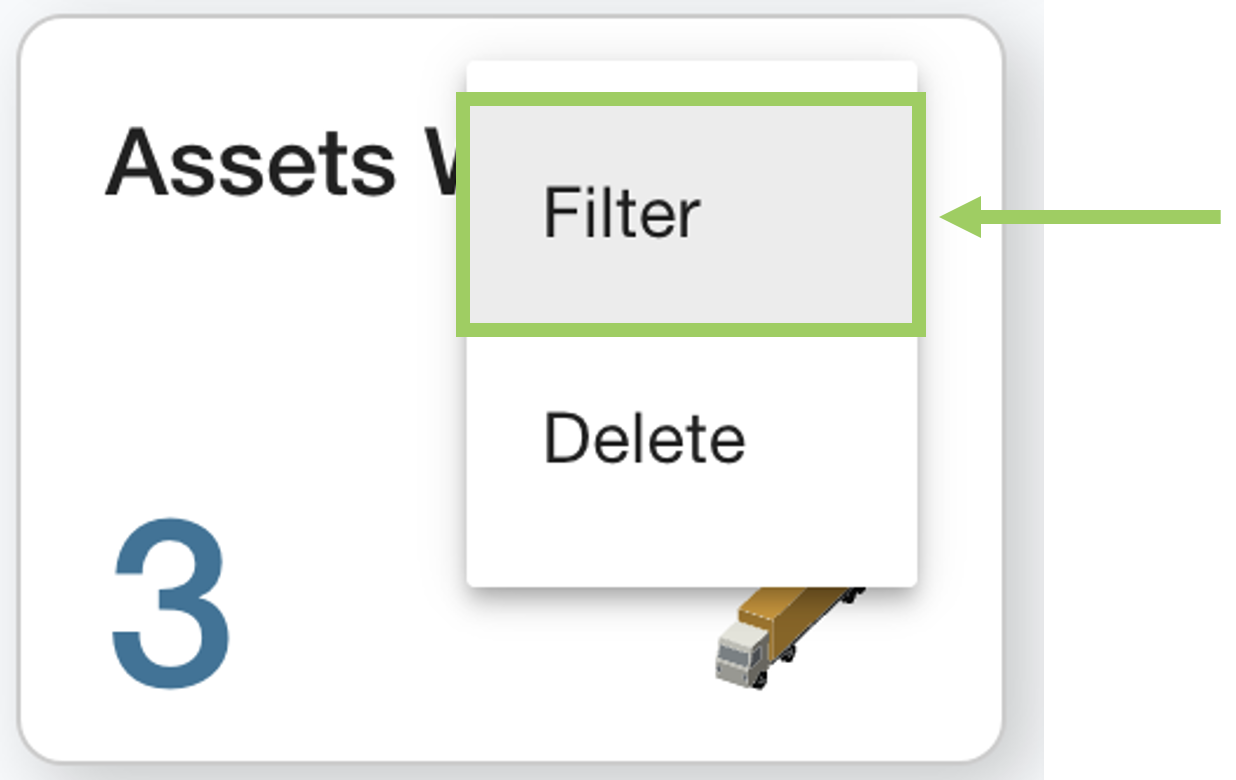 | From the dropdown menu select the ‘Filter’ option. |
This will open the Filter Menu in the sidebar. From the sidebar, you can use any of the available fields to filter the widget.
Depending on the type of widget you are filtering, you may see less fieds. Some Widgets only allow their name to be changed.
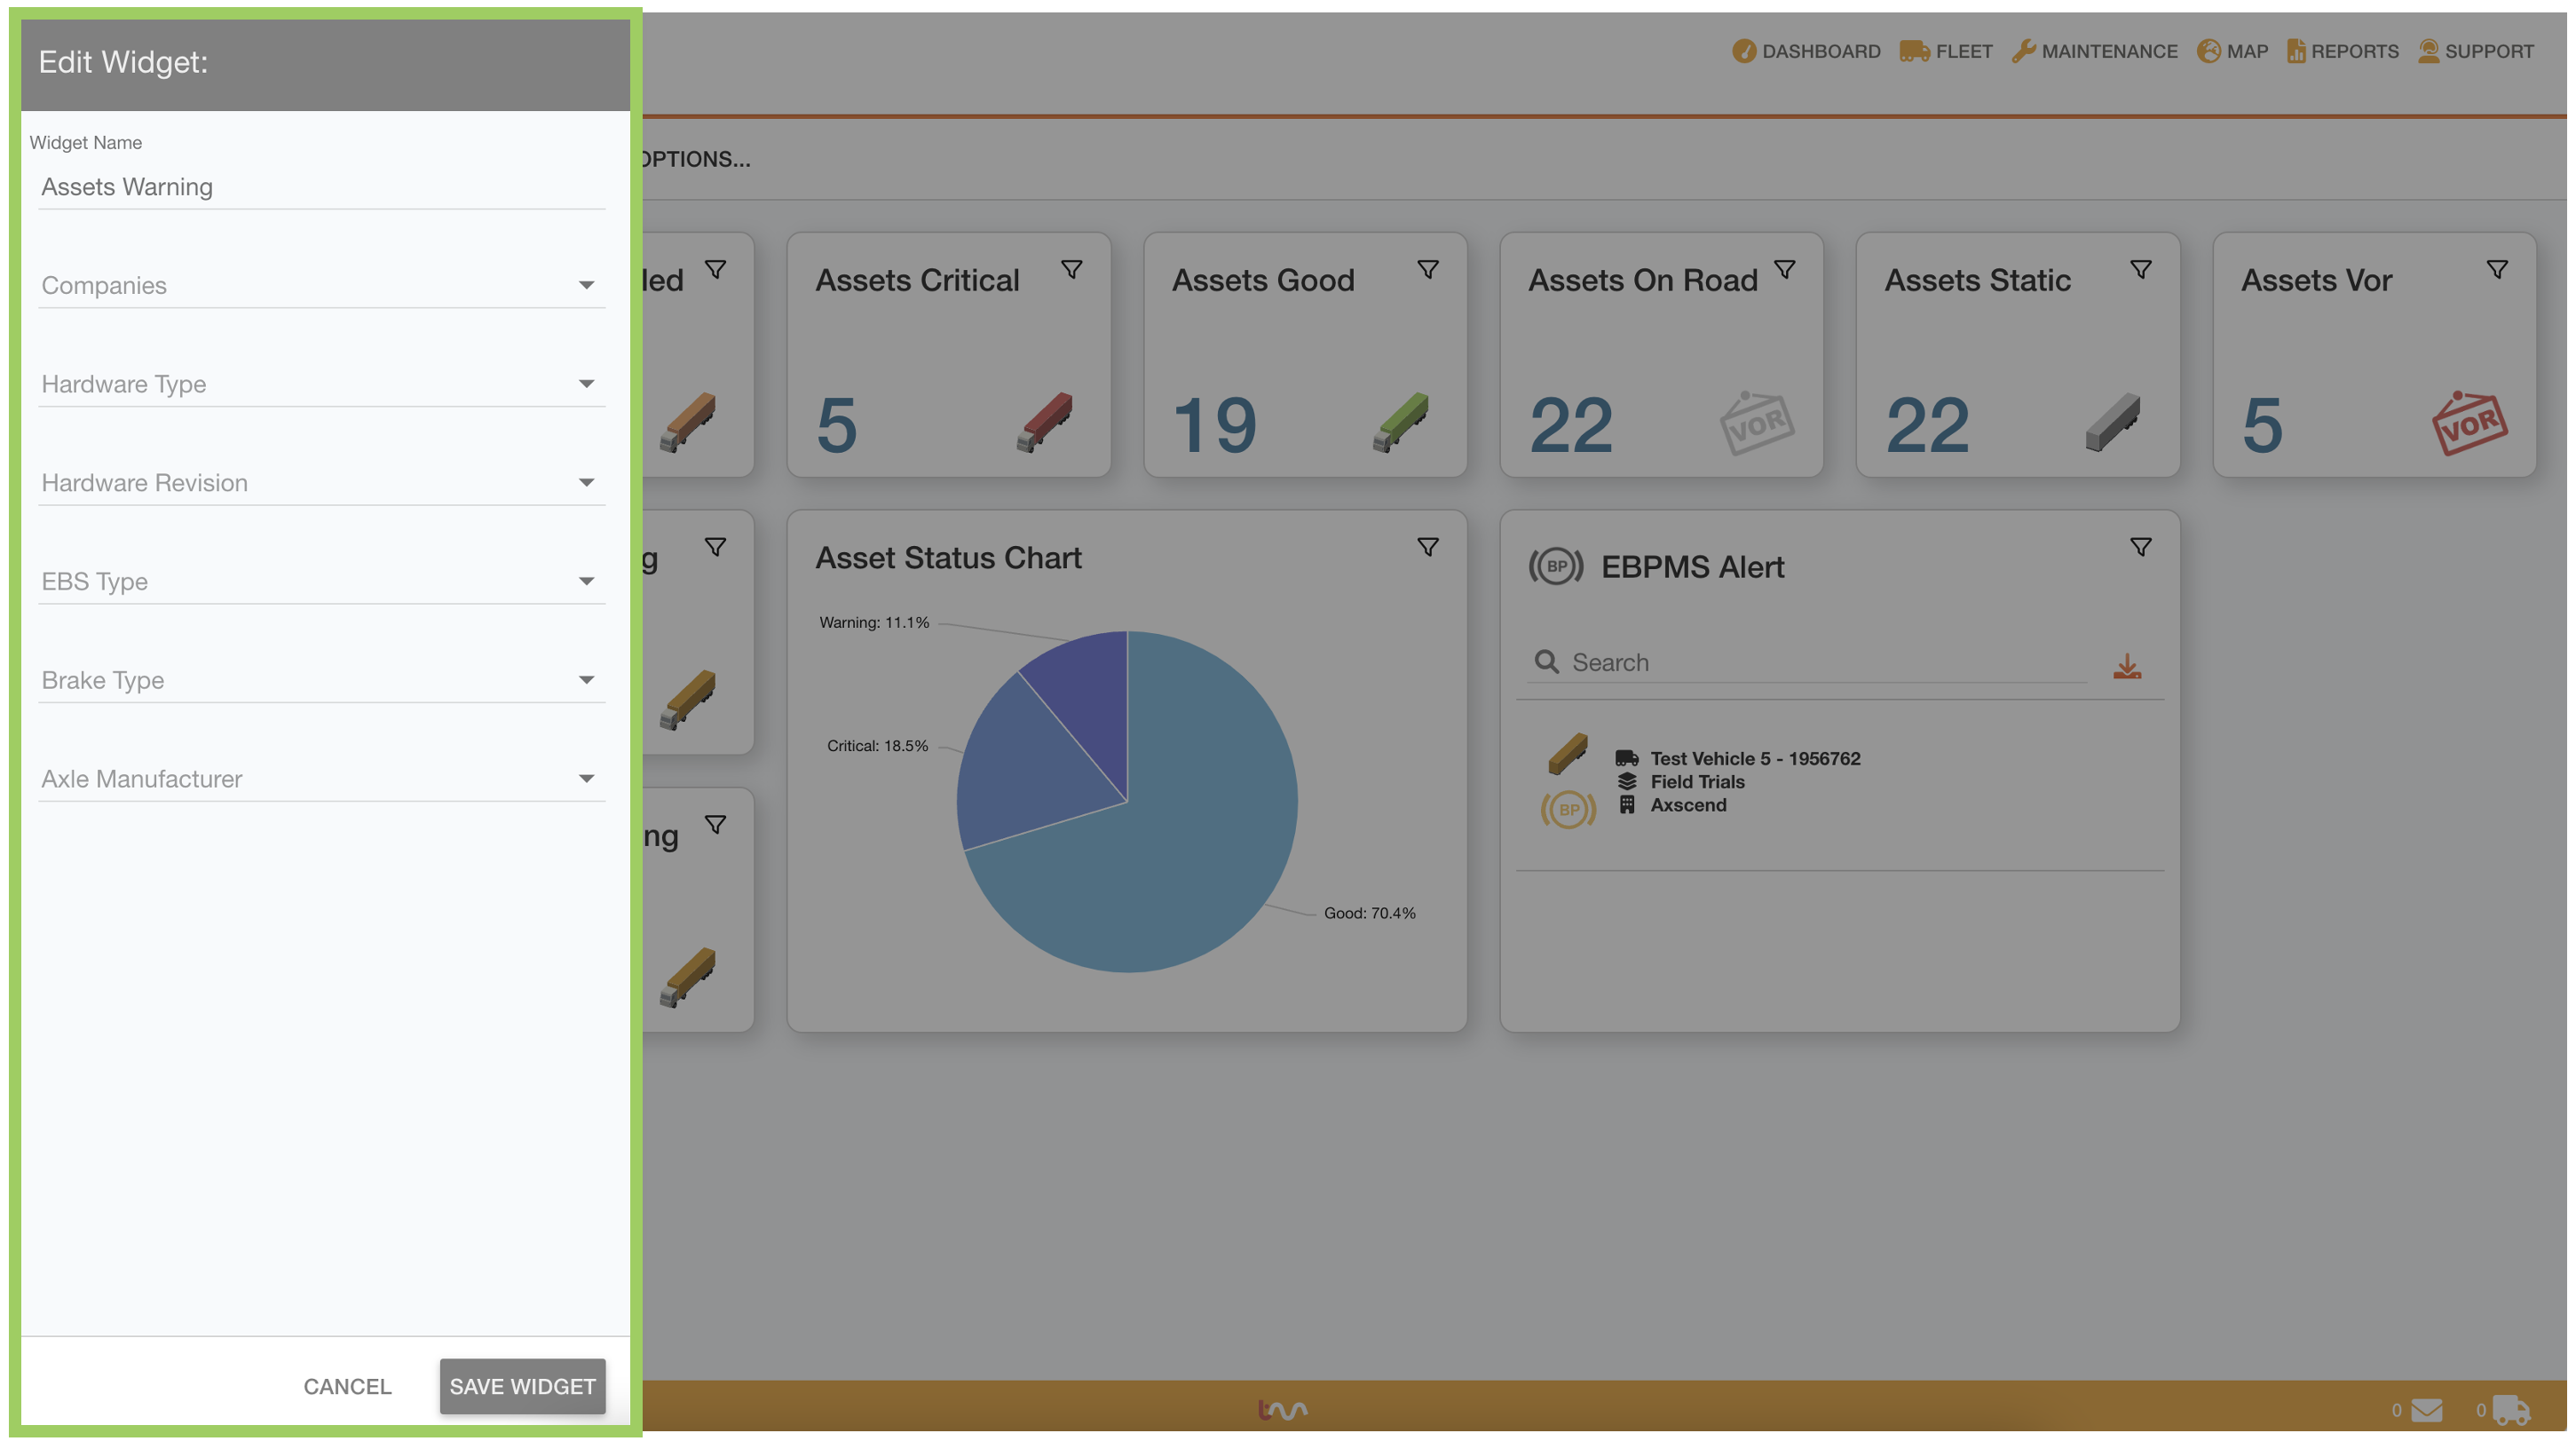
To change the name, which is the text alongside the data on the widget ‘card’, use the Widget Name field.
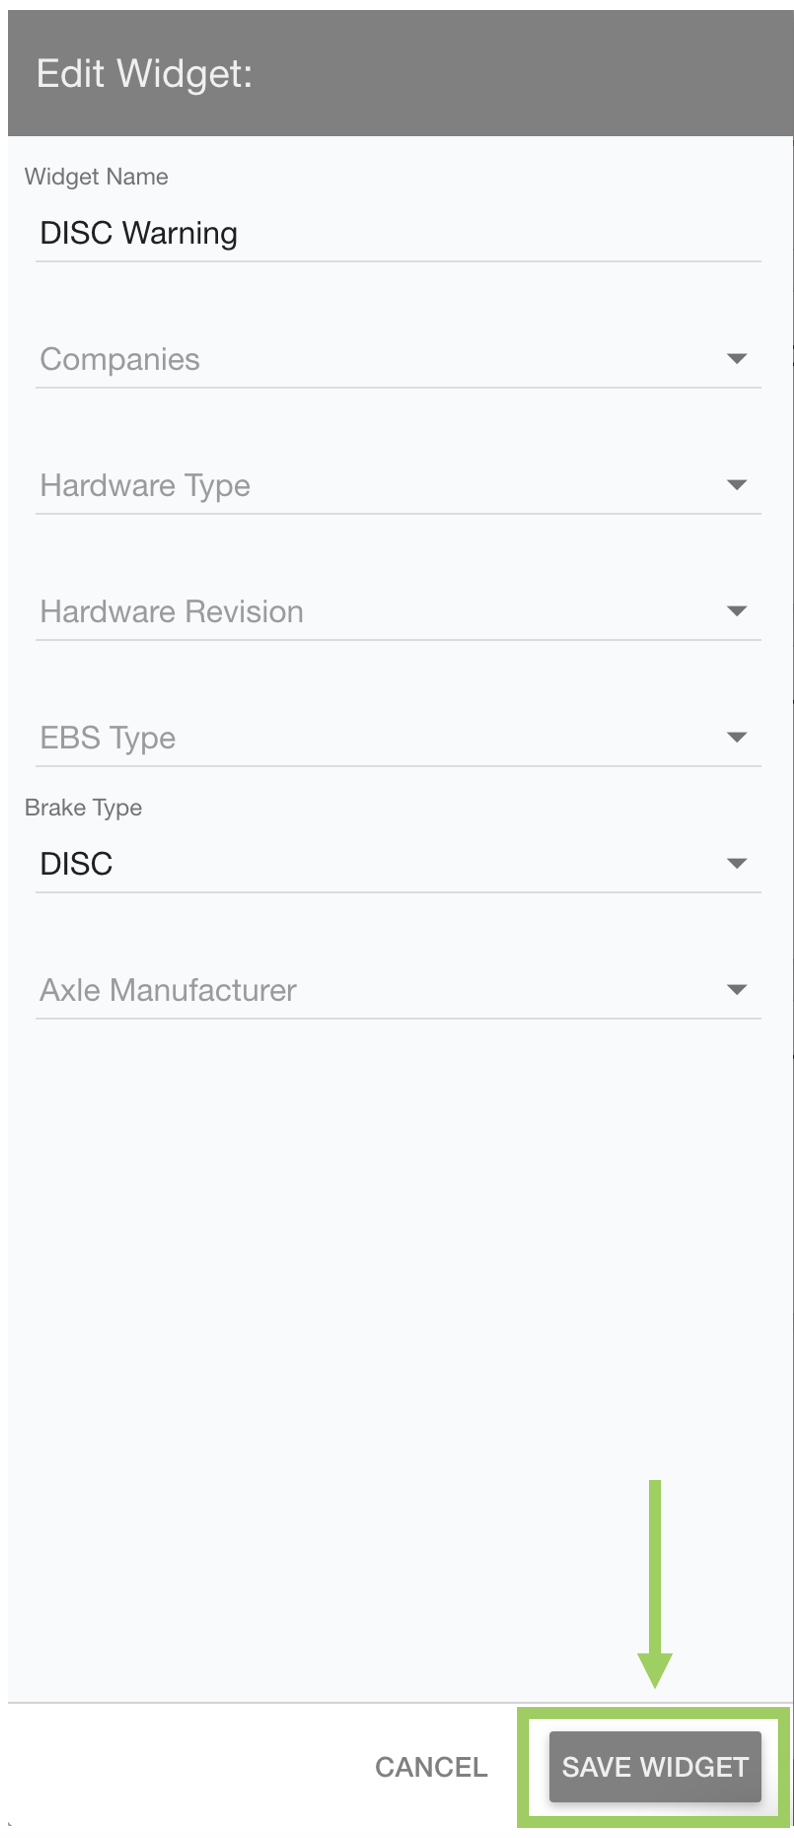 | Once all fields and filters have been edited, click the ‘Save Widget’ button at the bottom. |
If you have changed the name of the widget you will see this change reflected in the text on the widget. If you have added filters to this widget you may notice the data may change.
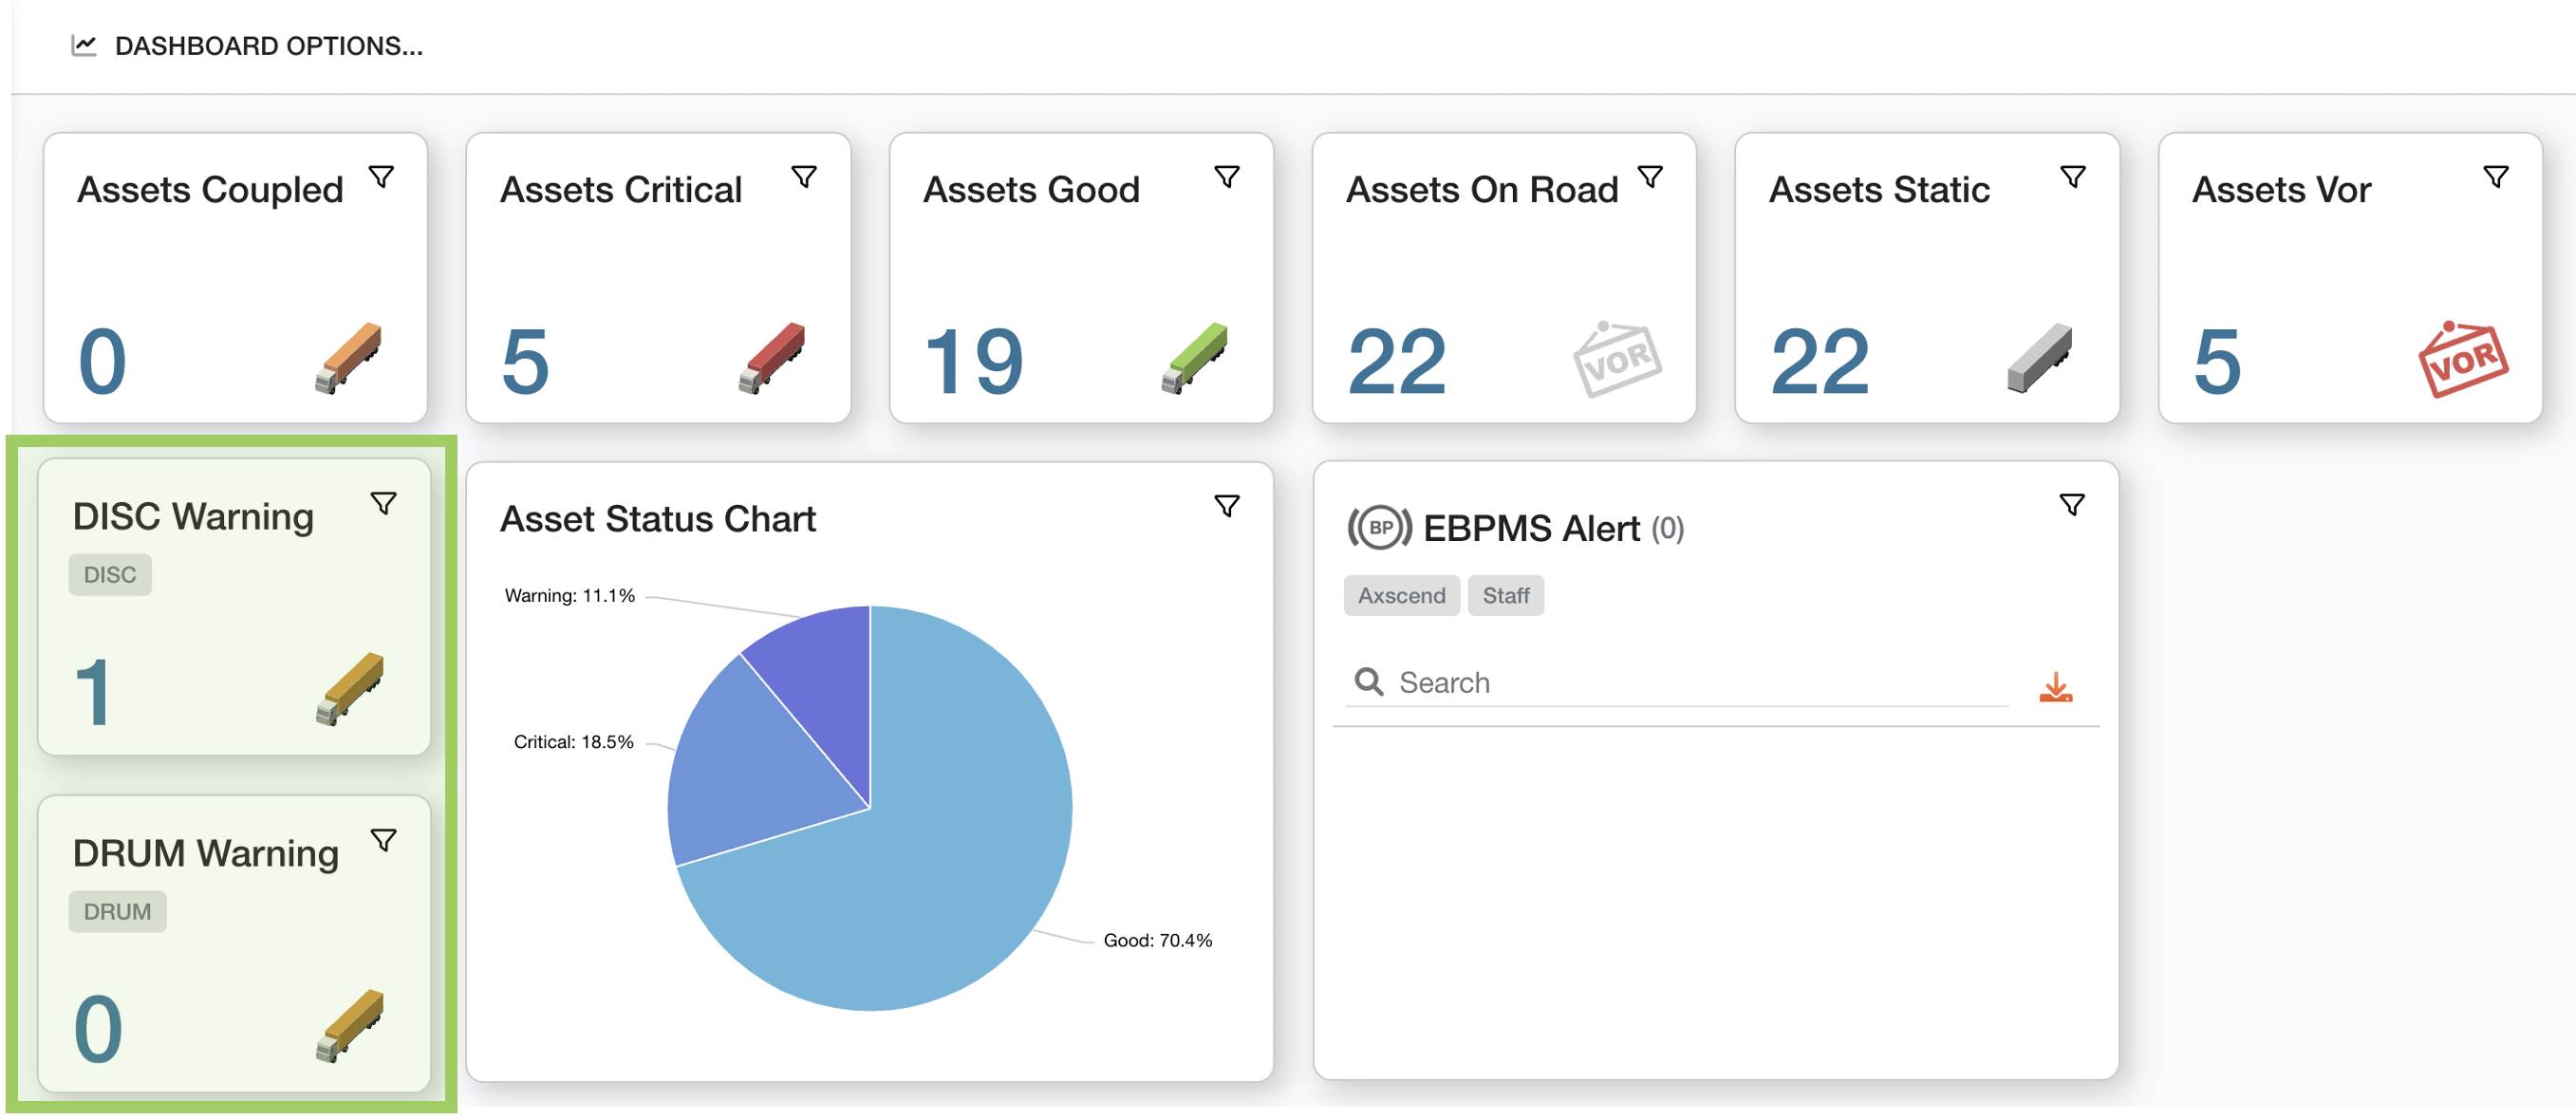
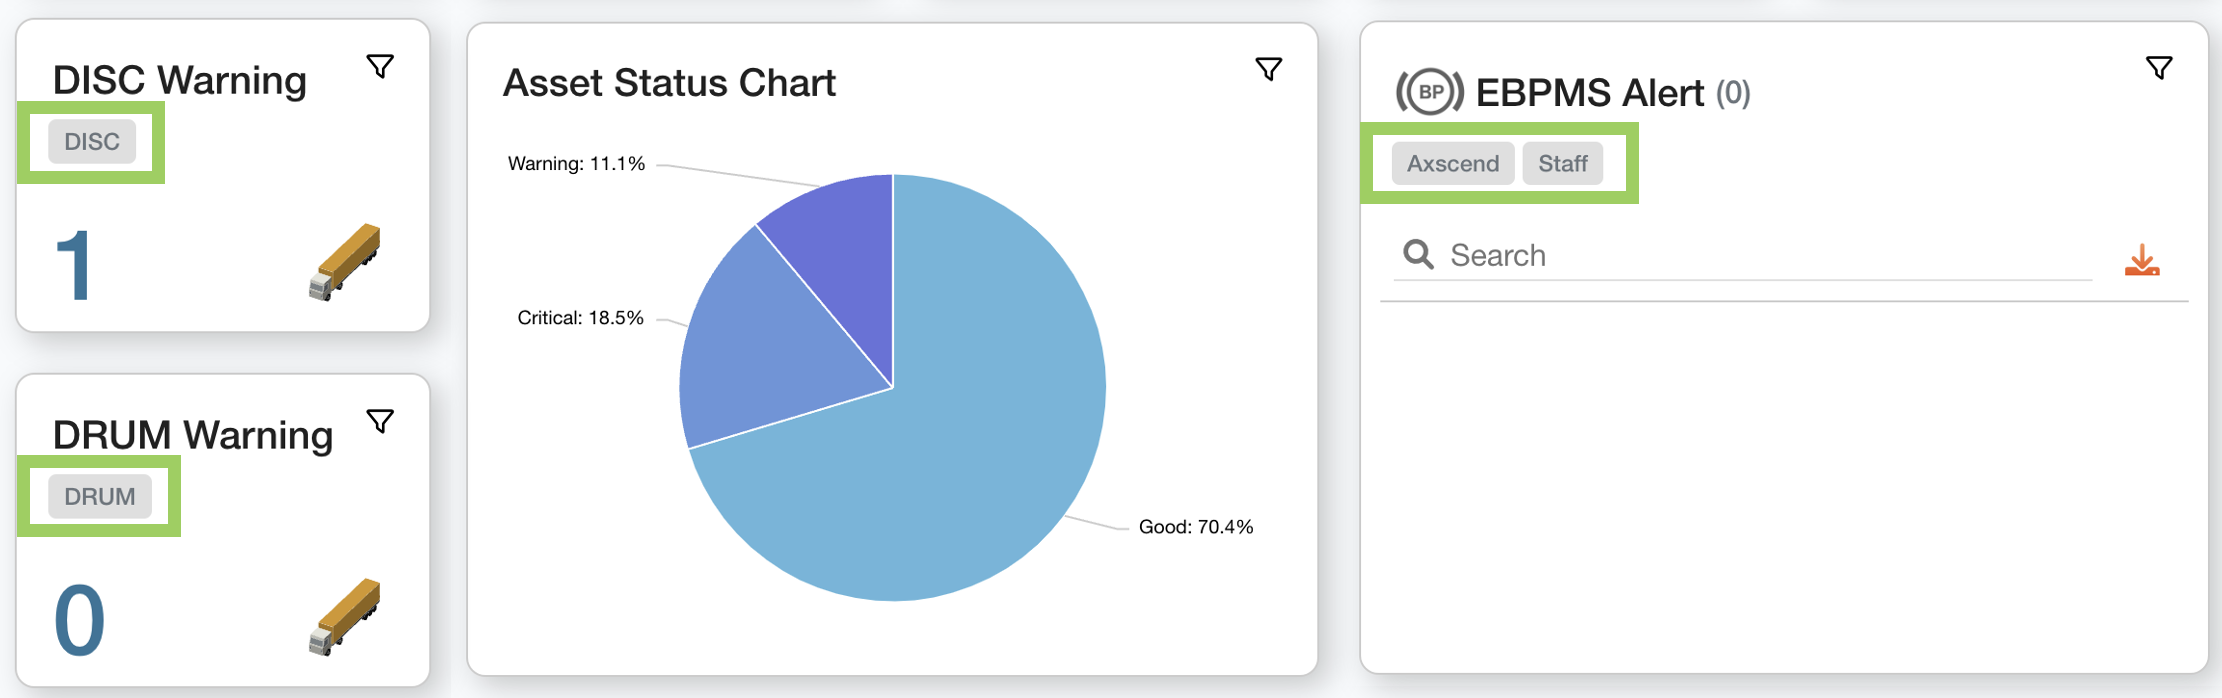
Any filters applied to widgets will be displayed on a ‘chip’ inside the widget. This shows you at a glance which widgets have filters, and what they are being filtered by.
 Troubleshooting
For any issues or errors that have not been solved please Contact Axscend Support.