Adding A New Dashboard
To add a new dashboard, ensure you are on the Dashboard page. These instructions will show how to create a new dashboard from scratch, see also Duplicating a Dashboard and Editing A Dashboard.
Click the Dashboard Options button on the toolbar.
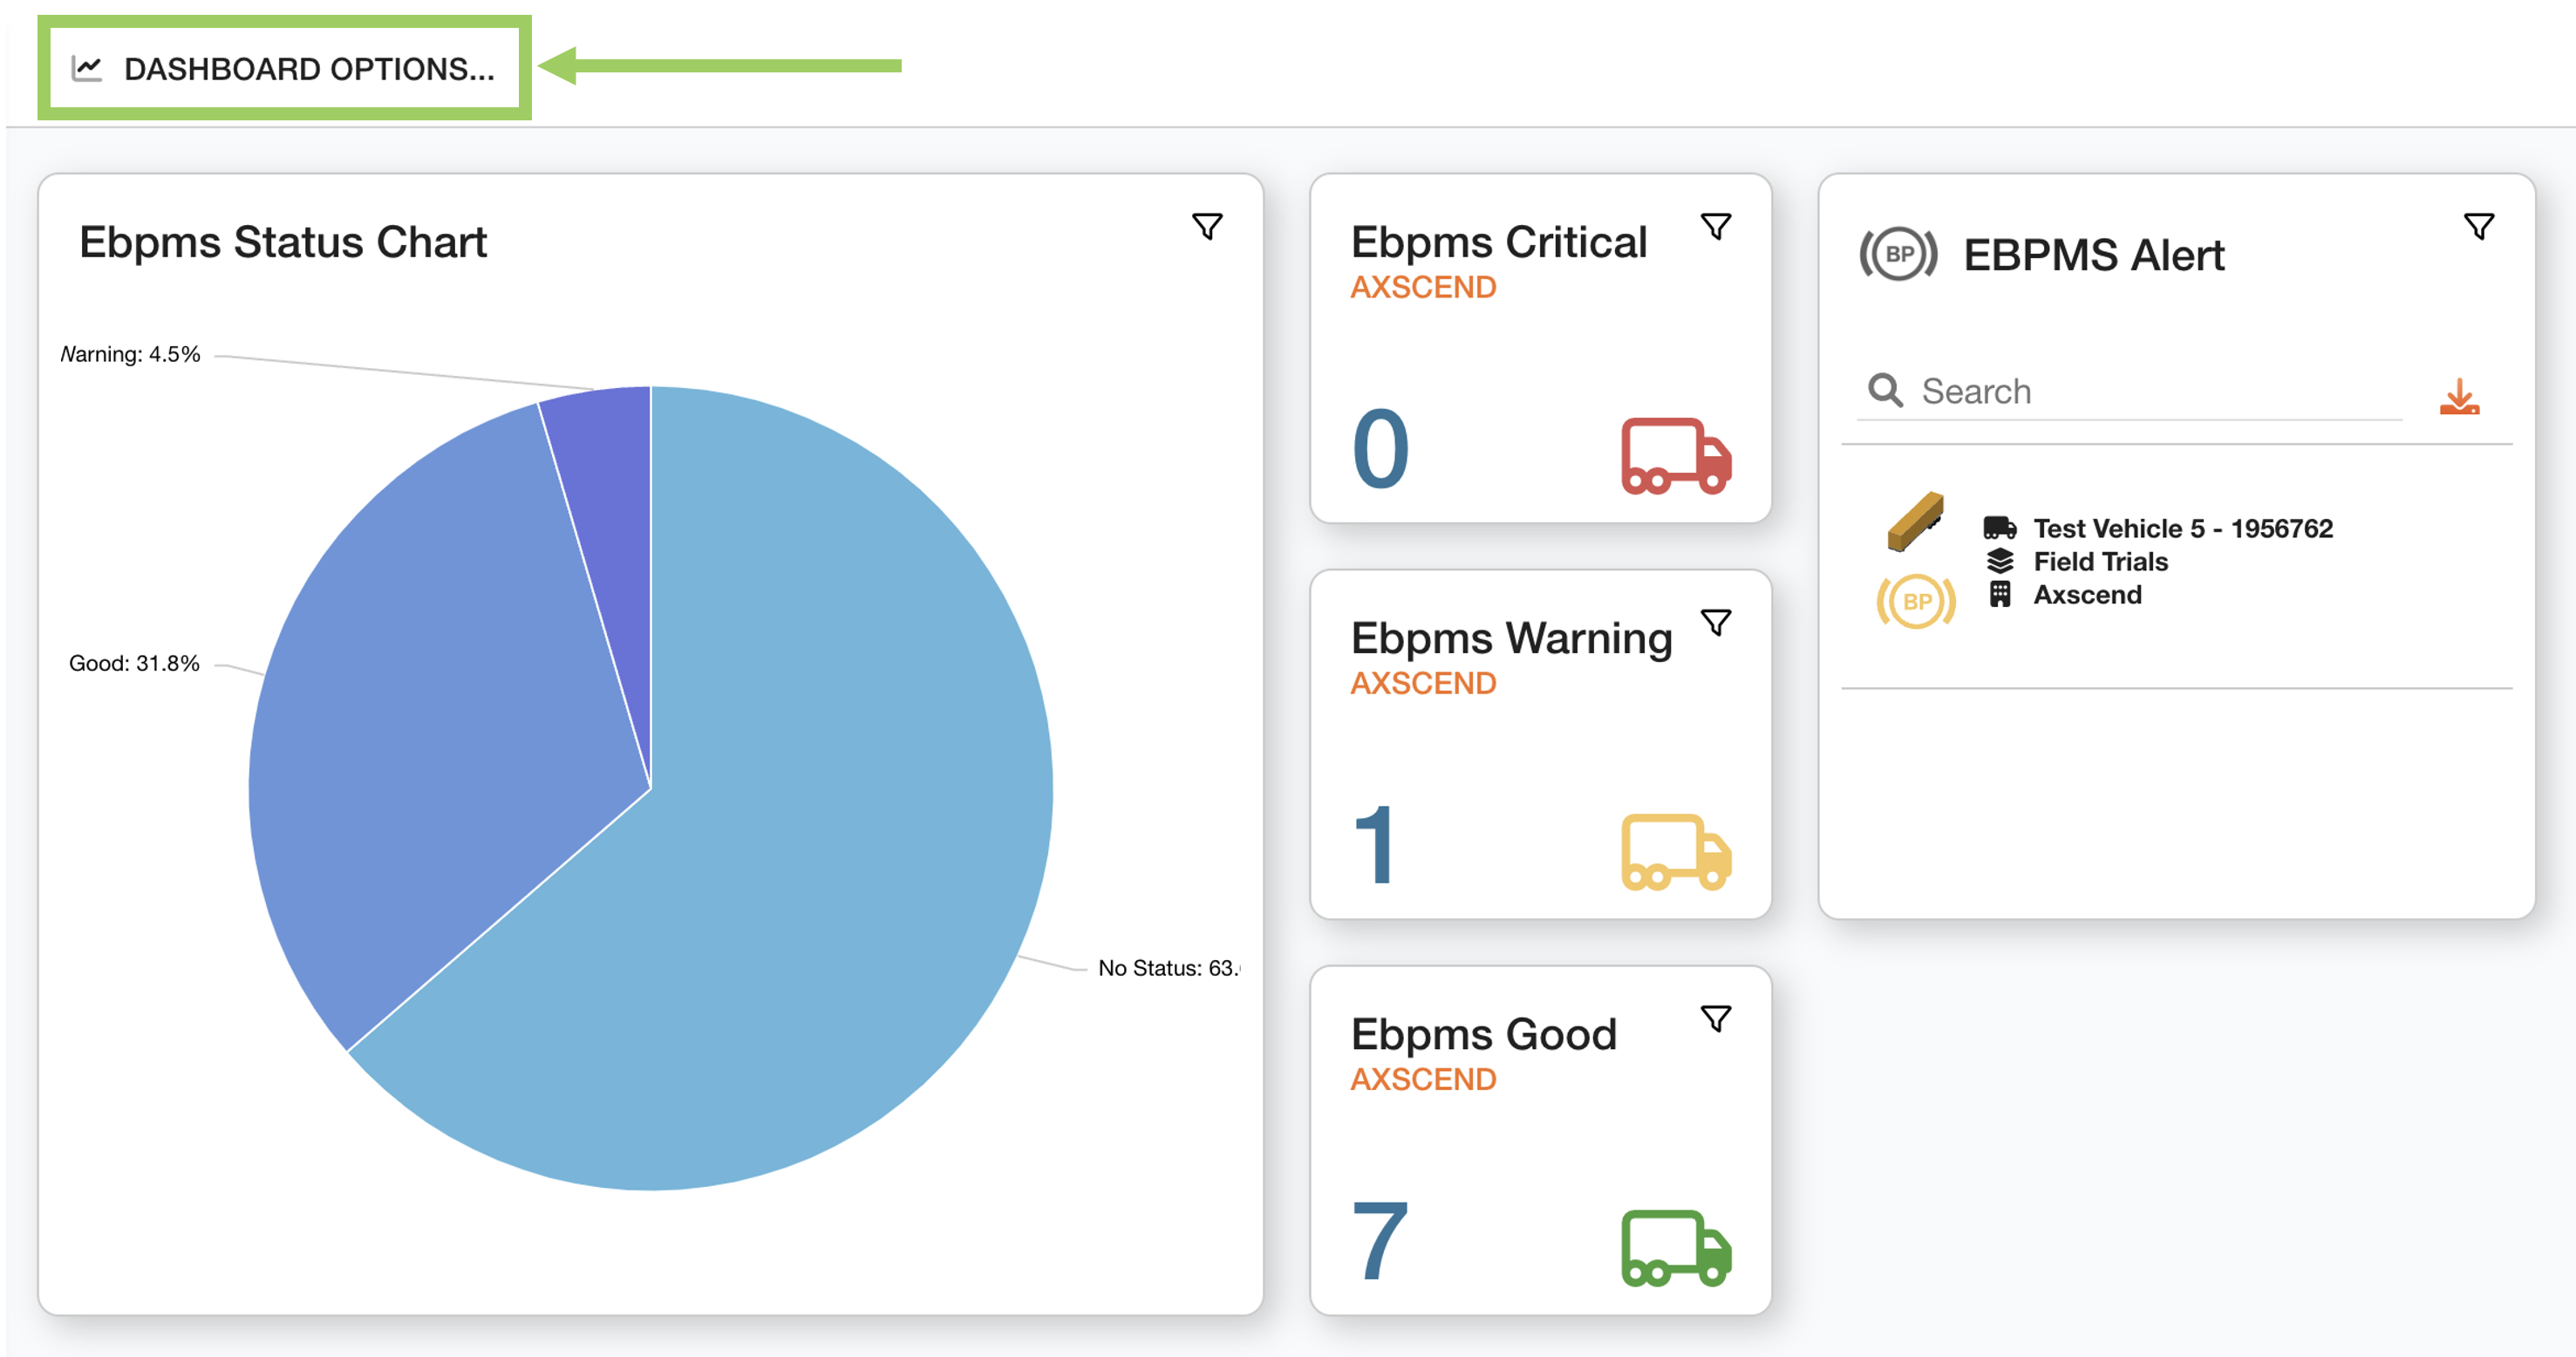
This will open the options dropdown menu.
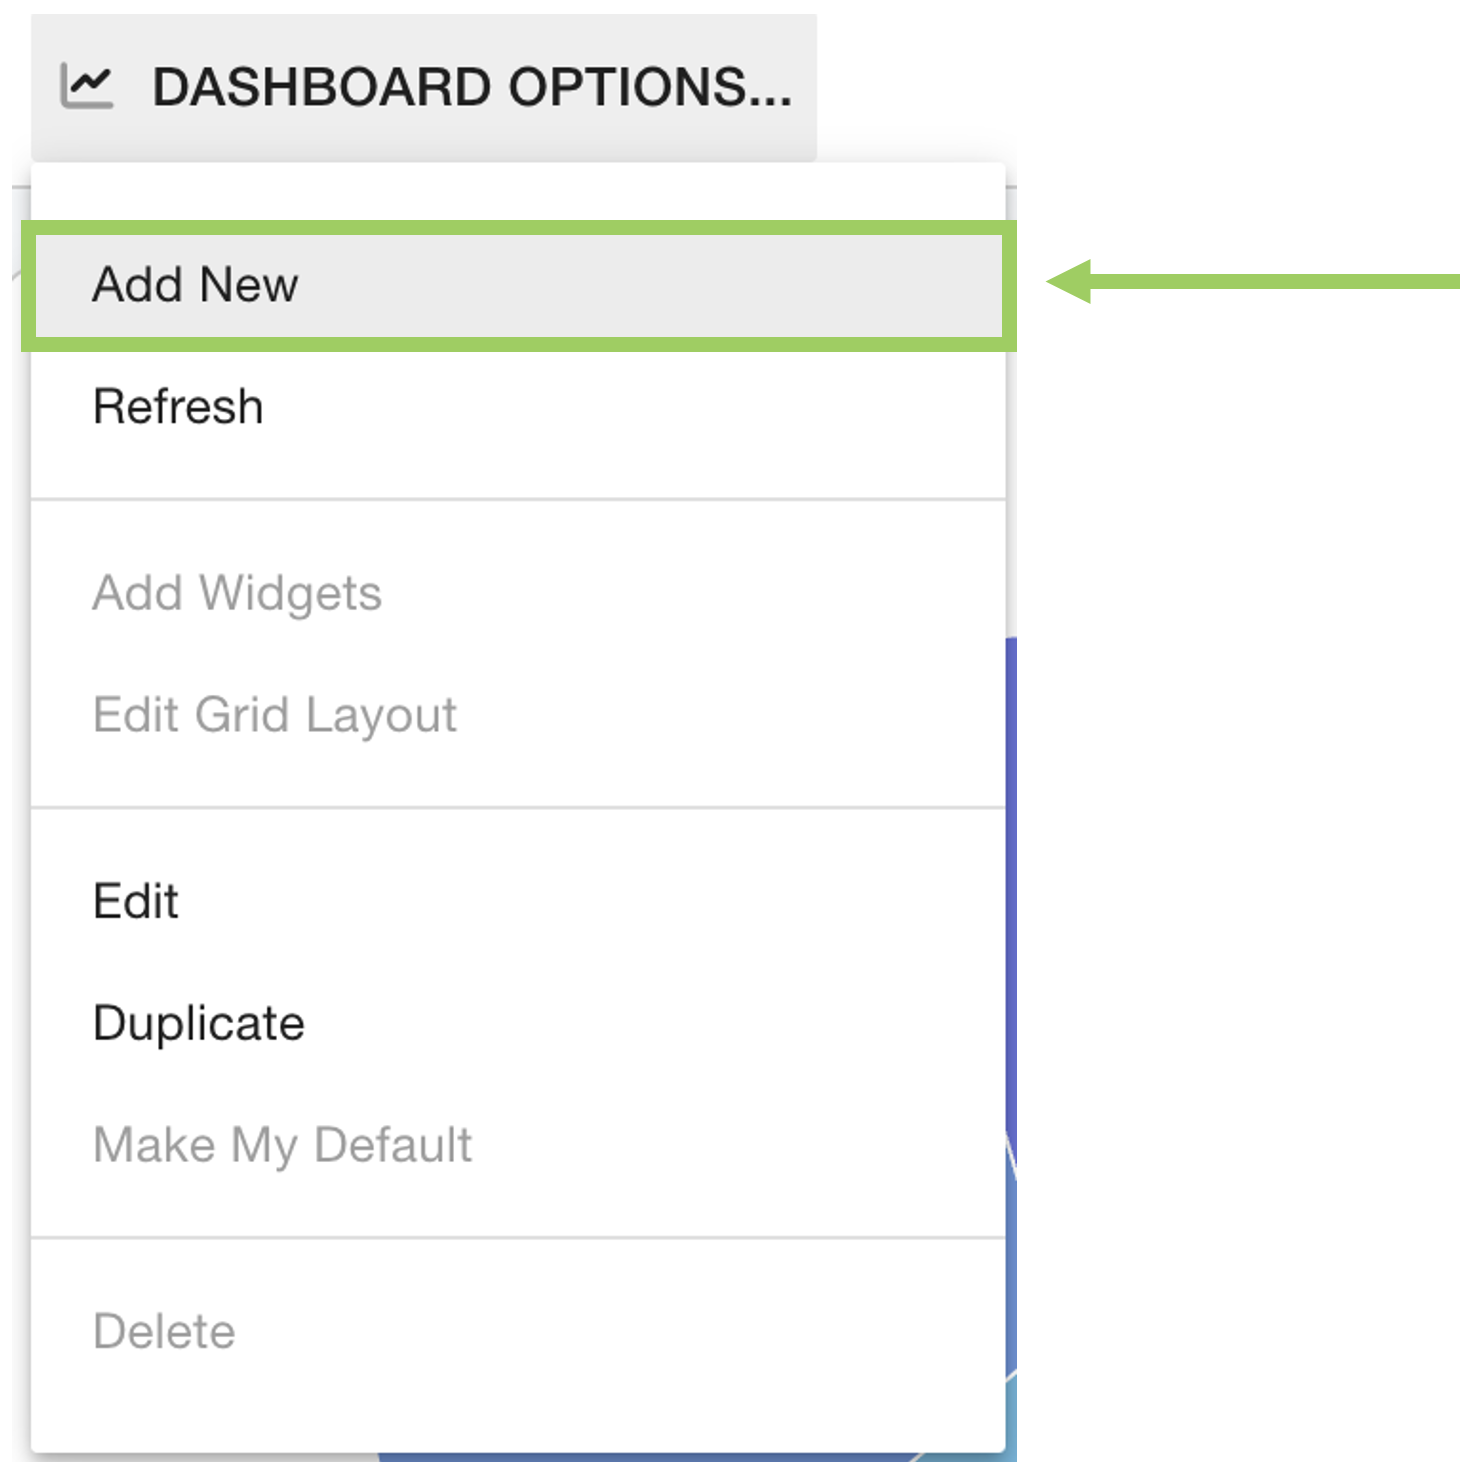 | From the options select the ‘Add New’ option. |
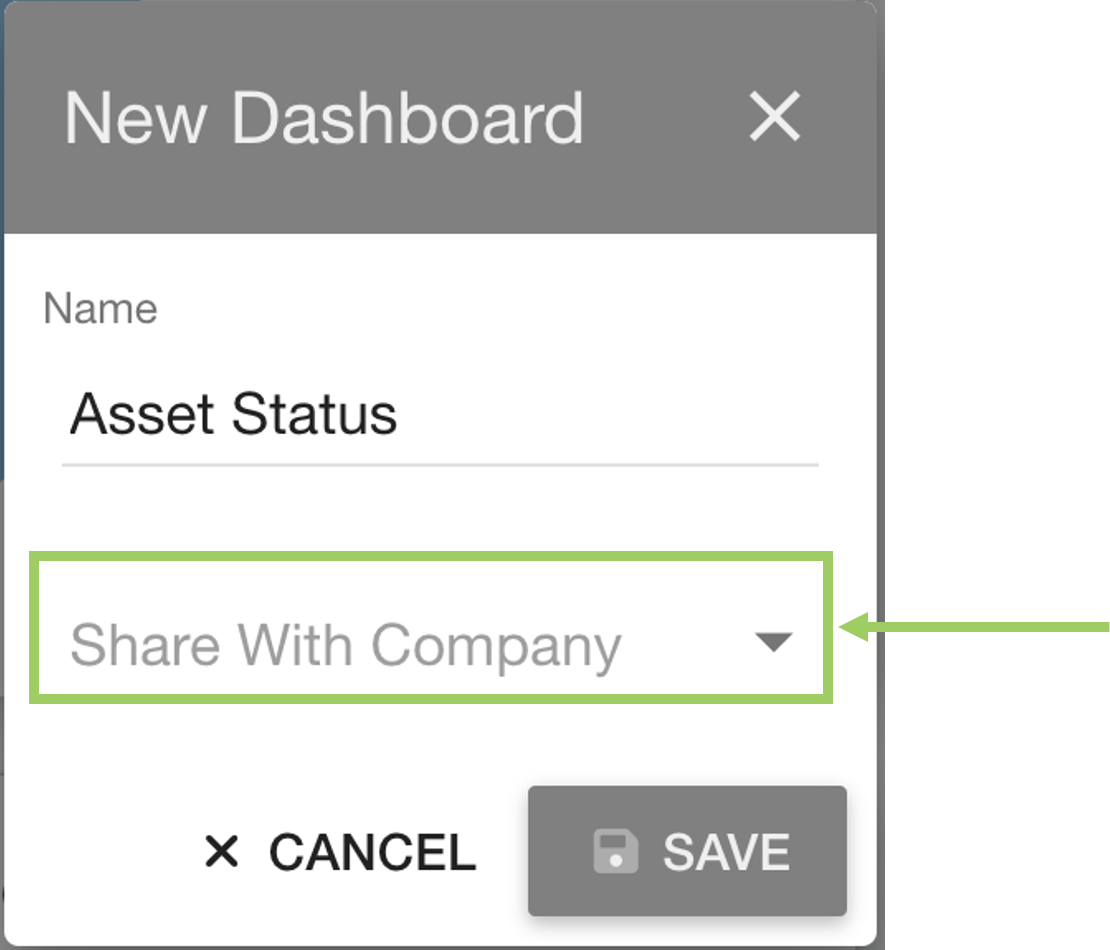
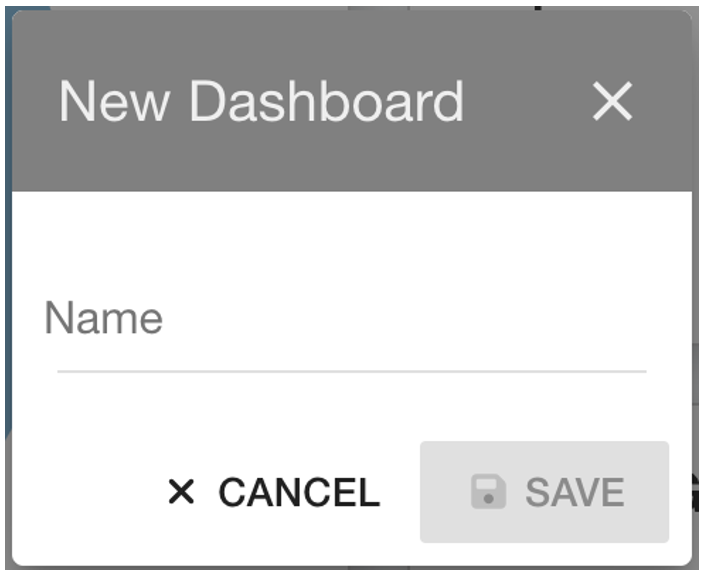
Doing this will open a ‘New Dashboard’ dialog box.
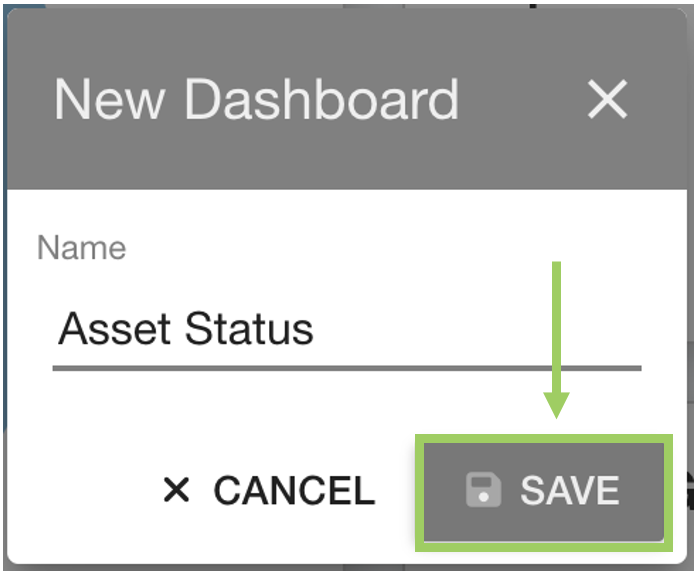
In the ‘Name’ field you should add a name to identify the new Dashboard. | Once complete, click the ‘Save’ button. |
 |  |
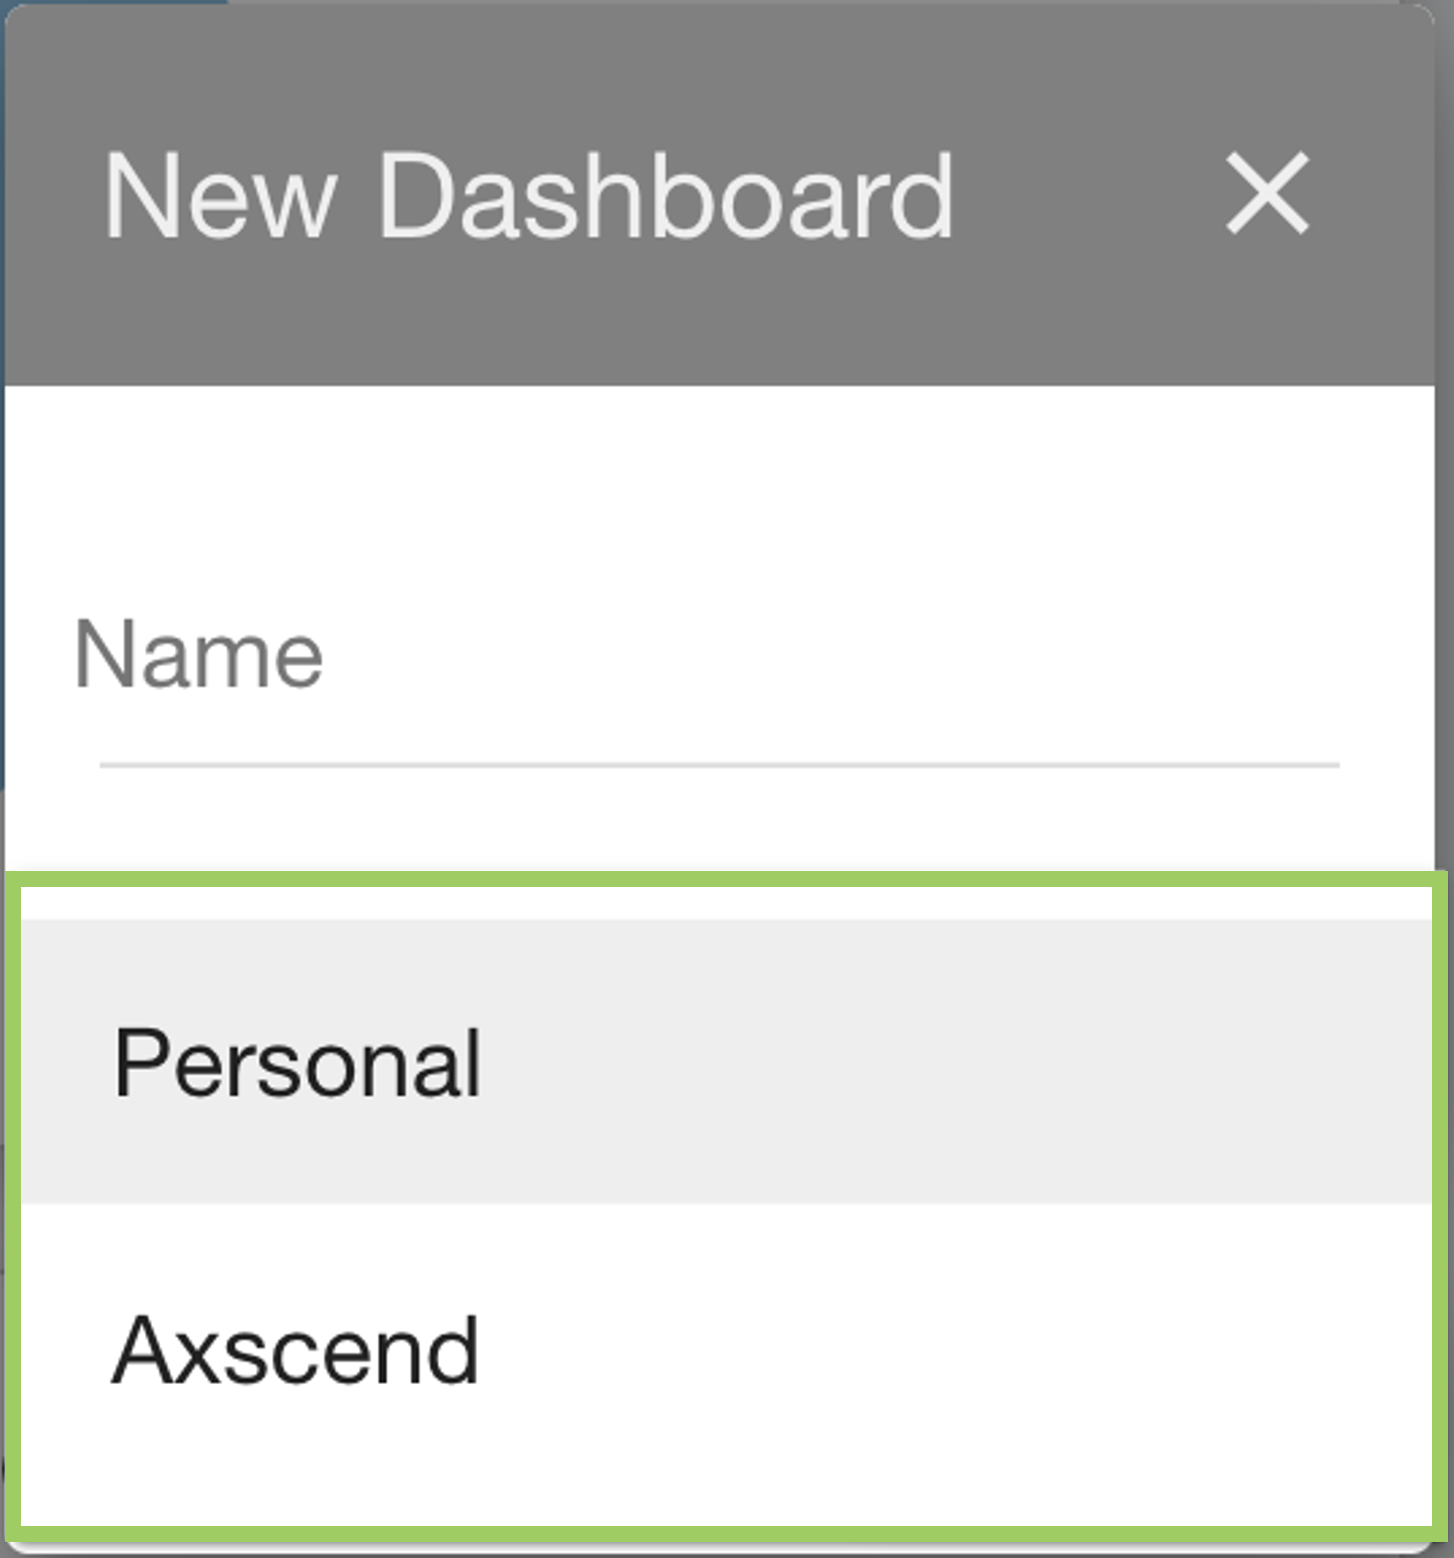
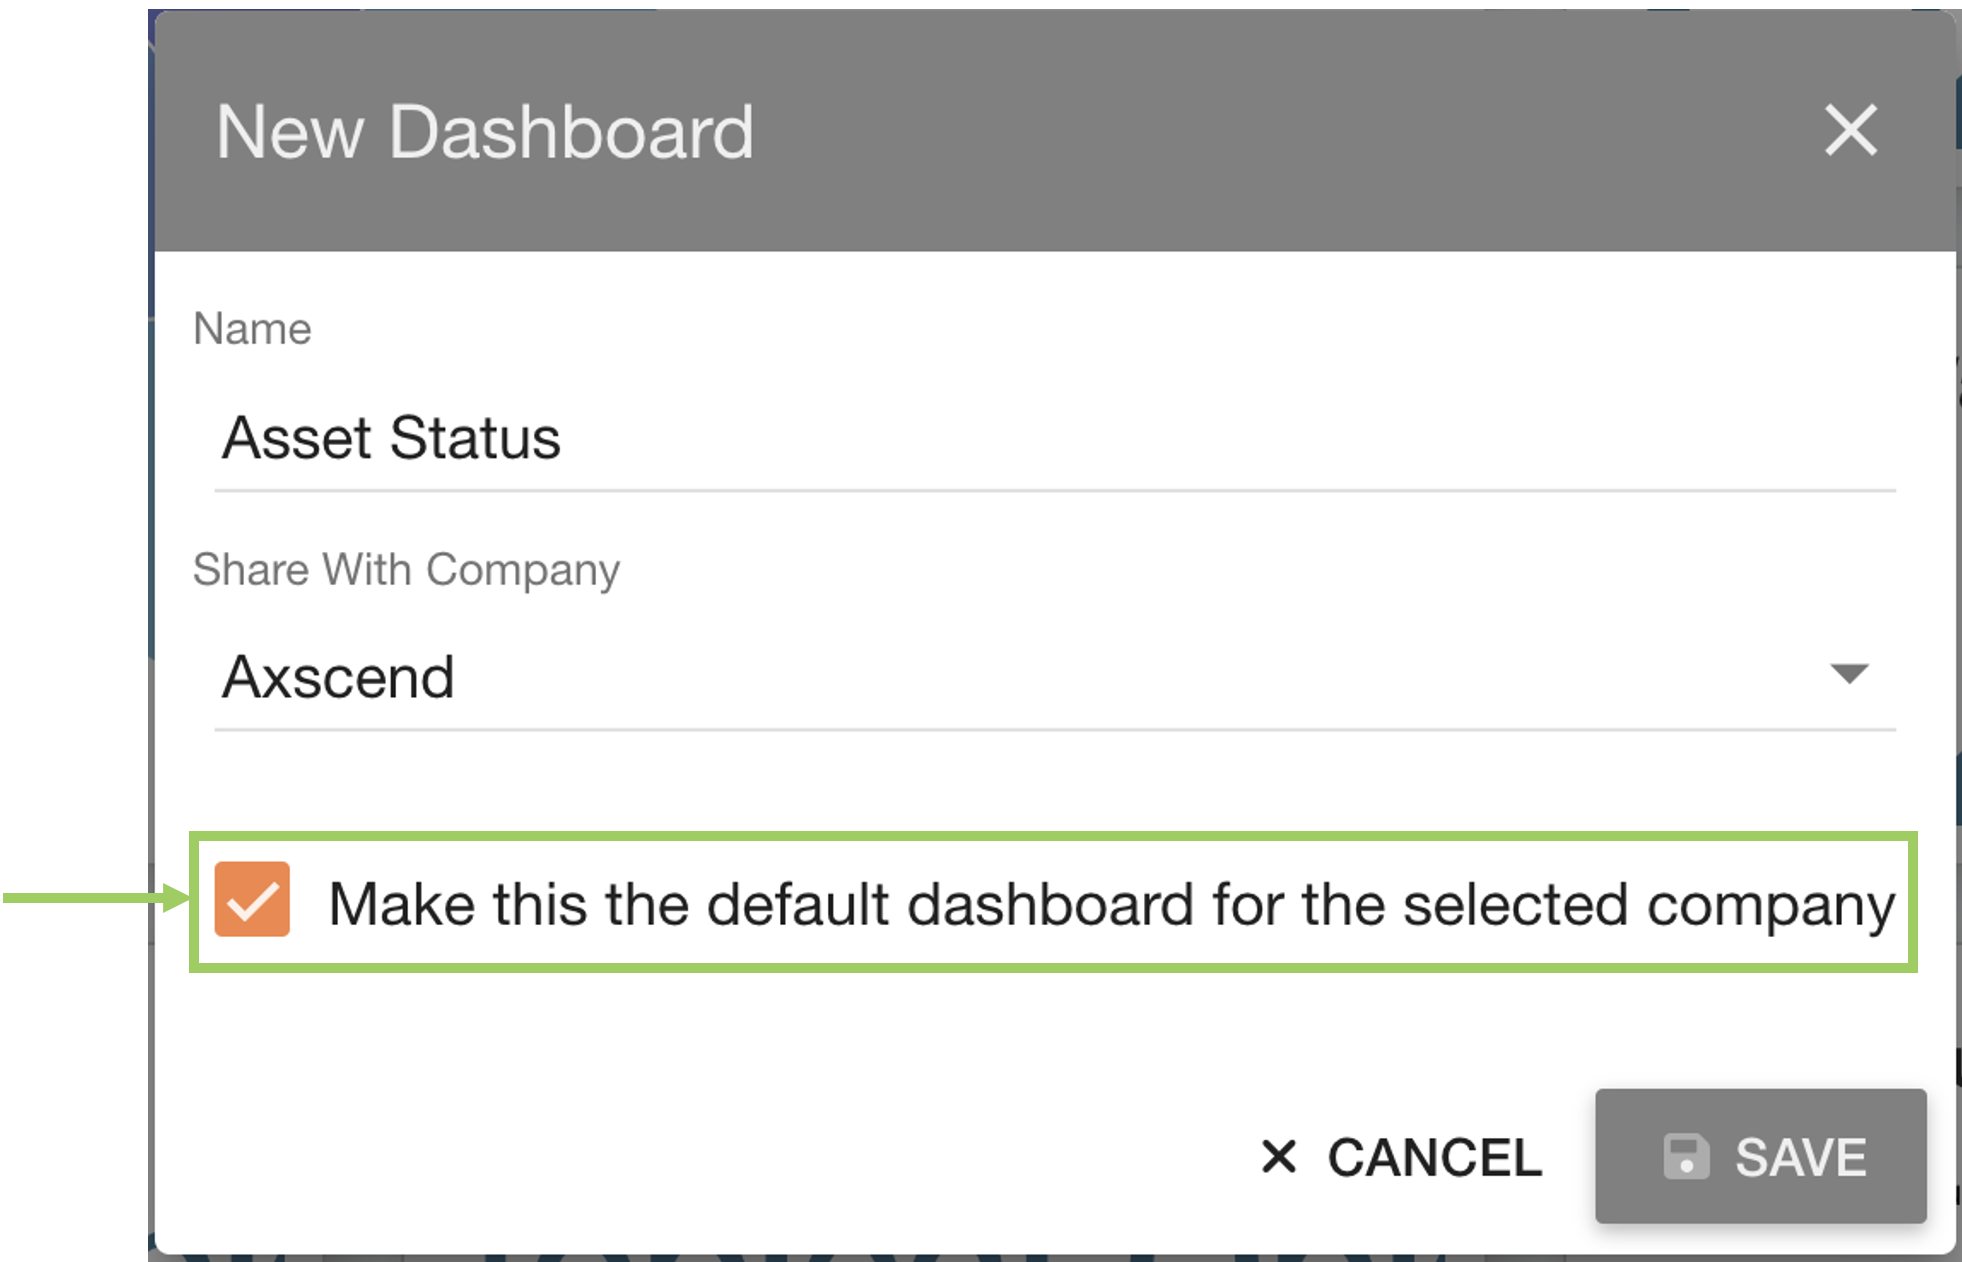
If you have permission to create a company-wide dashboard you will see an extra field called ‘Share With Company’. This field is to specify the scope of the new dashboard, i.e. Personal or Company. | |
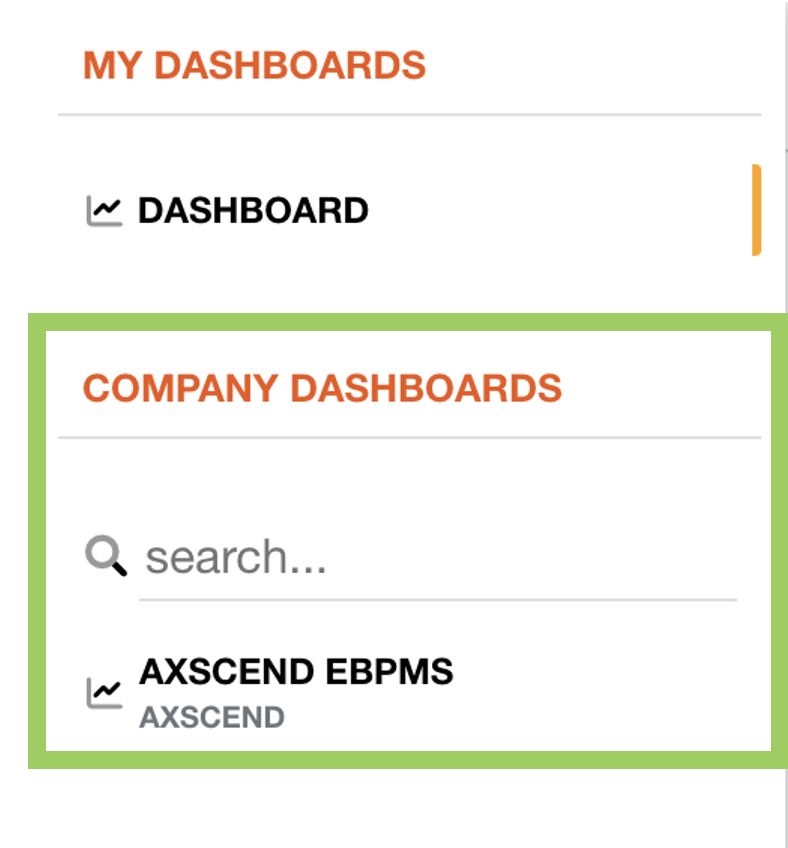 | A company-wide dashboard means anyone from the same company will be able to see the Dashboard in their ‘Company Dashboards' section of their sidebar. |
If required, expand the section below to see more details on how to fill out this field. | |
Once saved, the left sidebar will change to the Widget Selection menu. This is where you can start curating the widgets to be included in your new dashboard.
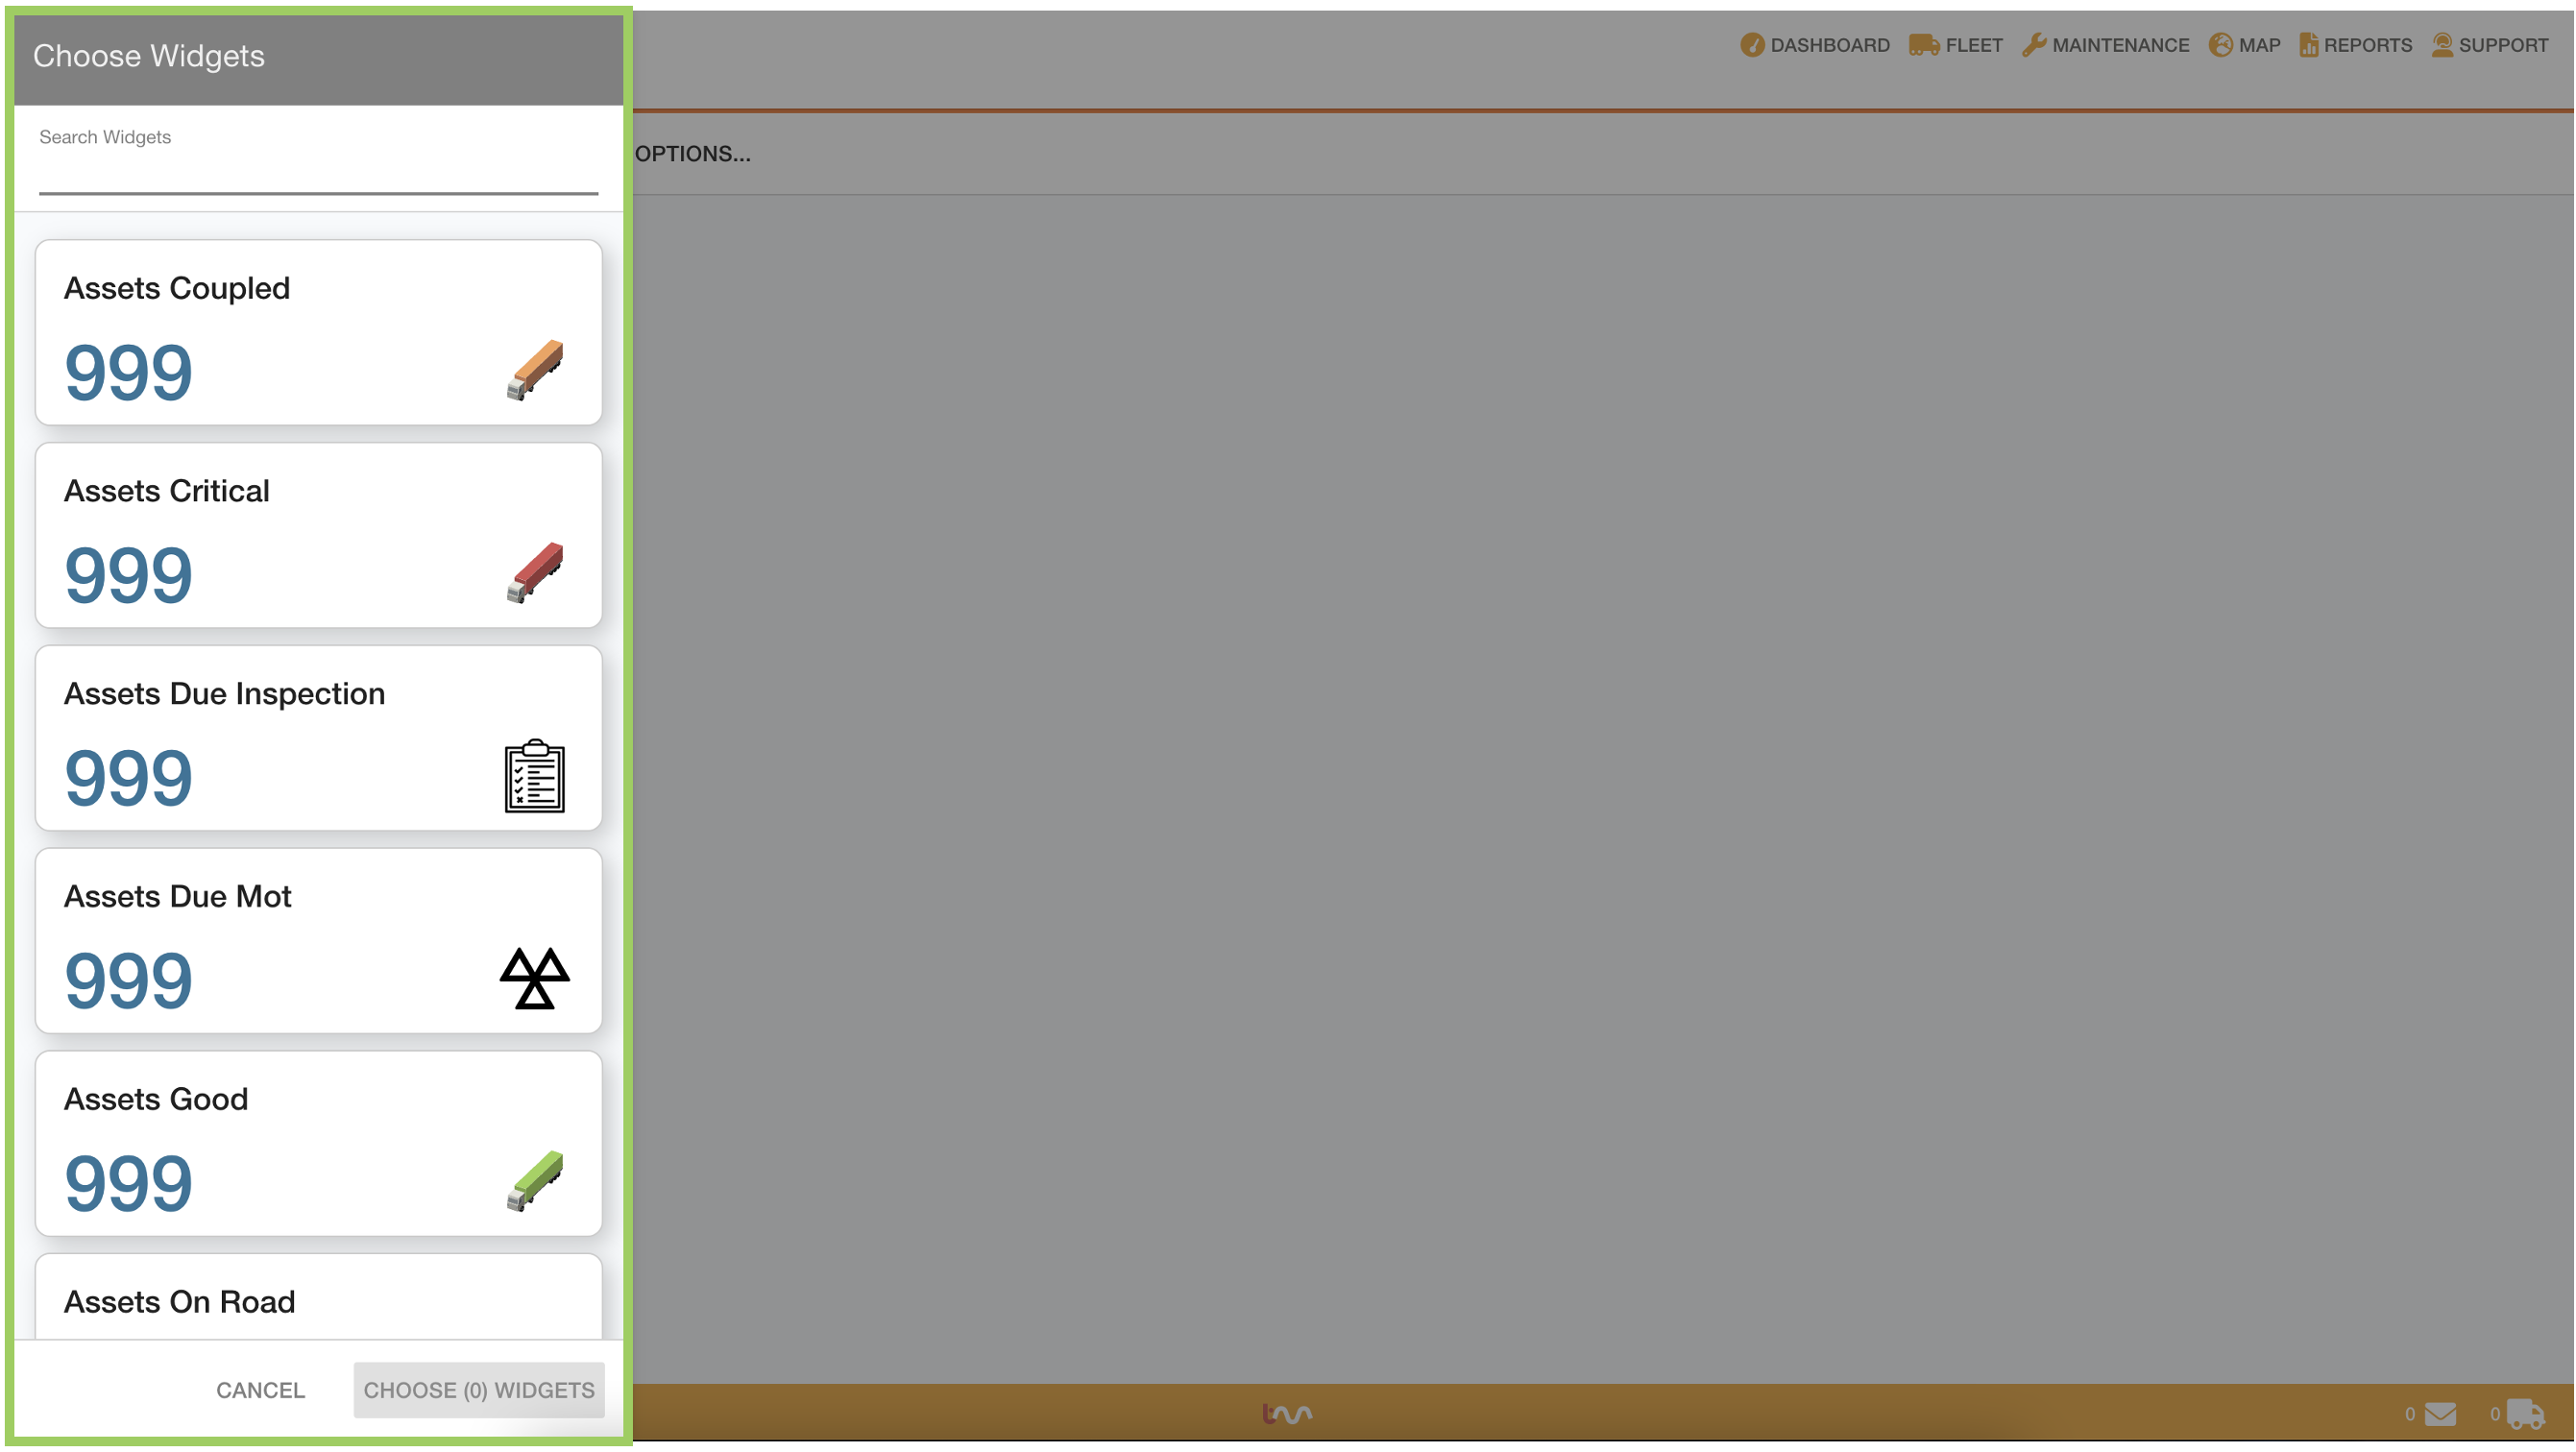
Scroll down the list, or use the search bar for more specific widget suggestions, to explore the available widgets.
Widgets are an on-going development, so check back occasionally to see new widgets available!
Widgets in the sidebar use placeholder values to demo how the widget would look on your dashboard. Widgets usually take the form of charts, tables or total values.
Click on a widget to add it to your ‘cart’ of widgets. Your widget cart is the group of widgets which you have selected, which will be included in your dashboard. | |
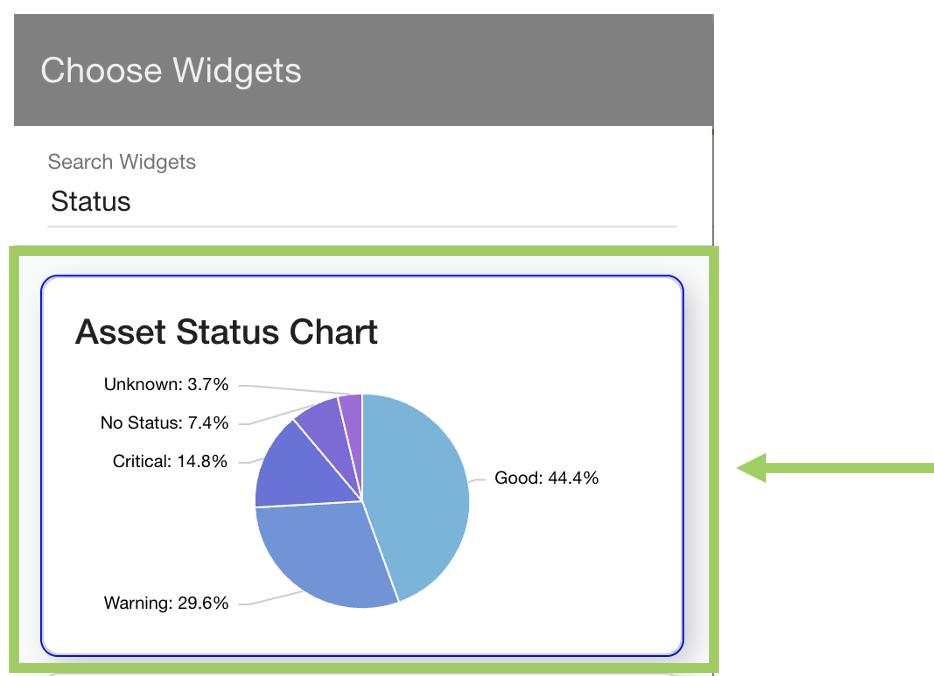 | You will see the widget now has a purple border to show it is selected, and in-cart. |
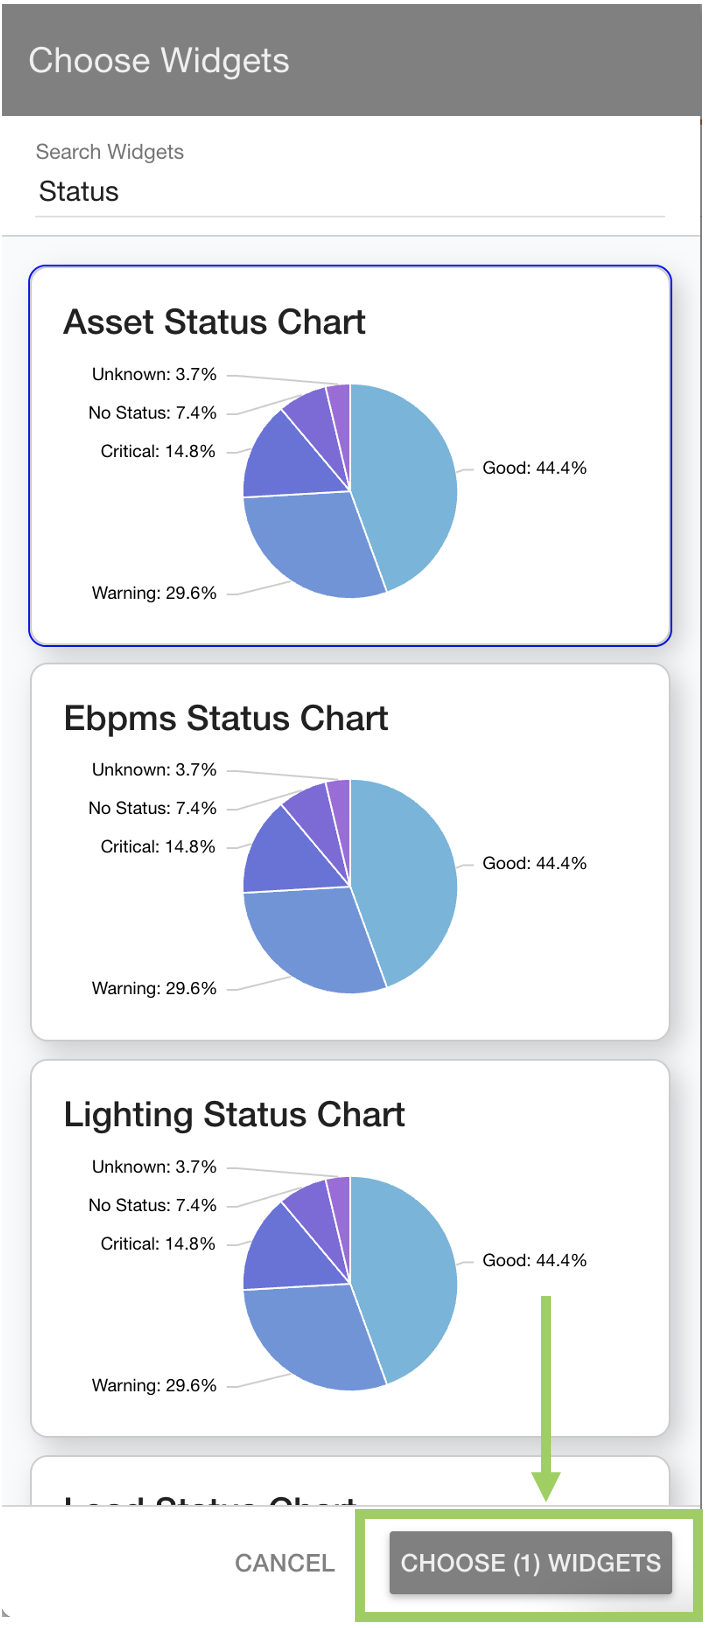 | You will see the number increment at the bottom as you add widgets to your cart. This shows the total widgets selected. |
 | Once all widgets have been selected, click the ‘Choose (xx) Widgets’ button at the bottom of the menu. |
This will save the dashboard. You will now see the new Dashboard in your sidebar.
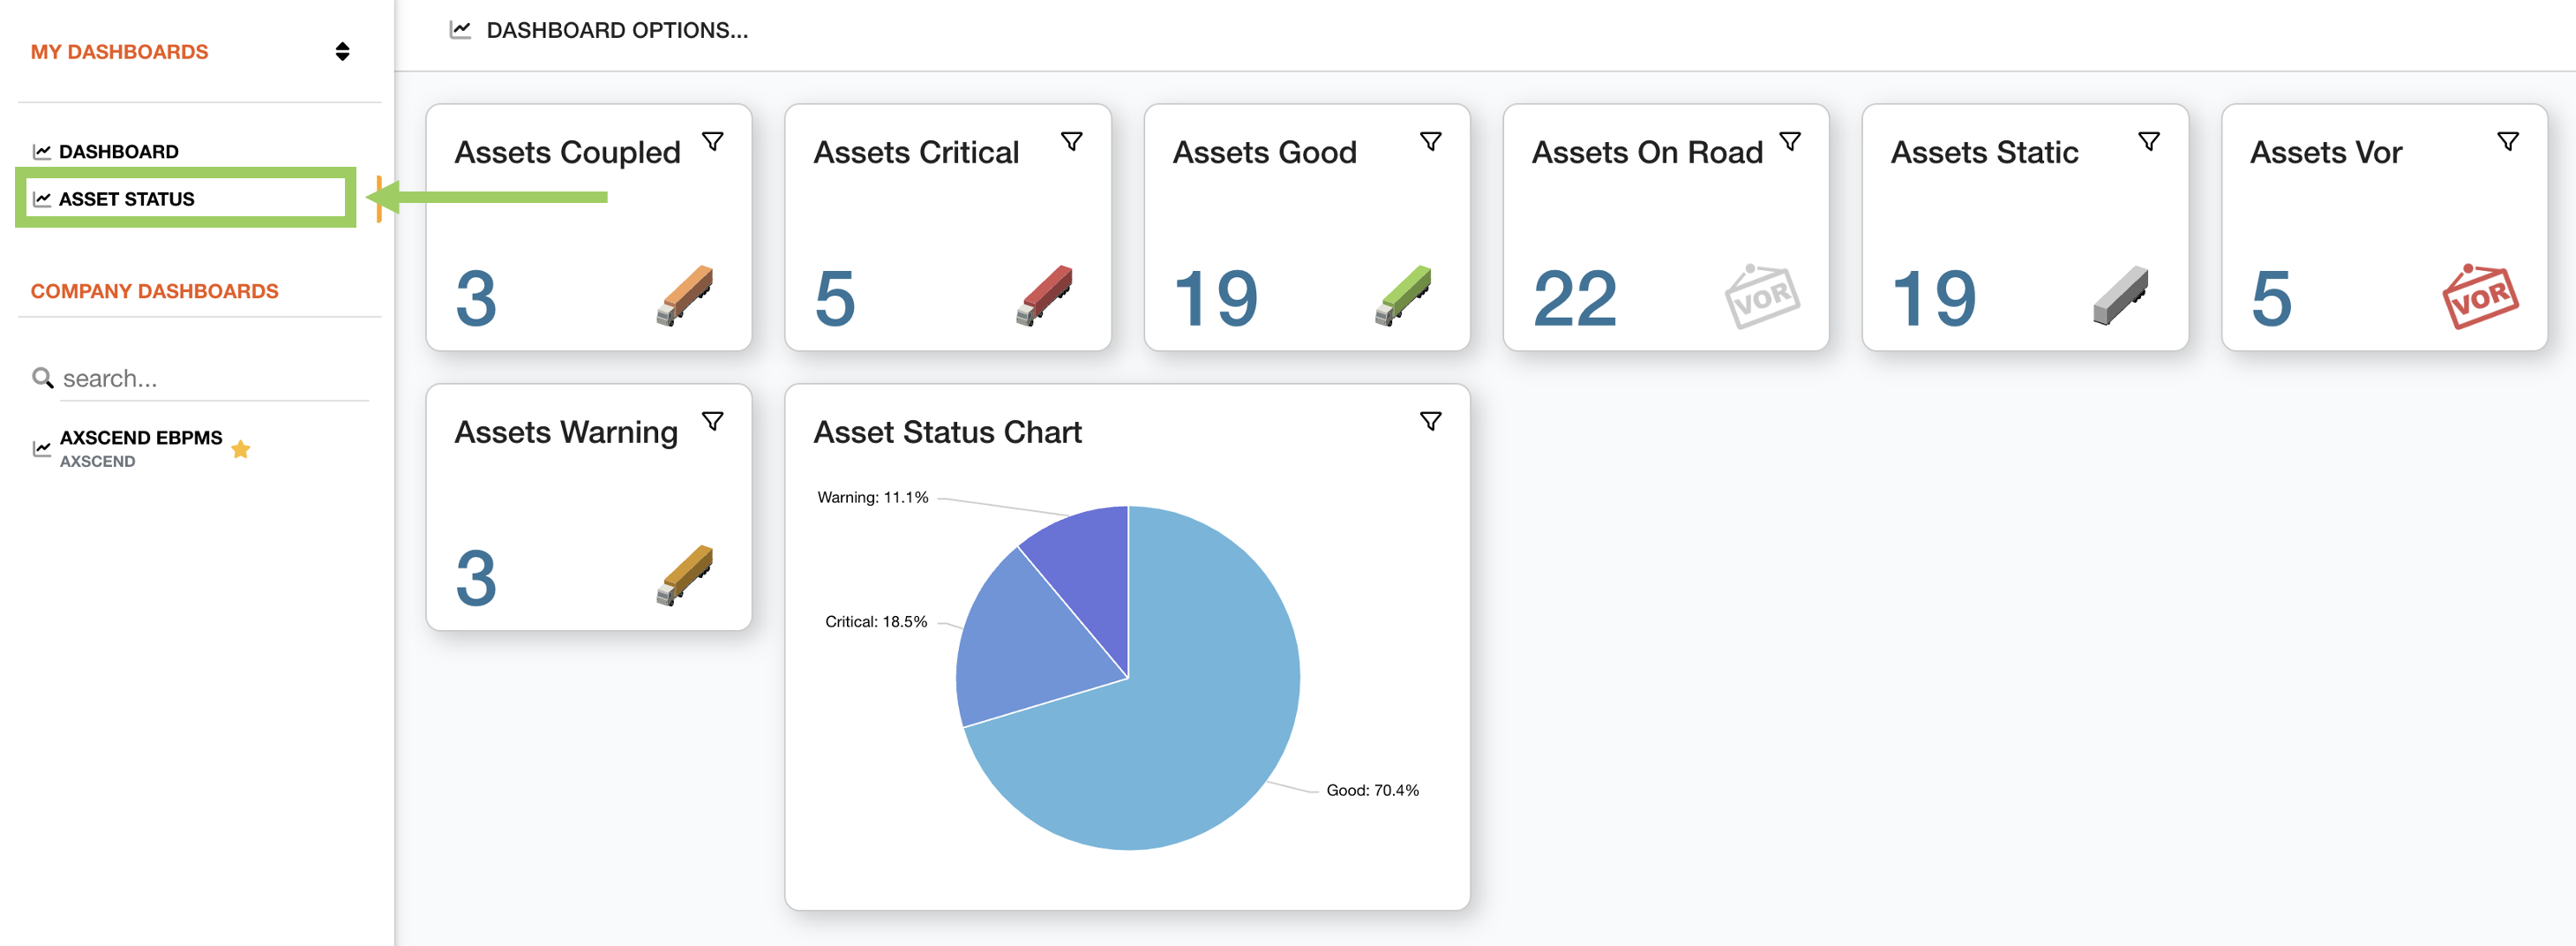
The widgets have been arranged automatically on the grid. To edit the layout of the widgets, see Editing a Dashboard Grid Layout .
 Troubleshooting
For any issues or errors that have not been solved please Contact Axscend Support.
.png)
