Creating New Generic Reports
For support navigating to the Reports page see Generic Reports .
Your reports page may look different depending on whether you already have reports saved or not.
If you have no reports previously saved you will see an empty Reports page, where you can find the ‘Add’ button in both the centre and to the right of the title.

If you do have reports previously saved you will see a grid layout page where you can find the ‘Add’ button to the right of the title.

Clicking the ‘Add’ button will open a popup window to create a new report.
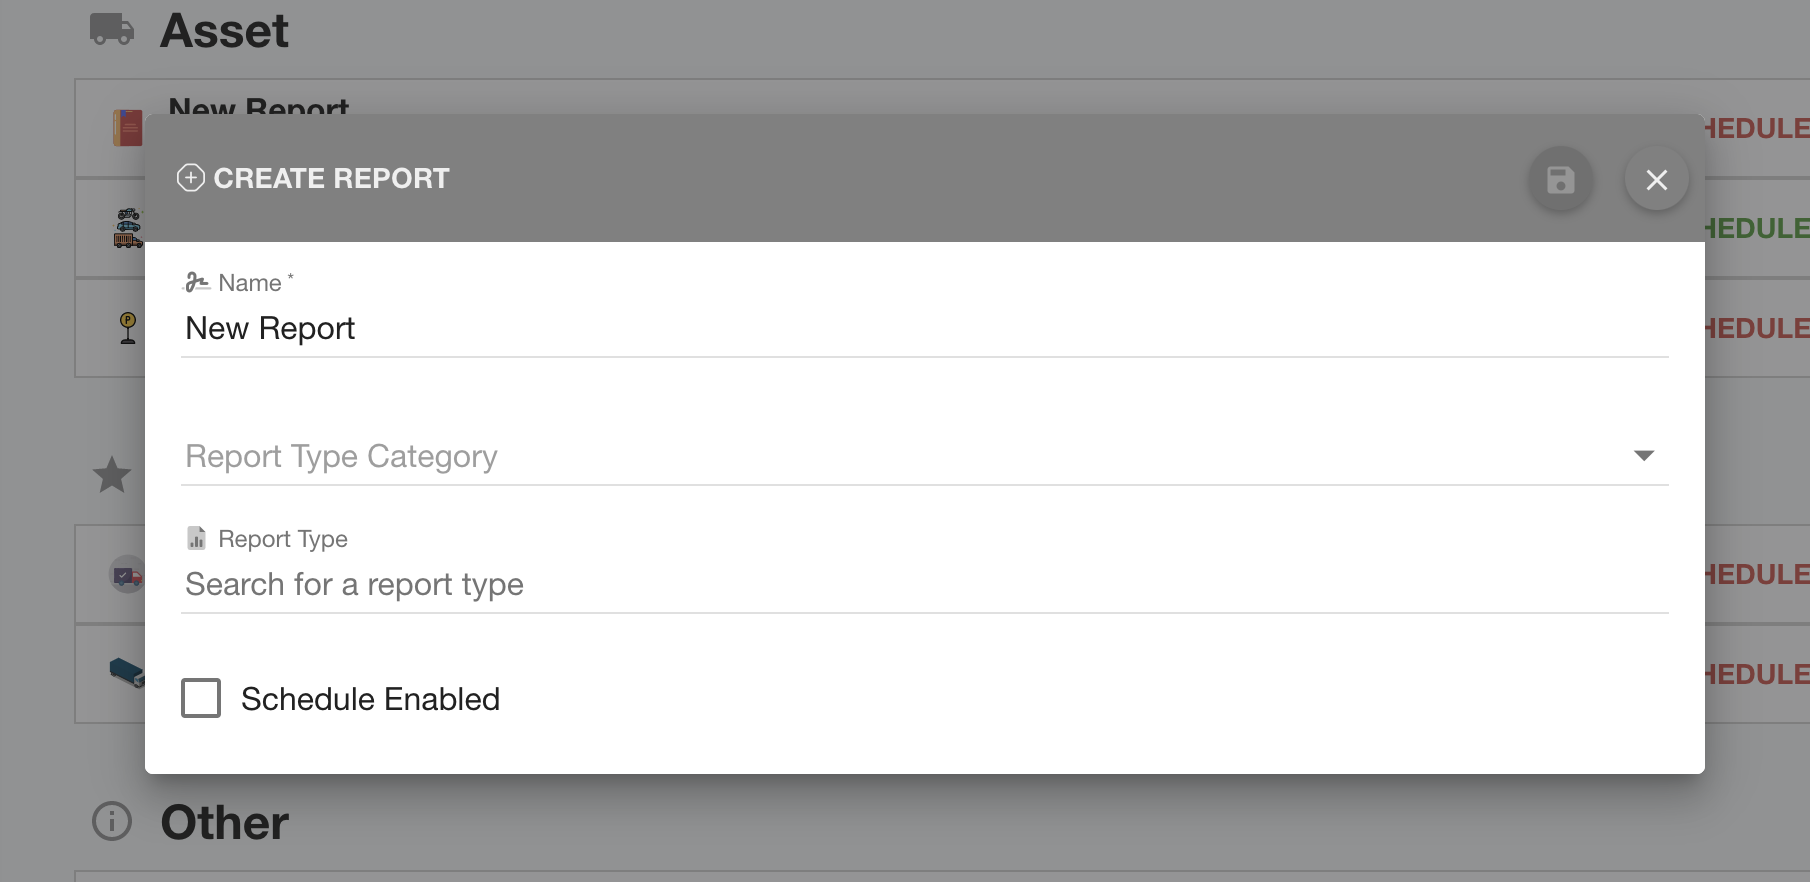
Enter the report name into the Name field, and select the relevant type category of report you want to produce from the Report Type Category dropdown field.
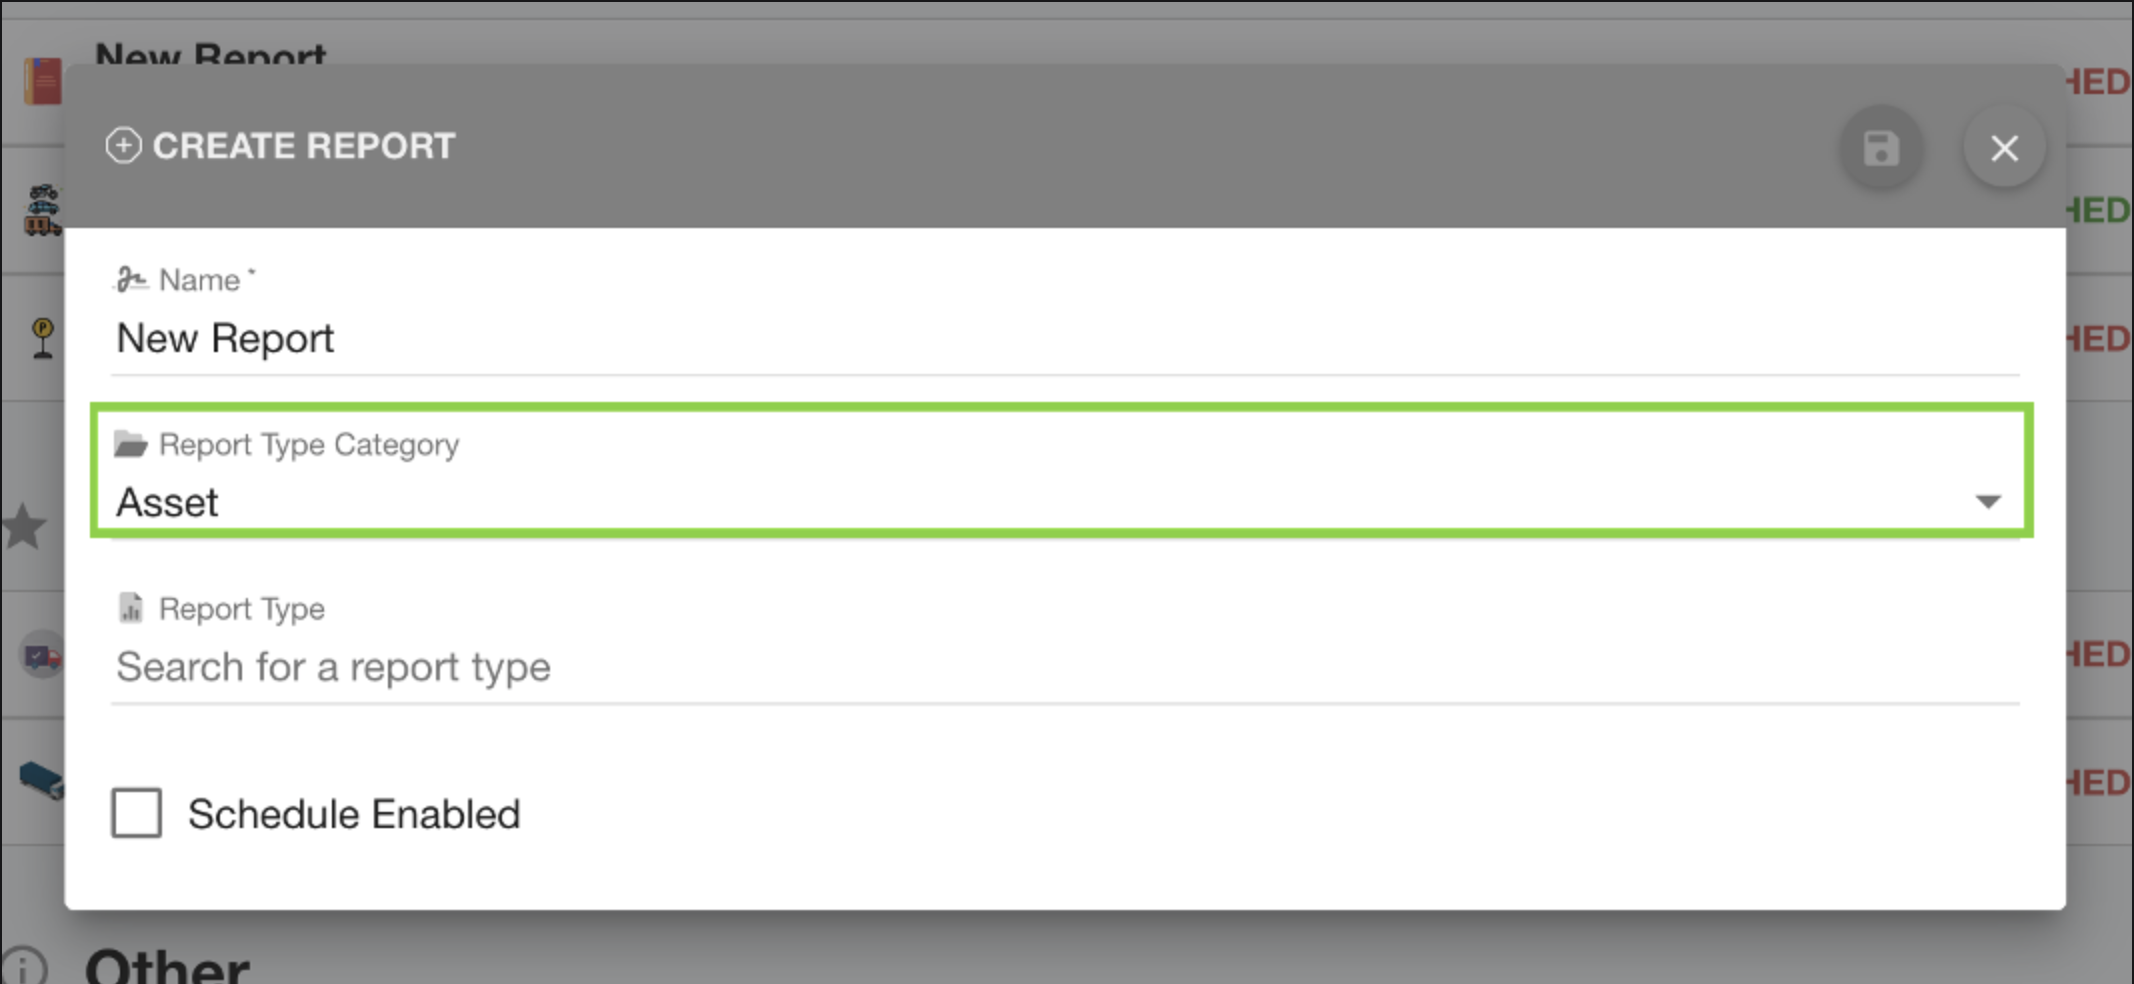
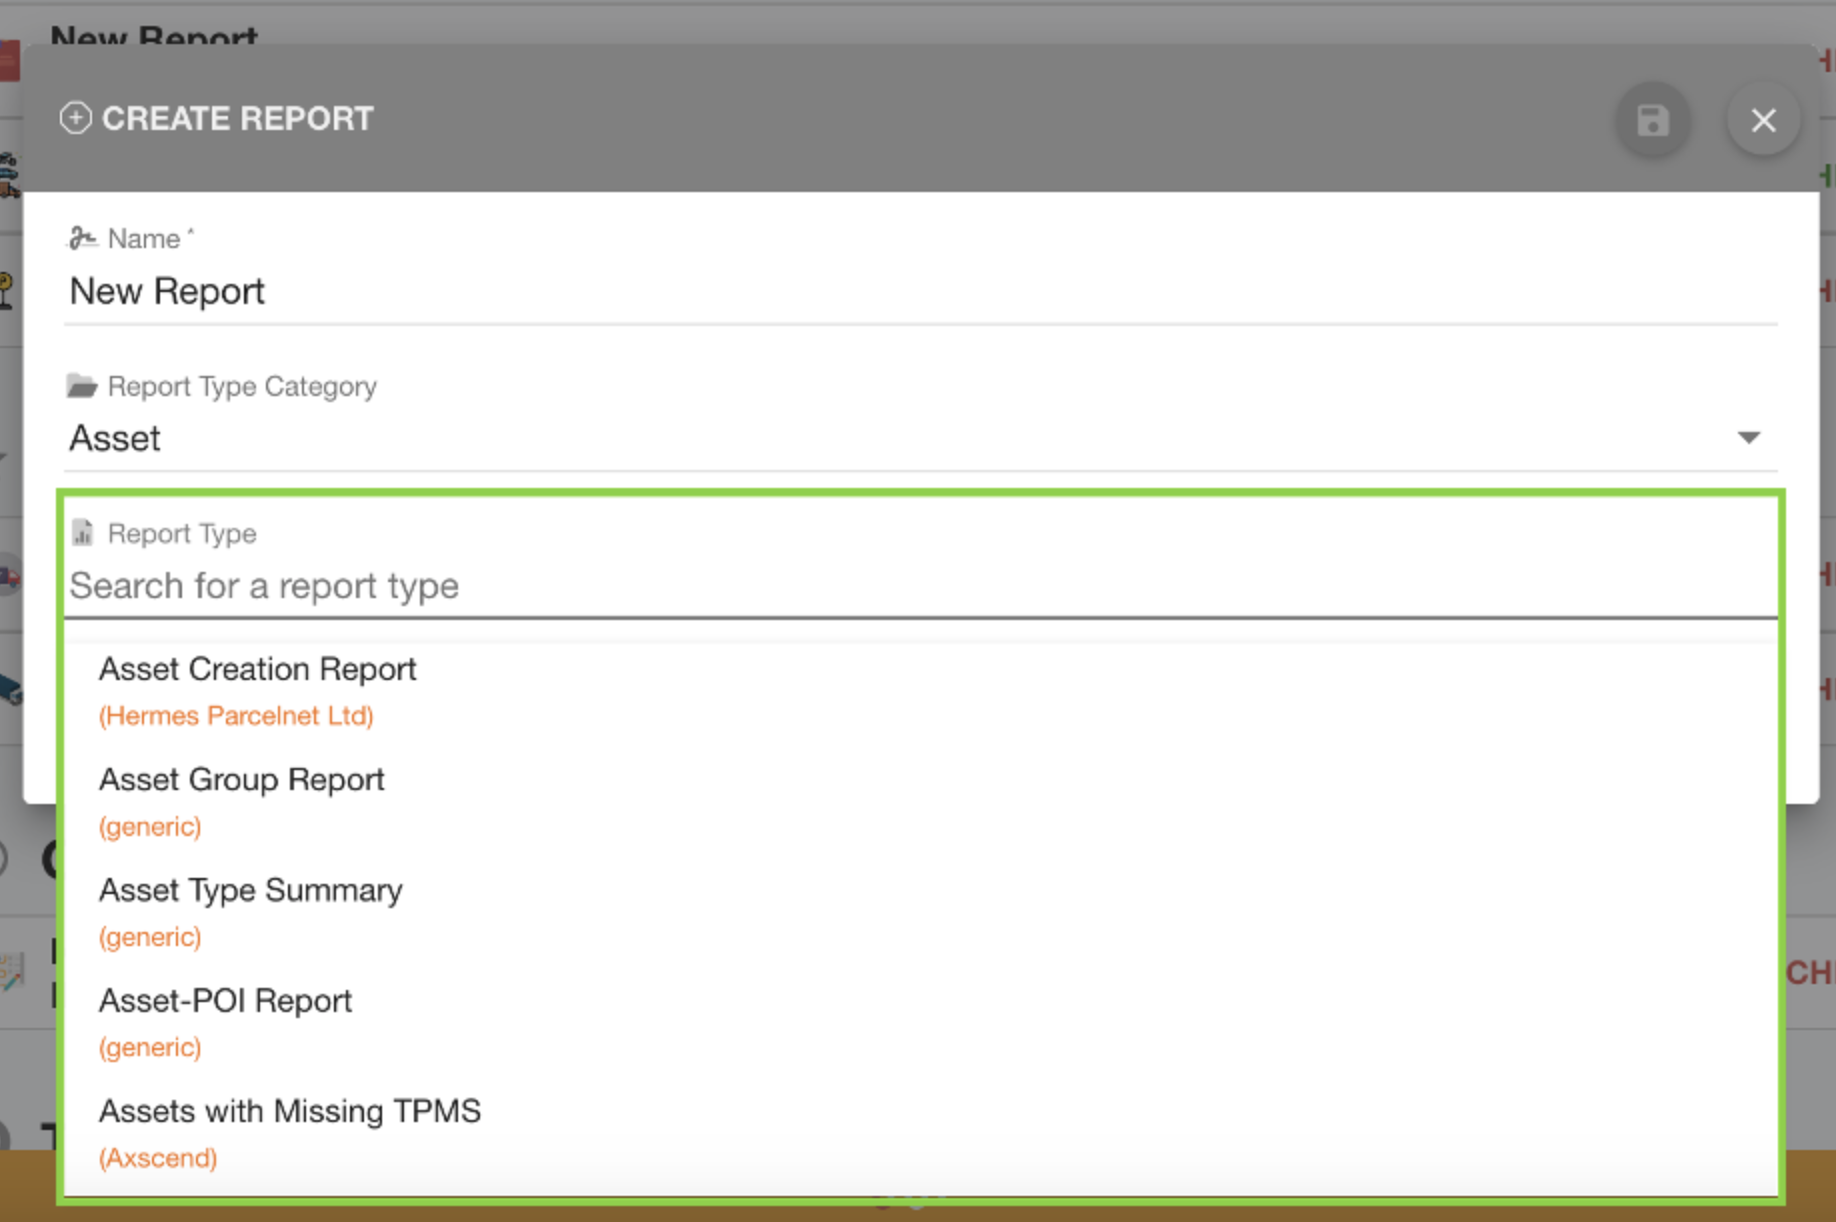
Once you have selected a category, you can select the Report Type field.
A list of available options will appear. You can filter this list further by typing in the field.
Depending on the Report Type you selected, you may have now additional fields to fill out.
For example: | |
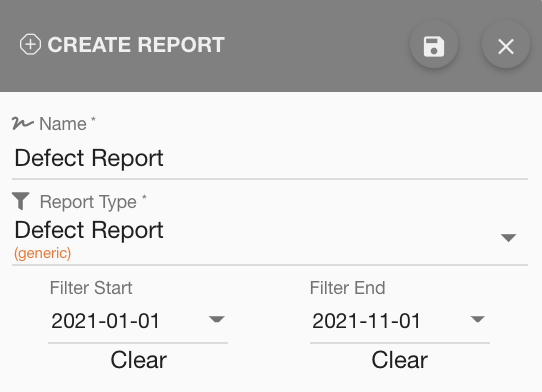
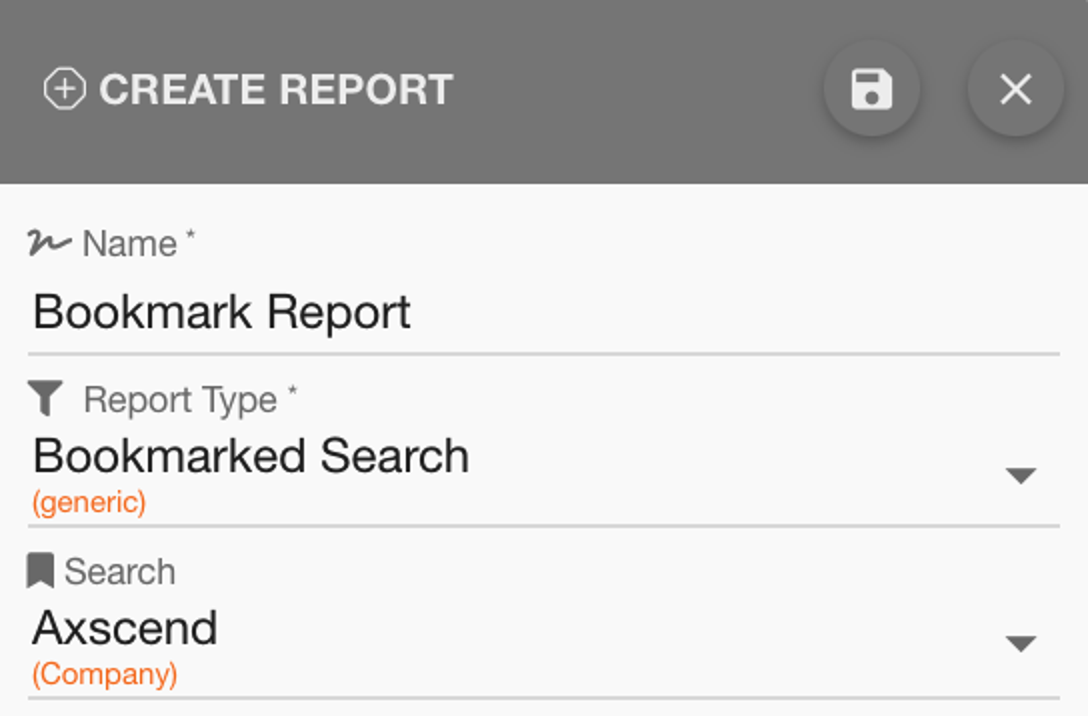
Defect reports ask for a start and end date. Click on the fields to open the date pickers and select the relevant day from the calendar. | Bookmark search reports asks you to select a specific bookmark. Click on the field and use the dropdown of bookmarks to select. |
 |  |
Scheduling Reports
You can either schedule the report or keep it unscheduled. Scheduling the report means a copy of the report will be emailed to selected users on the start time you define and will repeat after X amount of time has passed.
To keep the report unscheduled, keep the ‘Schedule Enabled’ checkbox unticked. Find out more about downloading instant reports at Downloading A Generic Report .
To set the report as scheduled tick the ‘Schedule Enabled’ checkbox. This will make several new fields appear below the checkbox. Fill the fields under the checkbox to complete the schedule. |  |
Select a time for the report to start. | Select a frequency for the report to repeat. |
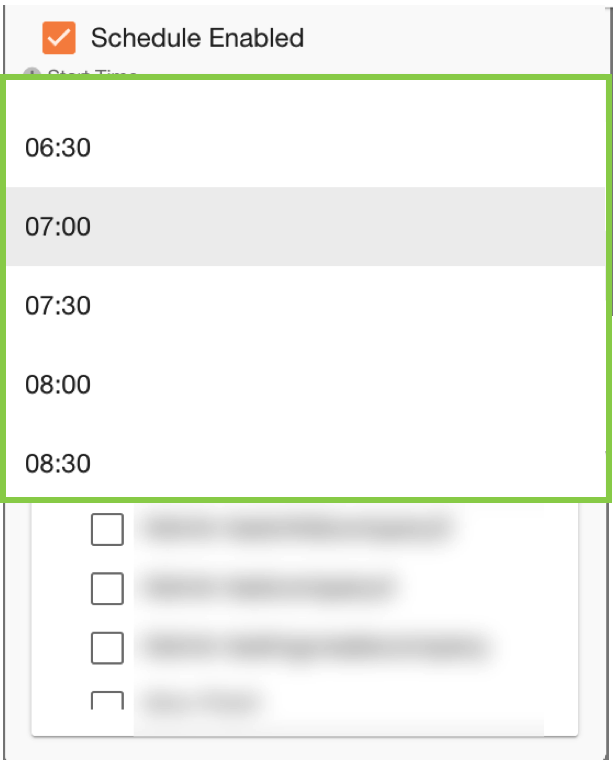 | 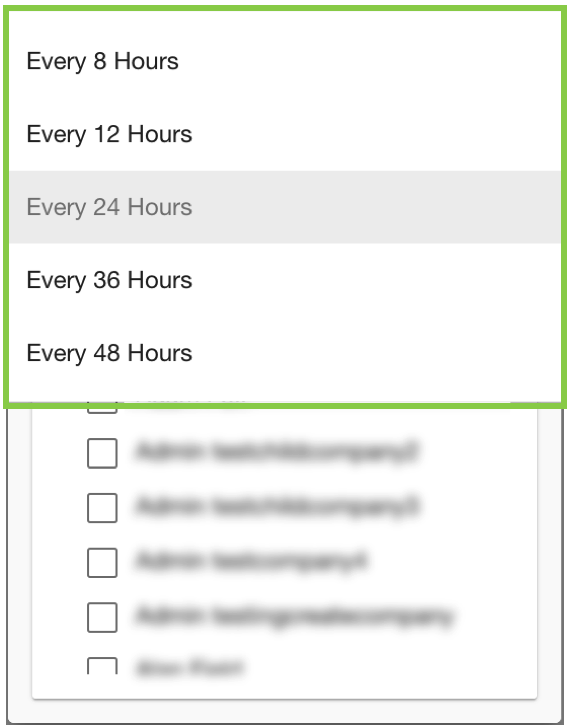 |
Selecting the report to start at 7am with a frequency of every 36 hours would mean the next report would be sent at 7pm the following day.
You can choose which users will receive the report by email by scrolling through the list of users or using the search bar. Use the checkbox next to users to assign them to the new report. The new user will now appear in the grey box to the right under ‘Selected recipients’. Ensure the selected users are authorised to see the same assets as you. The report will be sent from your account, so will generate a report of all assets you have access to, and send a copy to selected users. If you would like these users to have the report for only the assets they have access to, you will need them to create the report on their account. | 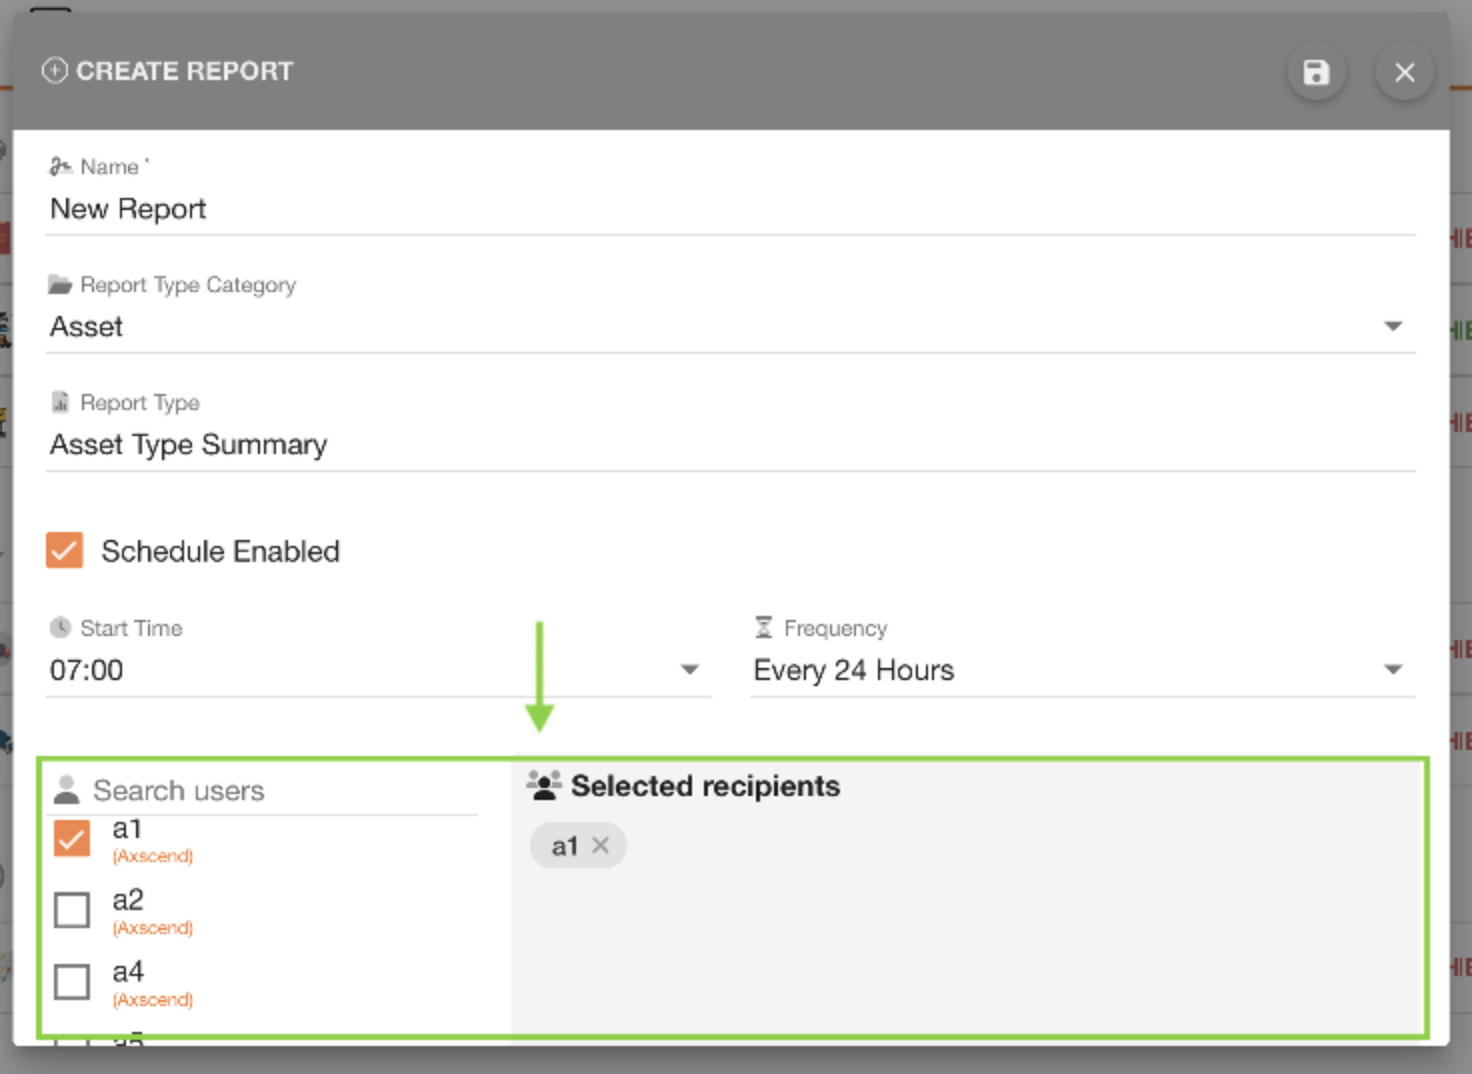 |
Once you have configured all options you can save the report by using the ‘Save’ 💾 button on the toolbar of the popup window. | 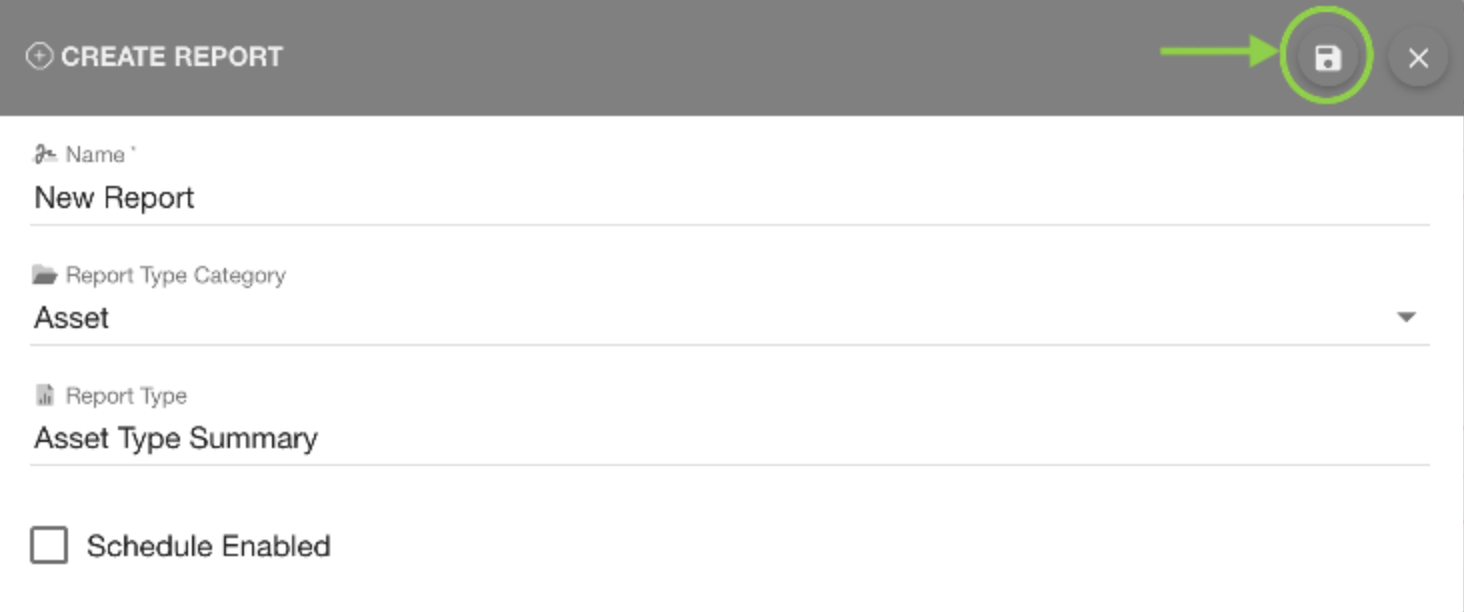 |
After saving, the new report will now appear on your Reports screen.
 Troubleshooting
For any issues or errors that have not been solved please Contact Axscend Support.
.png)
