Skip table of contents

Asset Dashboard - Finance Section

The Finance Section of The Asset Dashboard allows you to see all the financial records related to the asset.

If the Finance section is not visible in your asset's dashboard, it is possible that your company has not enabled this feature.

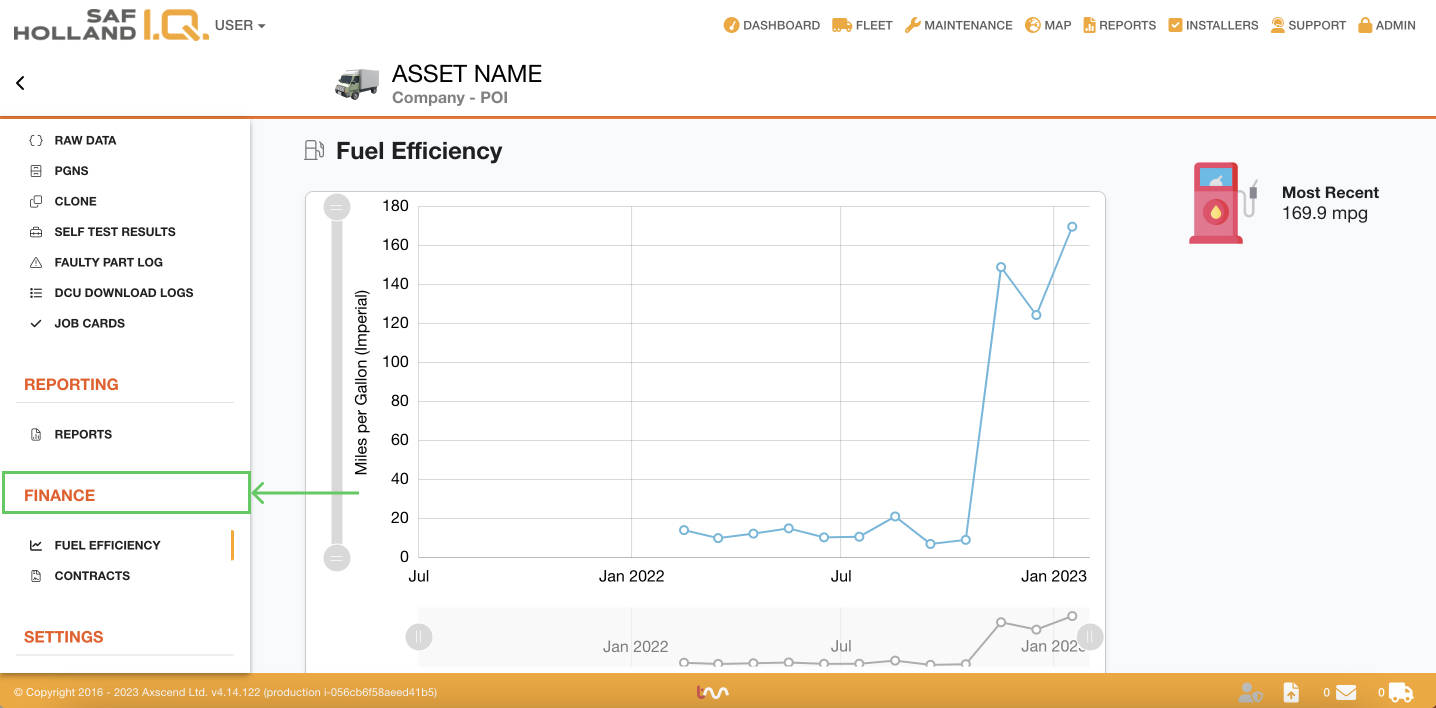
To navigate to the Finance section, ensure you are on the Asset Dashboard of the asset you want to view.

Click on any header under "Finance" on the left sidebar of the Asset Dashboard to open the Finance page.

You can have varying section headers in the Finance section, such as Finance Records and Fuel Records, based on your level of access. To adjust your permissions, consult your line manager.


Finance Summary

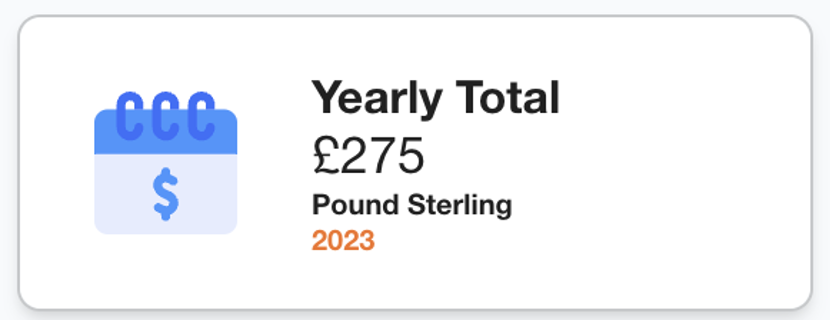
The finance summary summarises the total cost of the assets finance records over a year, a quarter, month to date, and a custom range.

Each widget shows the:

  • Title

  • Total

  • Currency

  • The date range applied to that widget.

Applying custom filters to the widgets

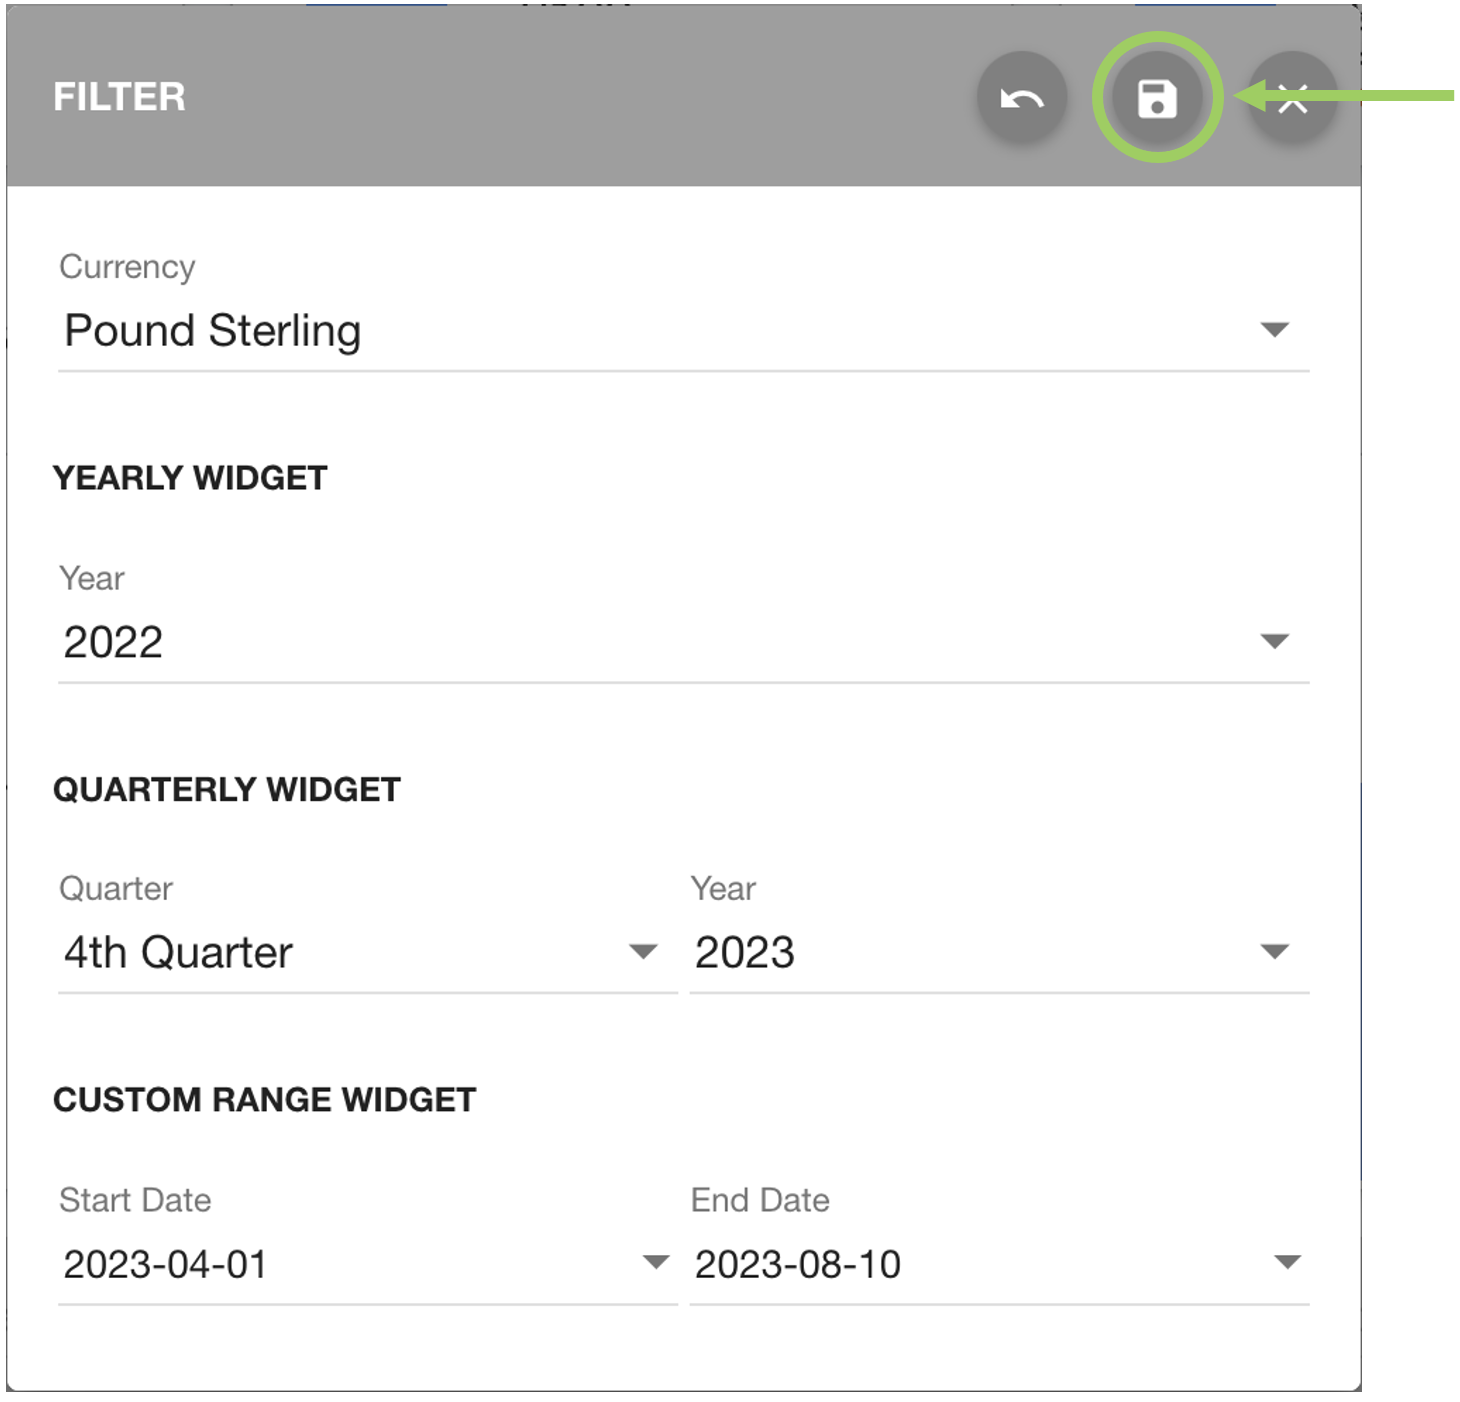
You can edit the date ranges used to create the widgets by clicking the filter icon.

After adjusting the ranges in the field, click save in the top right.

The widgets will now update.

Resetting the widgets to their default settings.

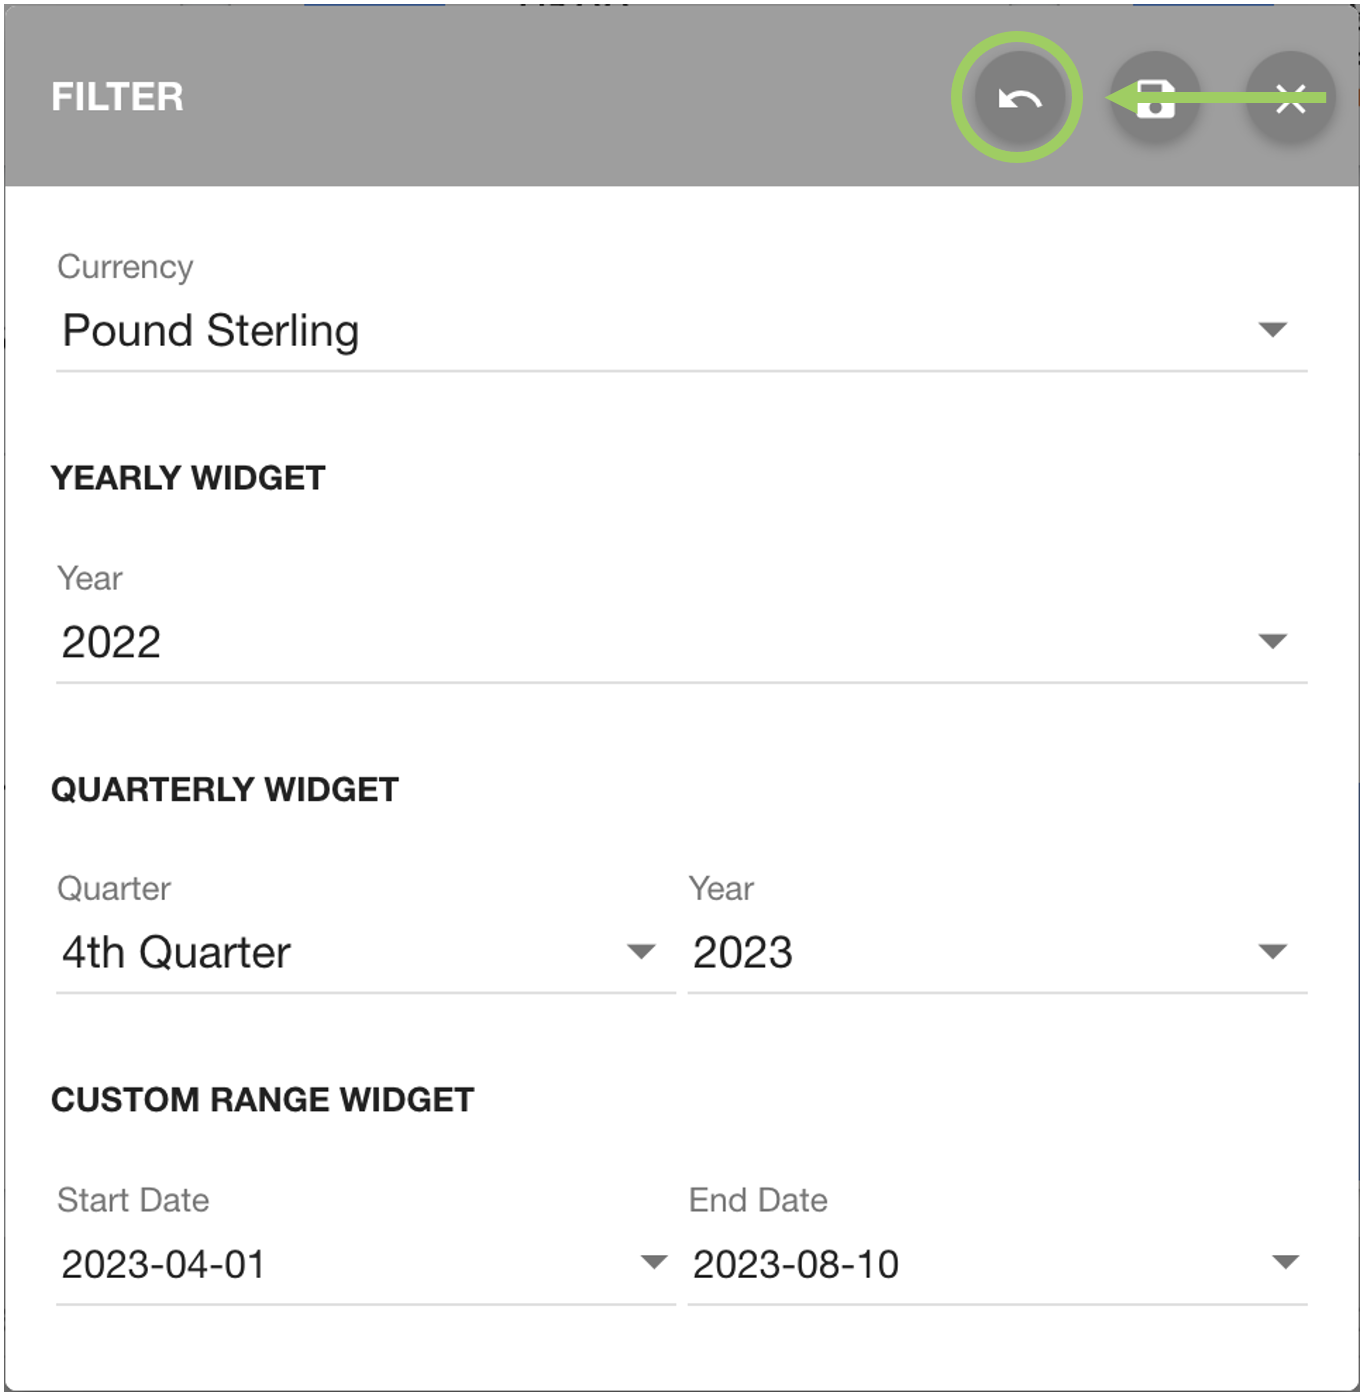
You can return to the default settings by clicking the reset button in the top right corner of the filters dialog.

Click the save button again to update the widgets back to the default settings.

Your widgets will now revert back to the default settings.

Switching currencies

Each finance record will have an associated currency, defaulting to GBP.

When you change the currency filter in the widget settings, it will not convert the GBP total to the second currency. Instead, it will display the total of finance records associated with the second currency.

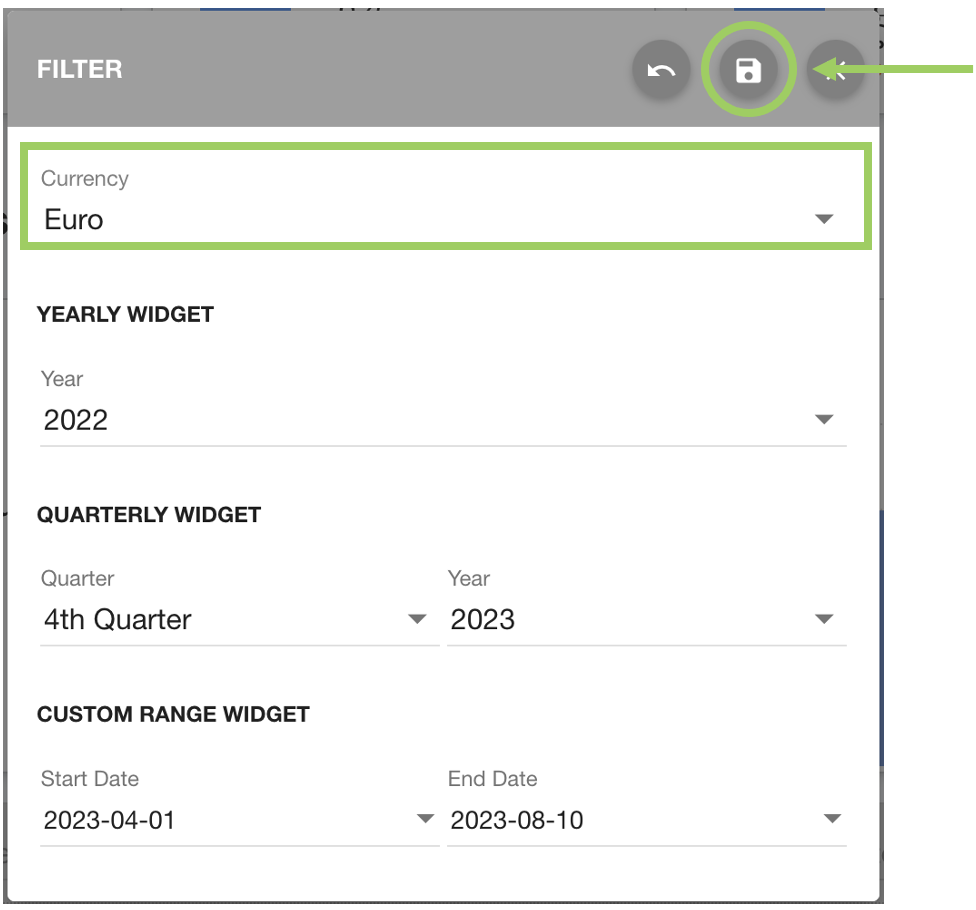
You can switch the currency of the widget in the filter dialog. Then click save to confirm the selection; this will refresh the widgets.

Your widgets will now be in the selected currency.


Finance Records

The finance records section can be used for managing finance records associated with the asset.
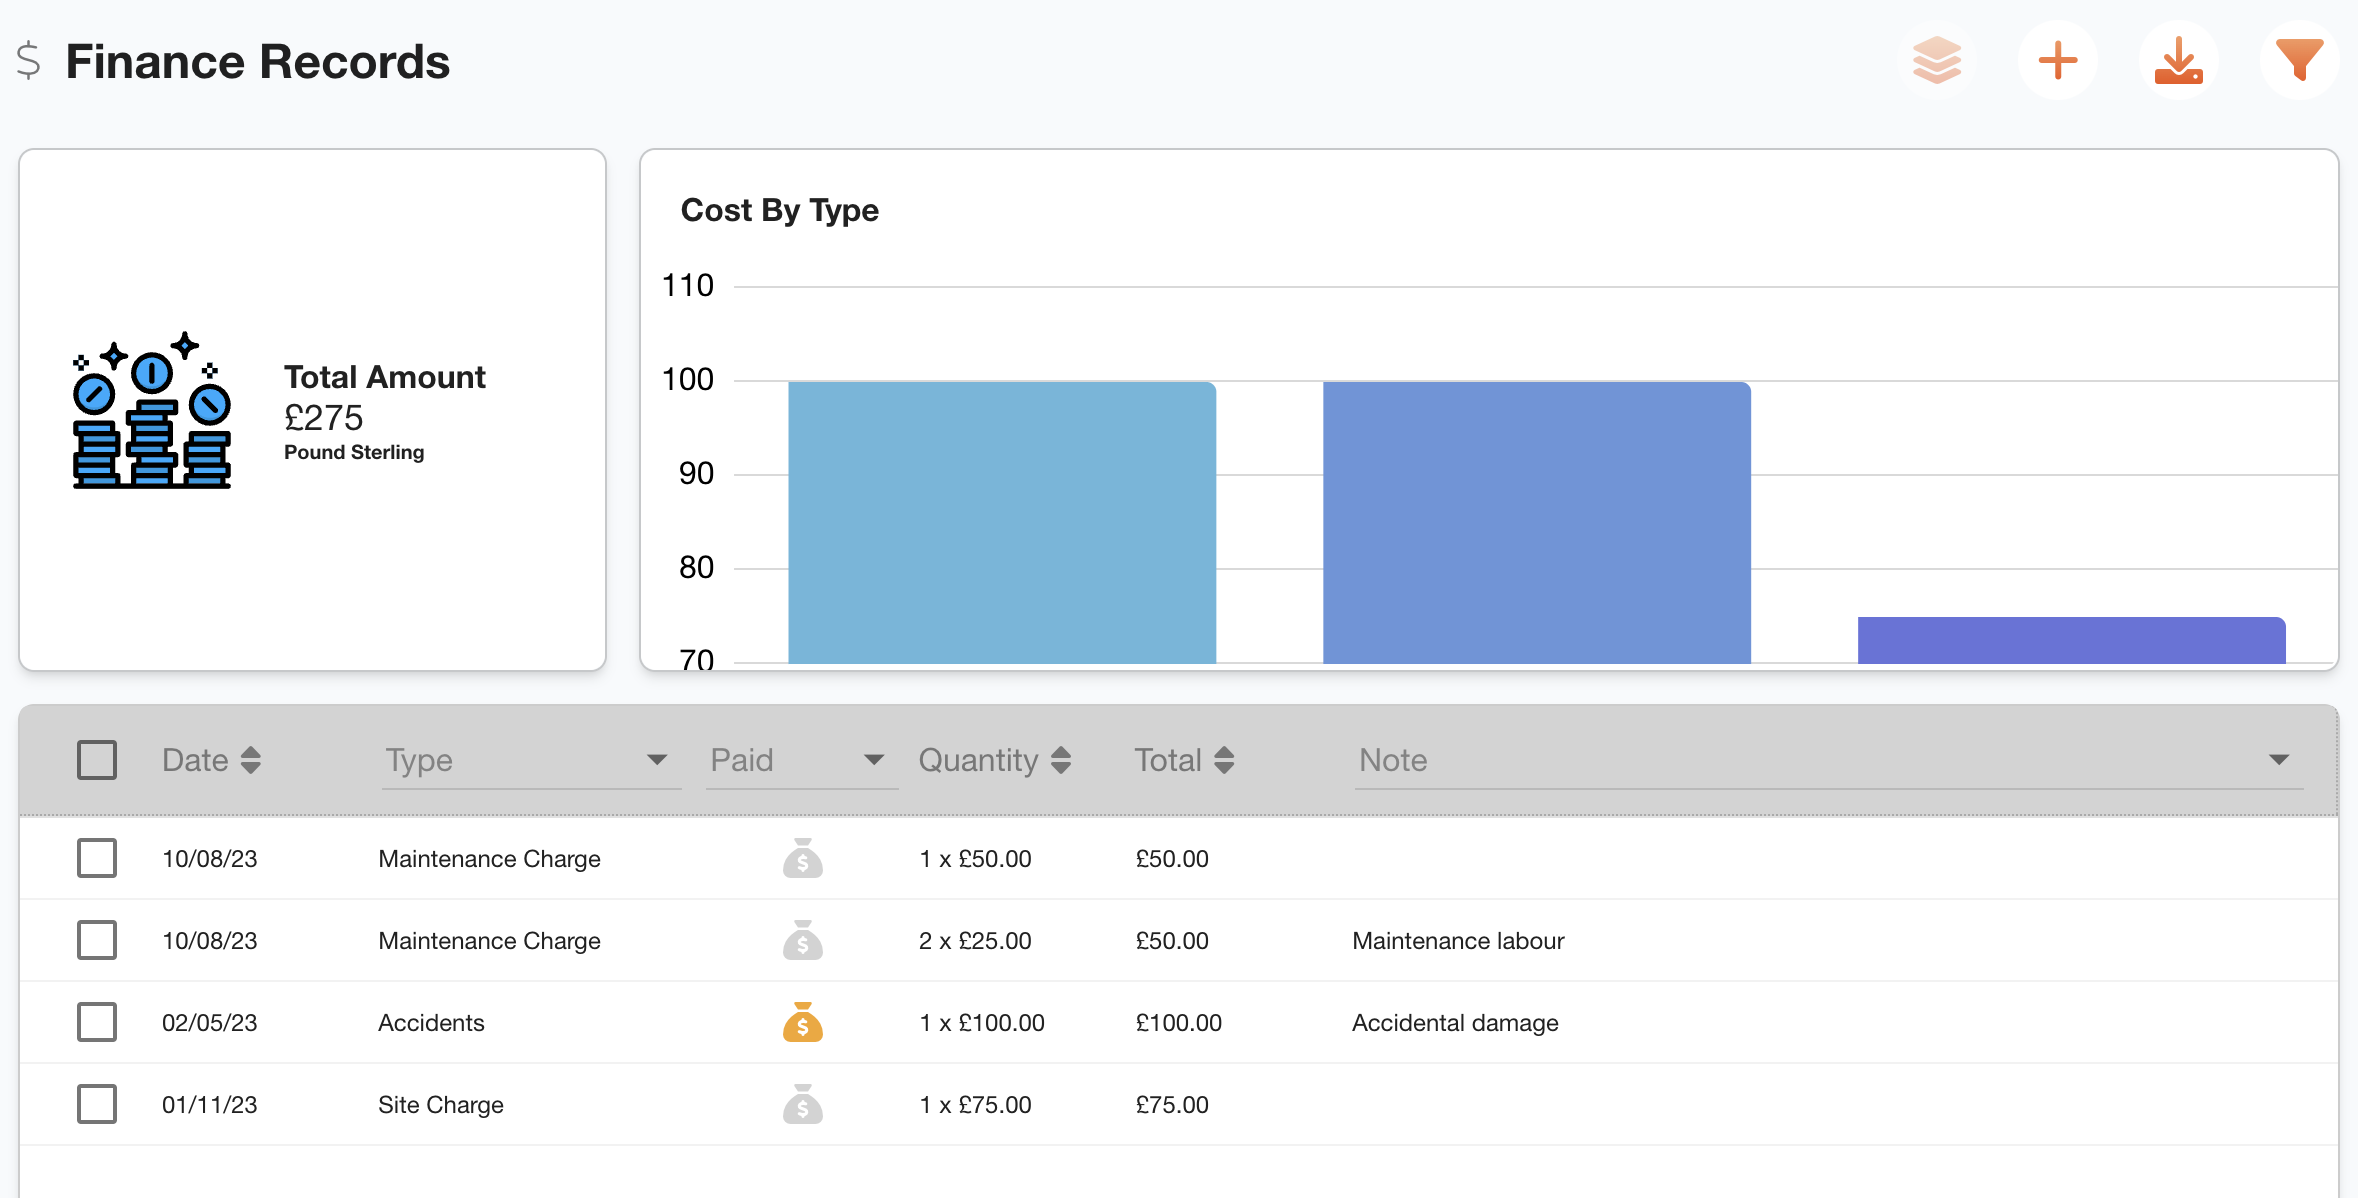
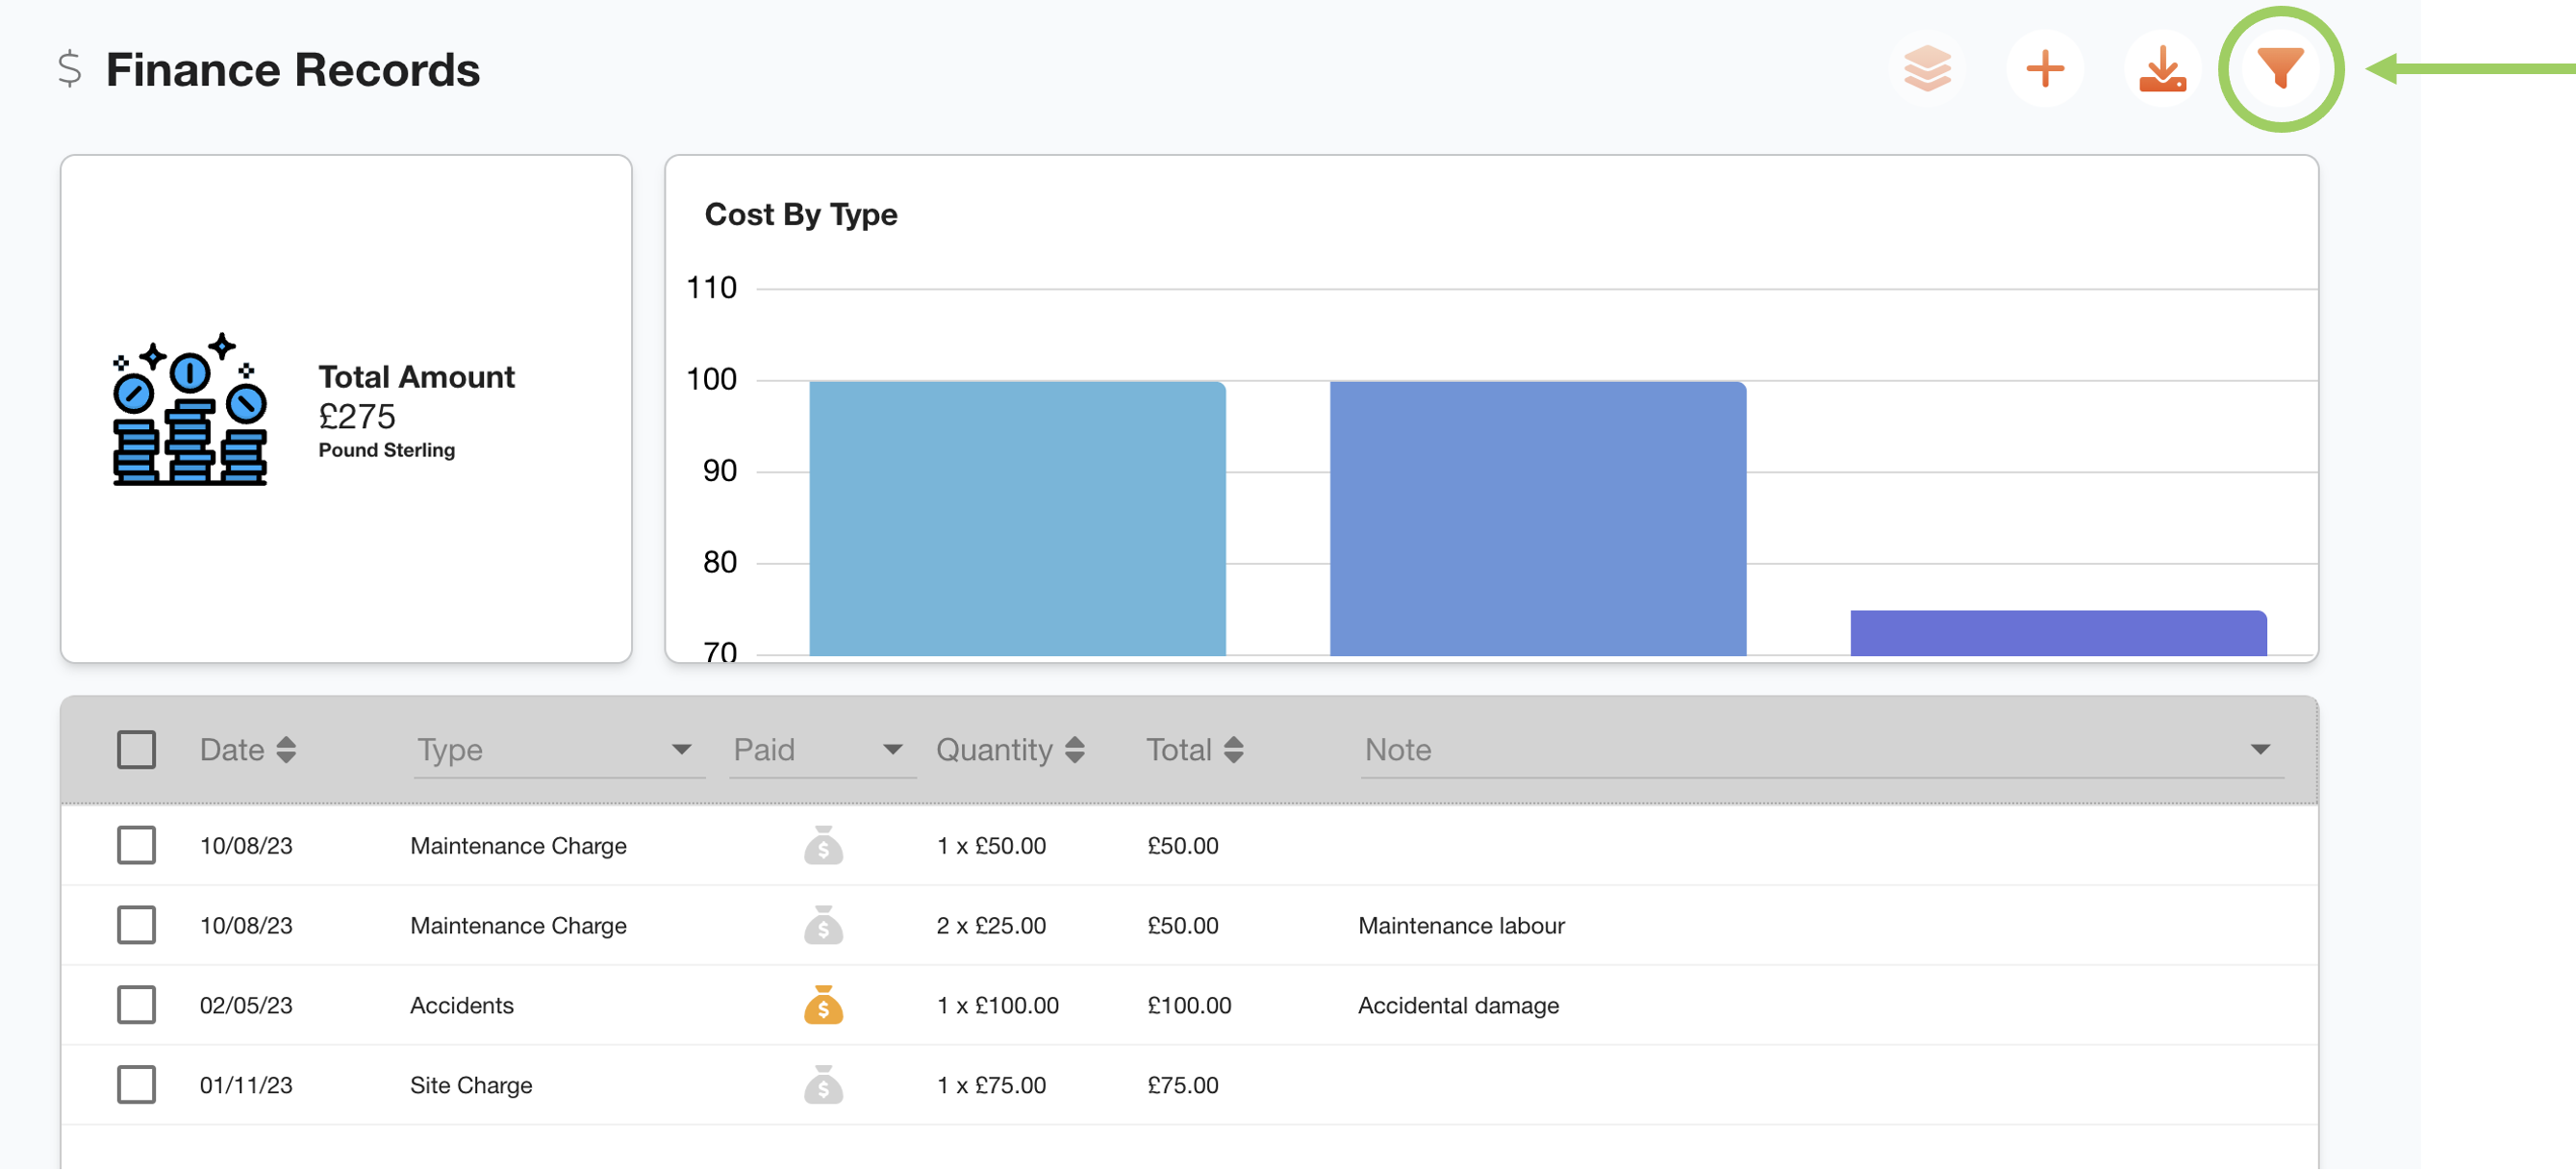
Two widgets are located at the top of the section: one displays the total of all finance records in the table, and the other shows a chart of the finance records by type.

If you apply filters to the table data, these widgets will change accordingly.

Under the widgets is a table of the finance records. By default, you will see the finance records from the start until the end of the current year - expand the section below to see how to edit the filters for this section.

Applying custom filters to the finance records section

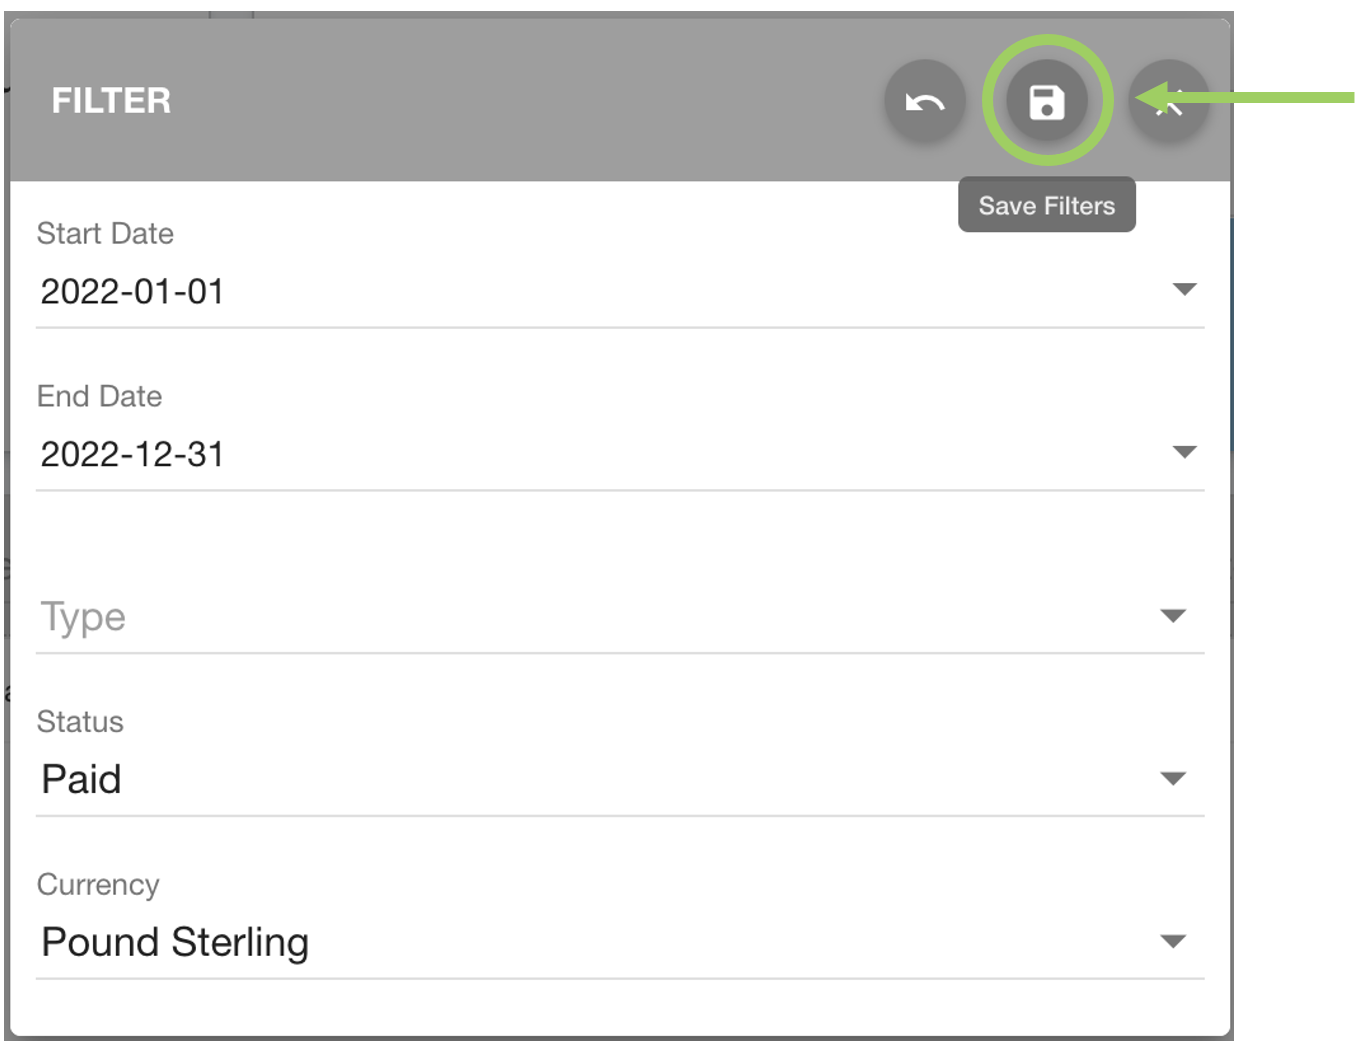
You can change the filters affecting the table by clicking the filter icon from the controls section.

Click save in the top right after adjusting the filters.

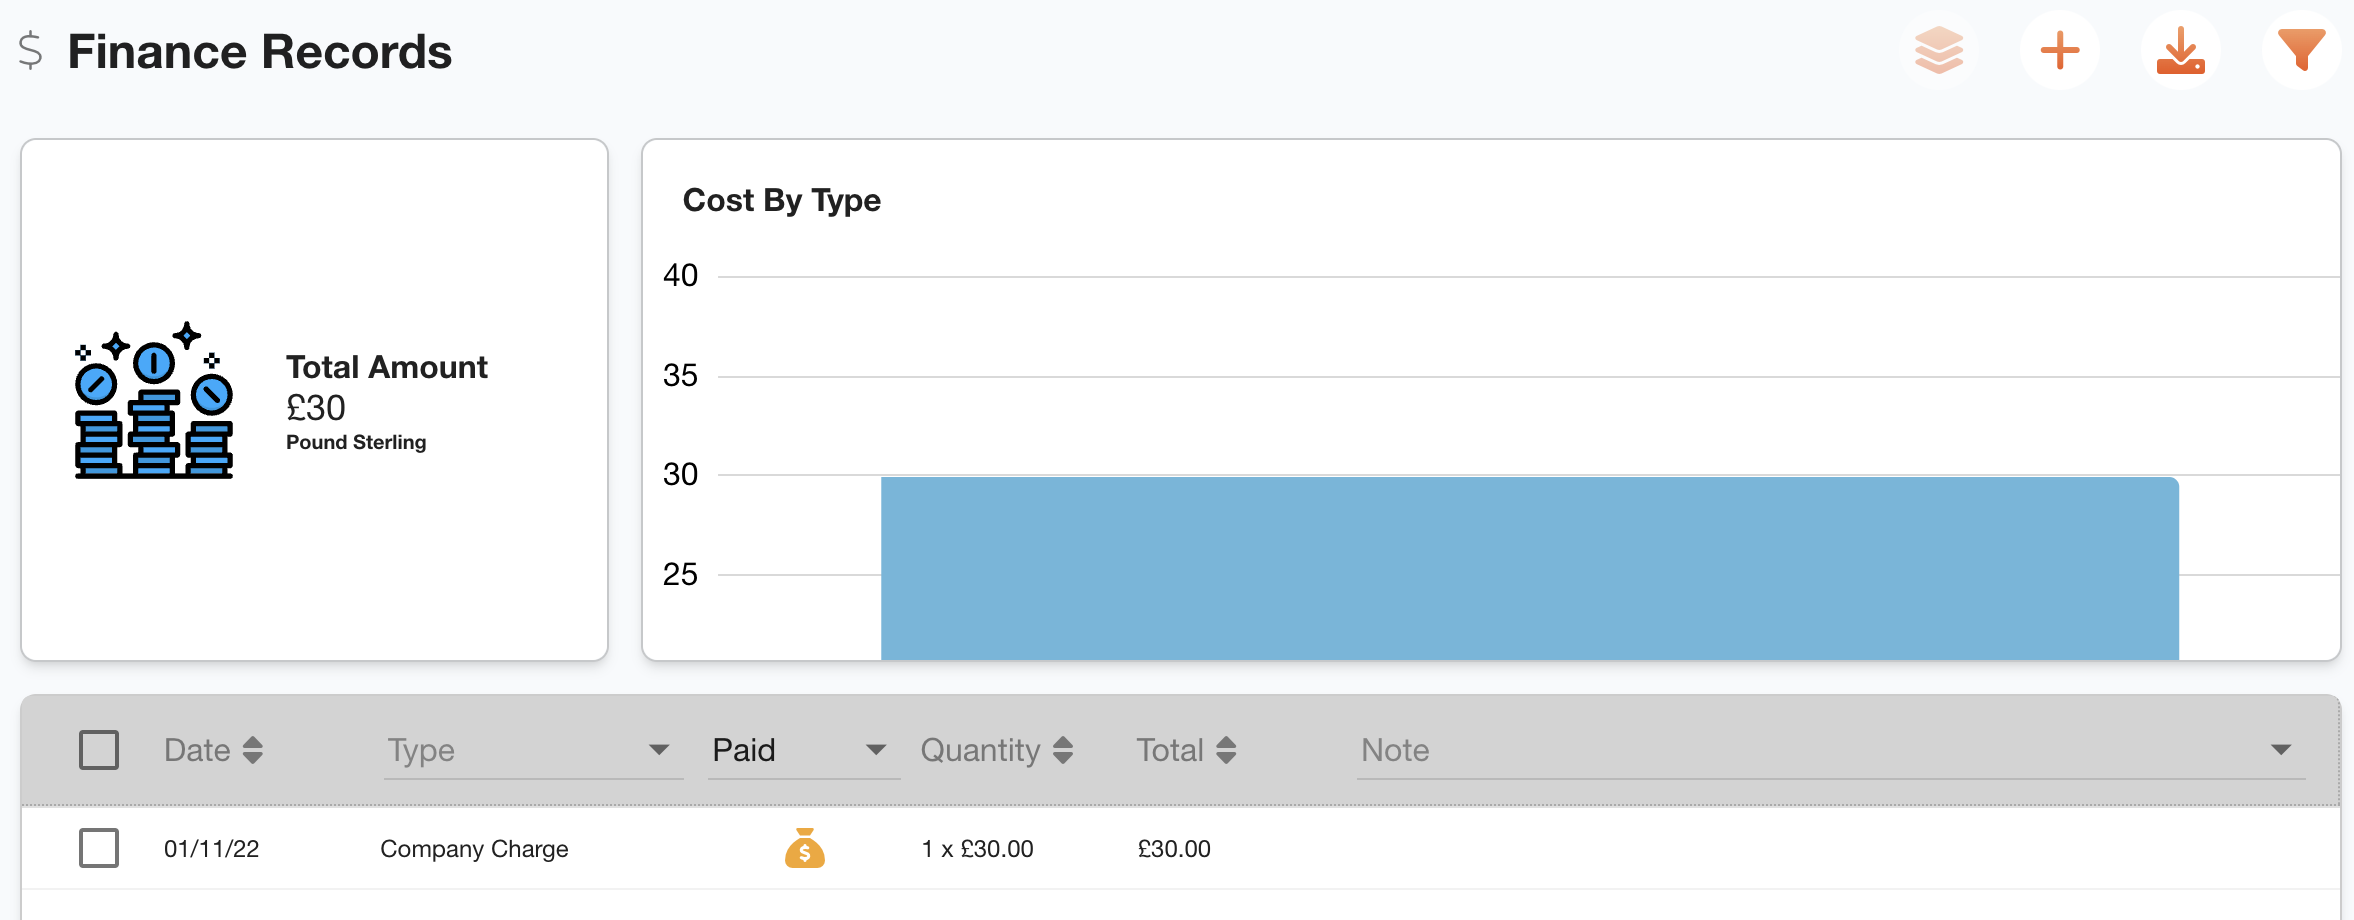
The changes will be reflected in both widgets and the table.

Adding finance records

You can add a finance record by clicking the '+' button from the controls section.

This will open a blank finance record.

Fill in all the necessary changes before clicking the save button to confirm.

Editing finance records

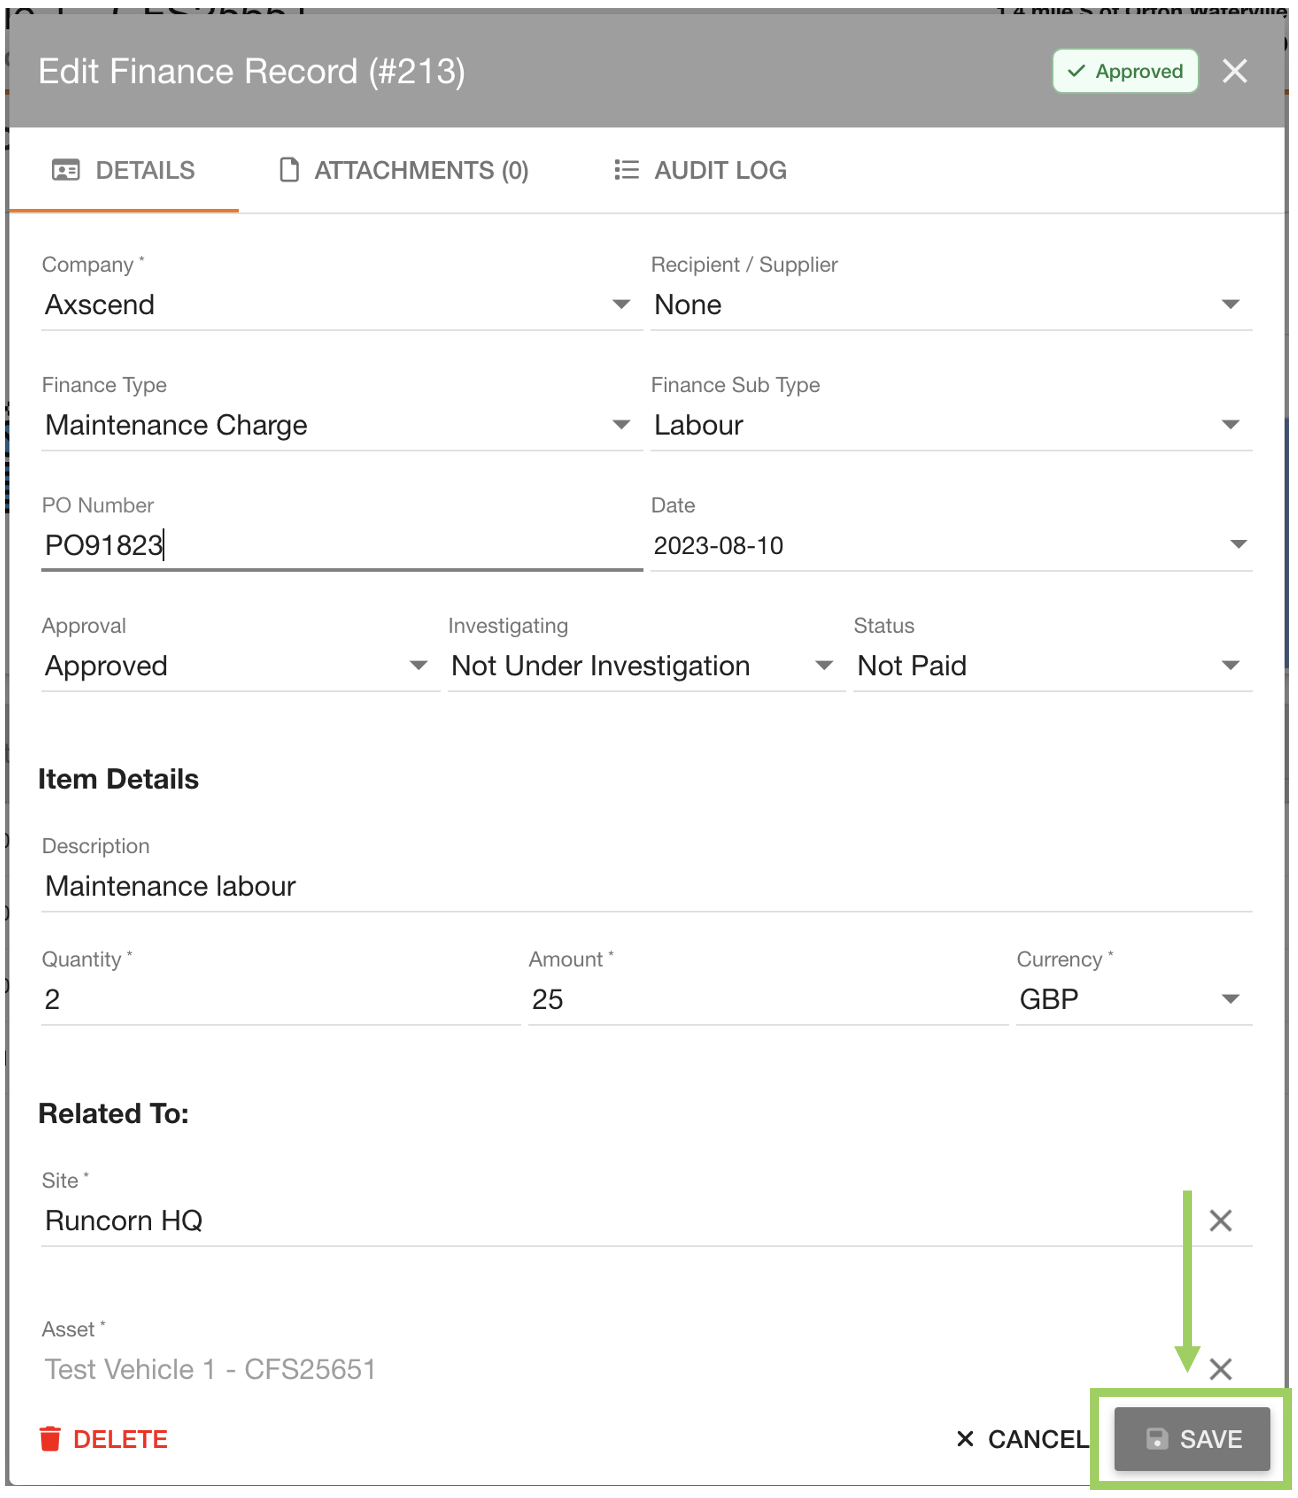
You can edit a finance record from the table by clicking on the row.

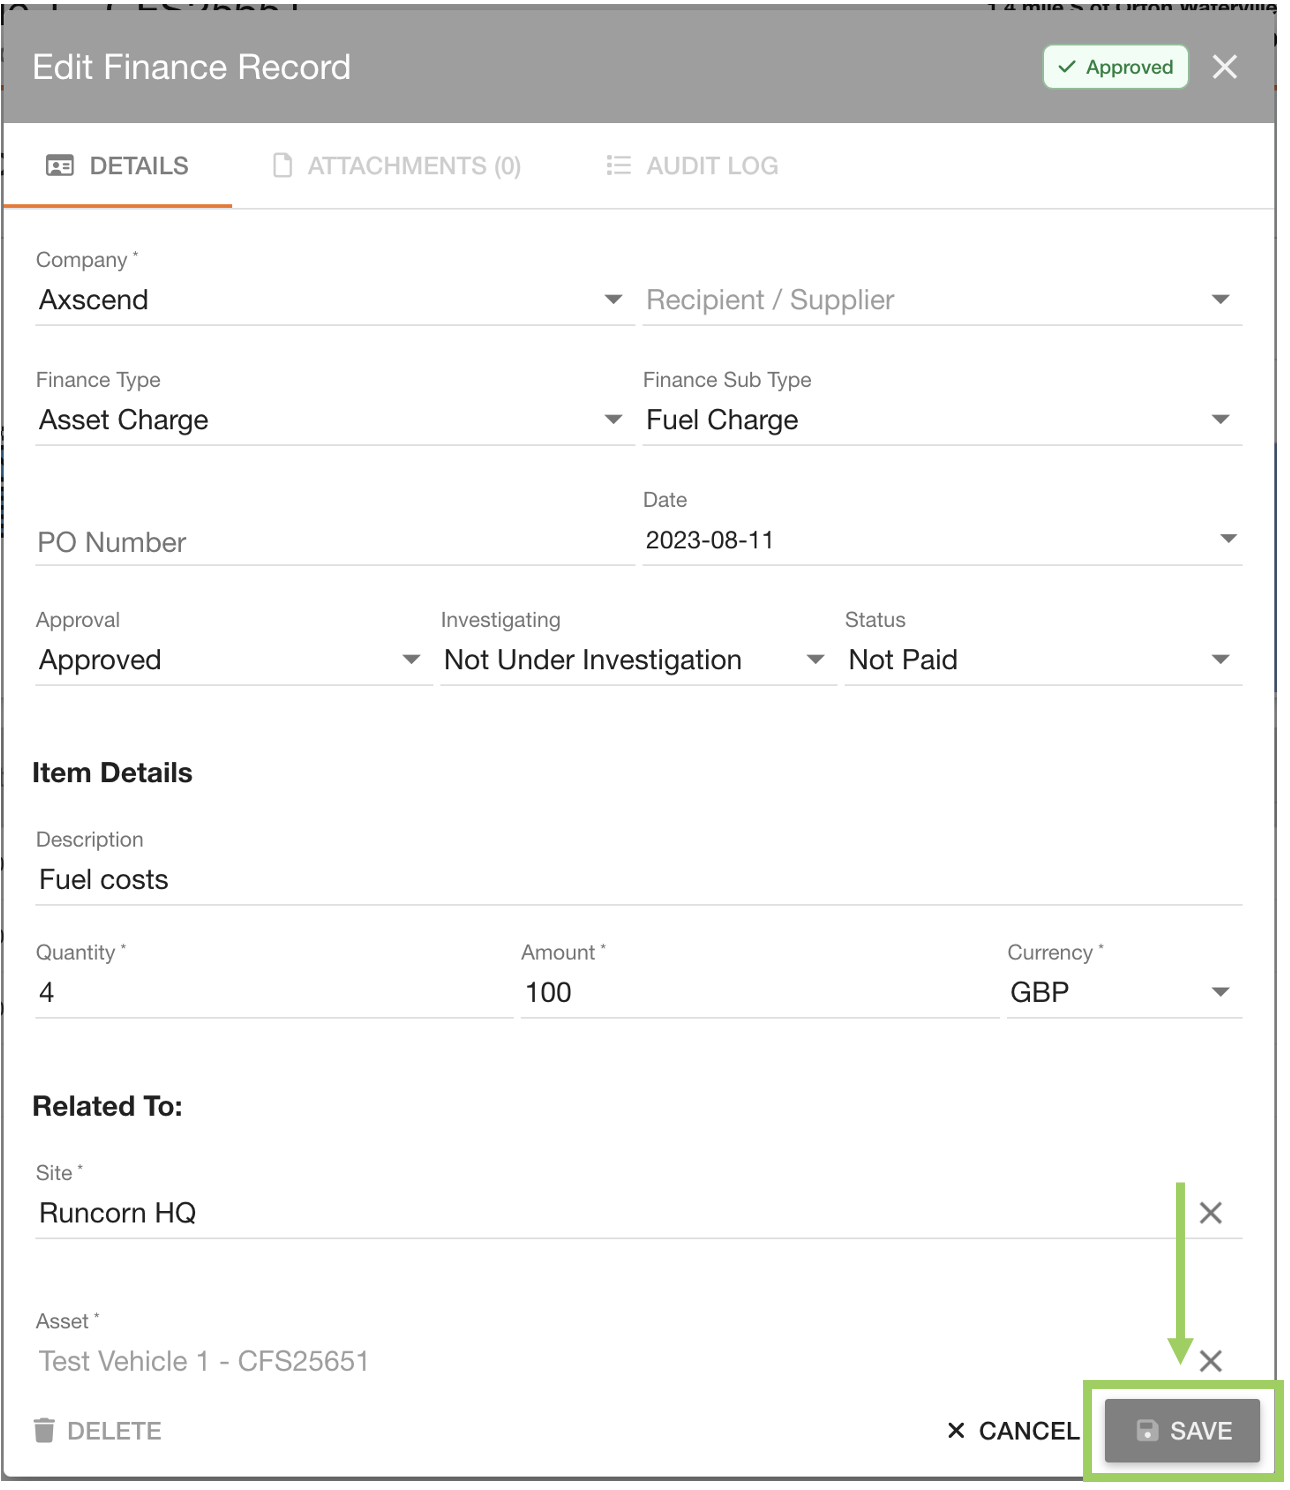
This will open the Edit Finance Record dialog box. Here, you can make any necessary changes before clicking the save button to confirm.

Editing multiple finance records

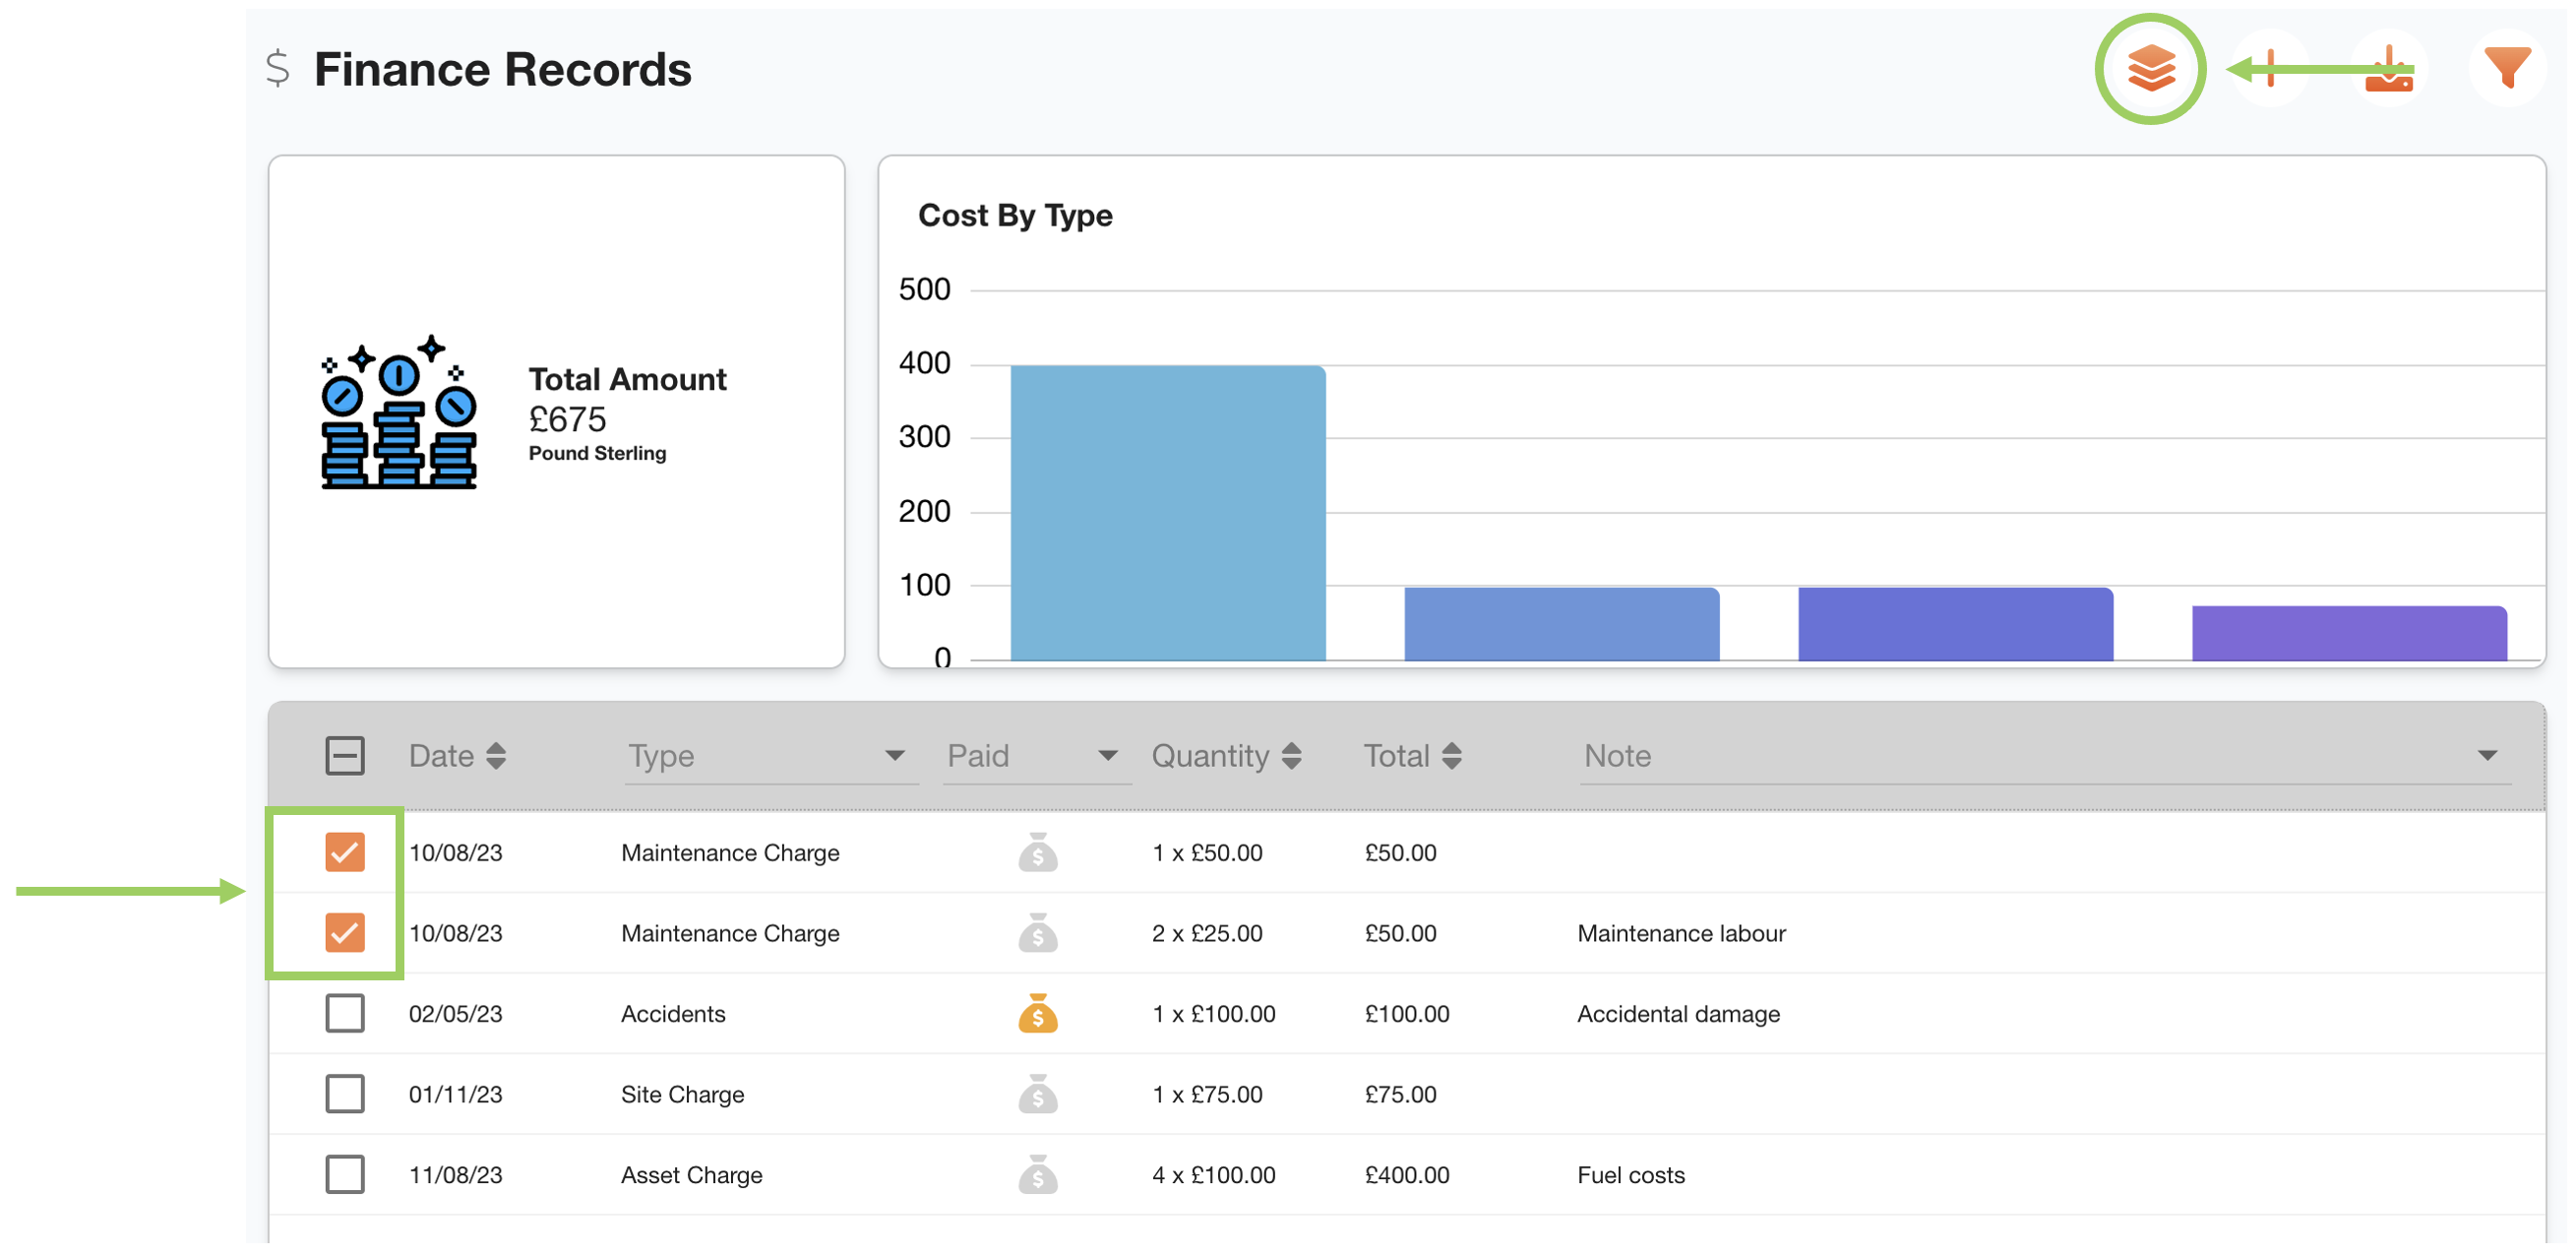
To edit multiple finance records first tick the checkboxes alongside the records you wish the edit. Then click the layer button from the controls.

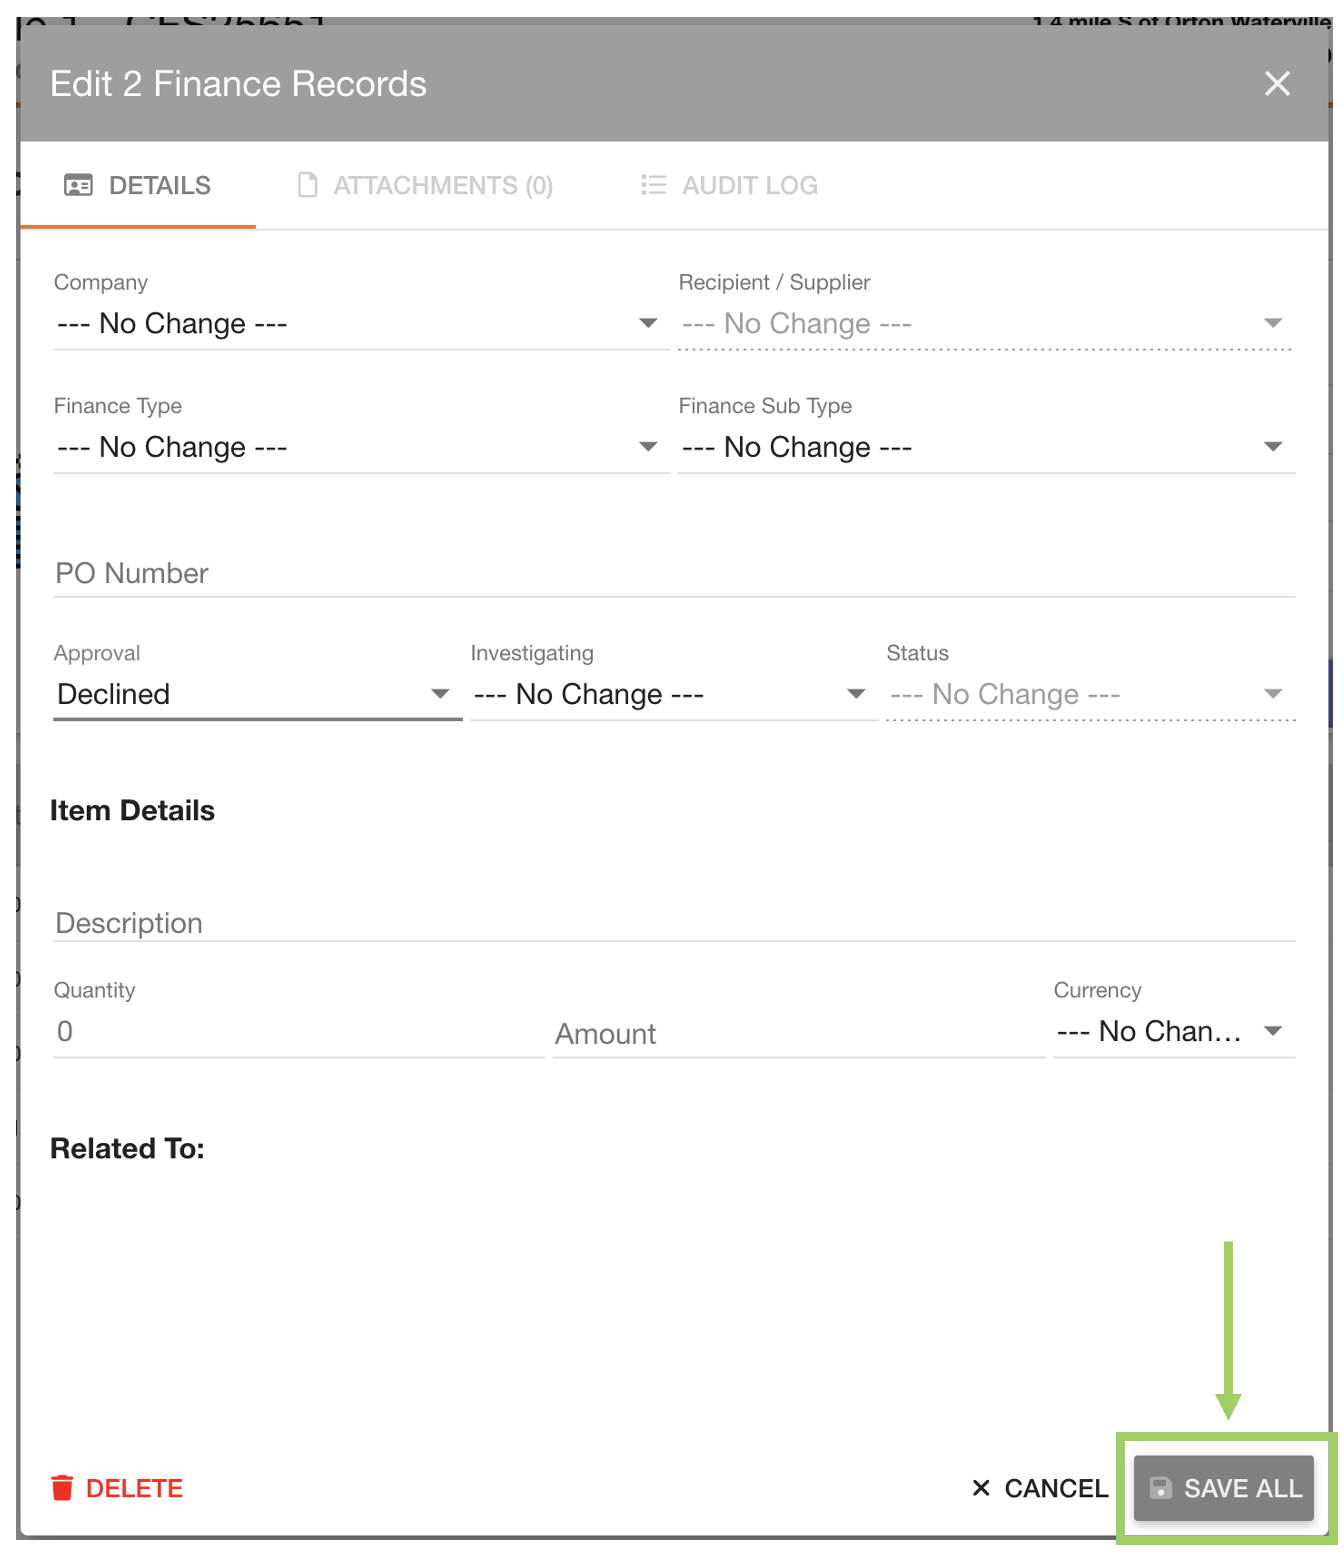
This will open the Edit Finance Records dialog box. Here, you can make any necessary changes before clicking the save button to confirm.

The changes made within here will apply to all finance records you ticked.

Exporting finance records as a CSV.

To export all of the finance records within the table as a CSV, click the download button from the controls.


Fuel Efficiency

Click on the ‘Fuel Efficiency’ header to scroll to the Fuel Efficiency section.

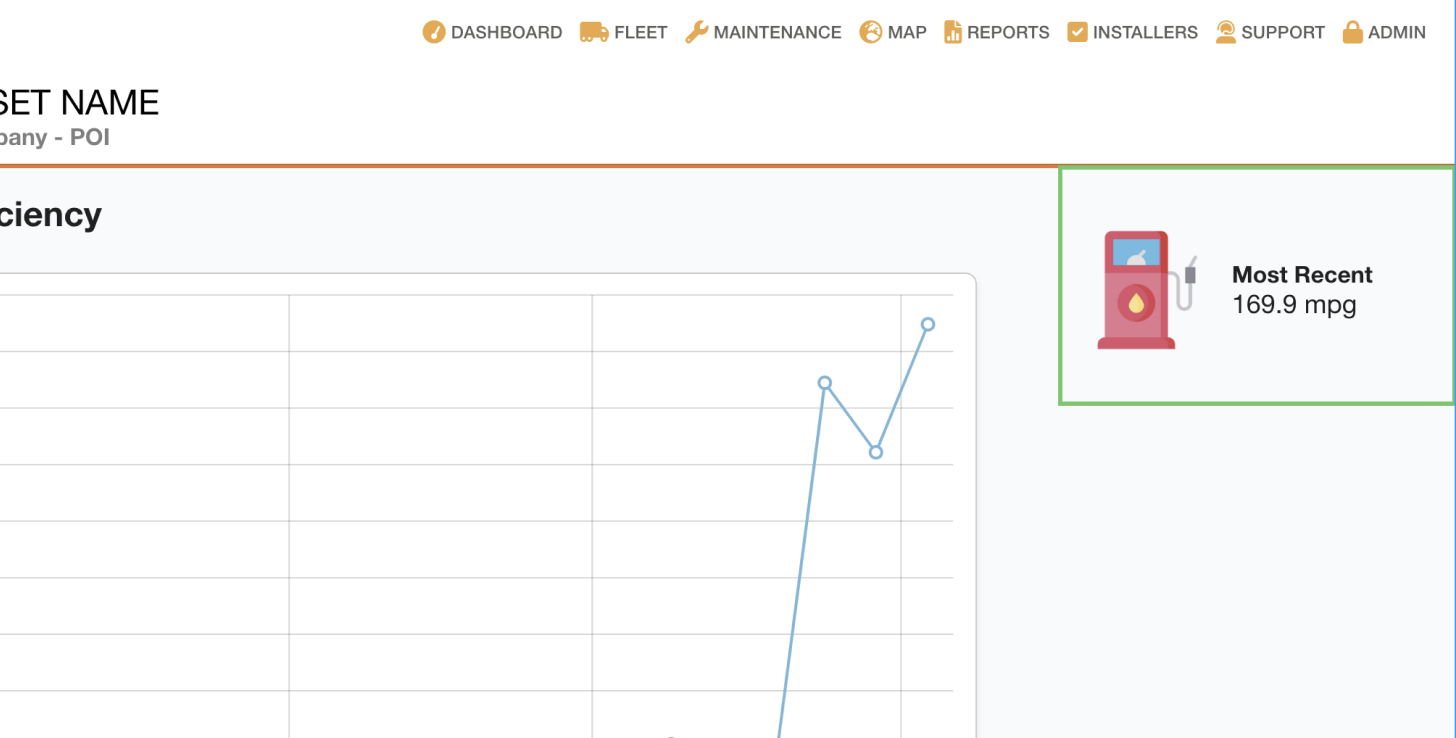
On the right side, there is a widget displaying the asset's latest MPG data.

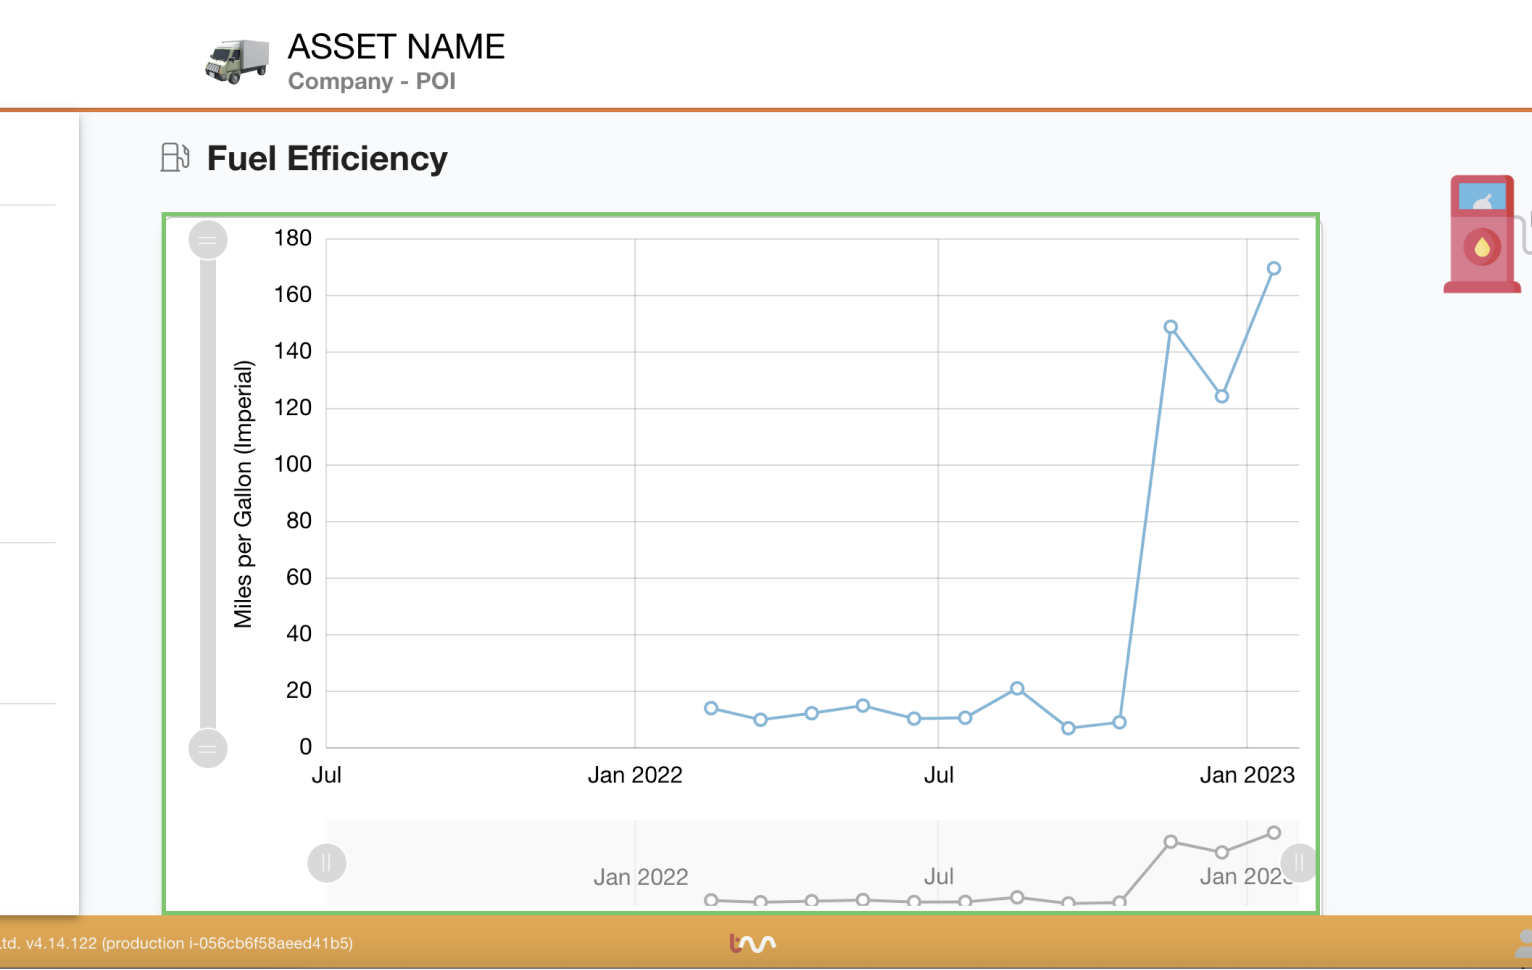
The main feature of this section is the fuel efficiency chart.

This shows the asset's performance in miles per gallon over a selected period of time.

How to use the Fuel Efficiency Chart by adjusting the axes and traversing the data.

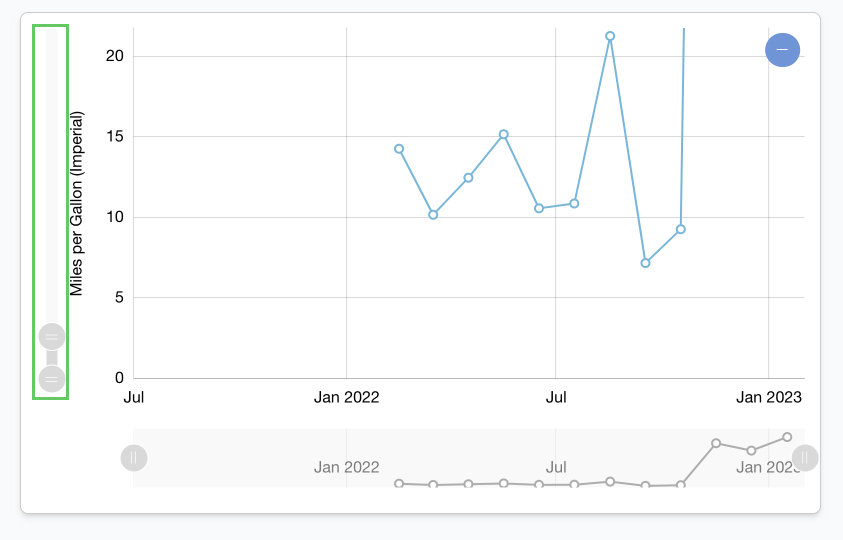
You can see more detail by increasing the scale of the chart.

By sliding the top circle up and down on the grey bar on the left, the Miles Per Gallon (the Y axis) will essentially be zoomed in

To resume the normal scale, simply click on the blue (minus) minus button in the top right of the chart.

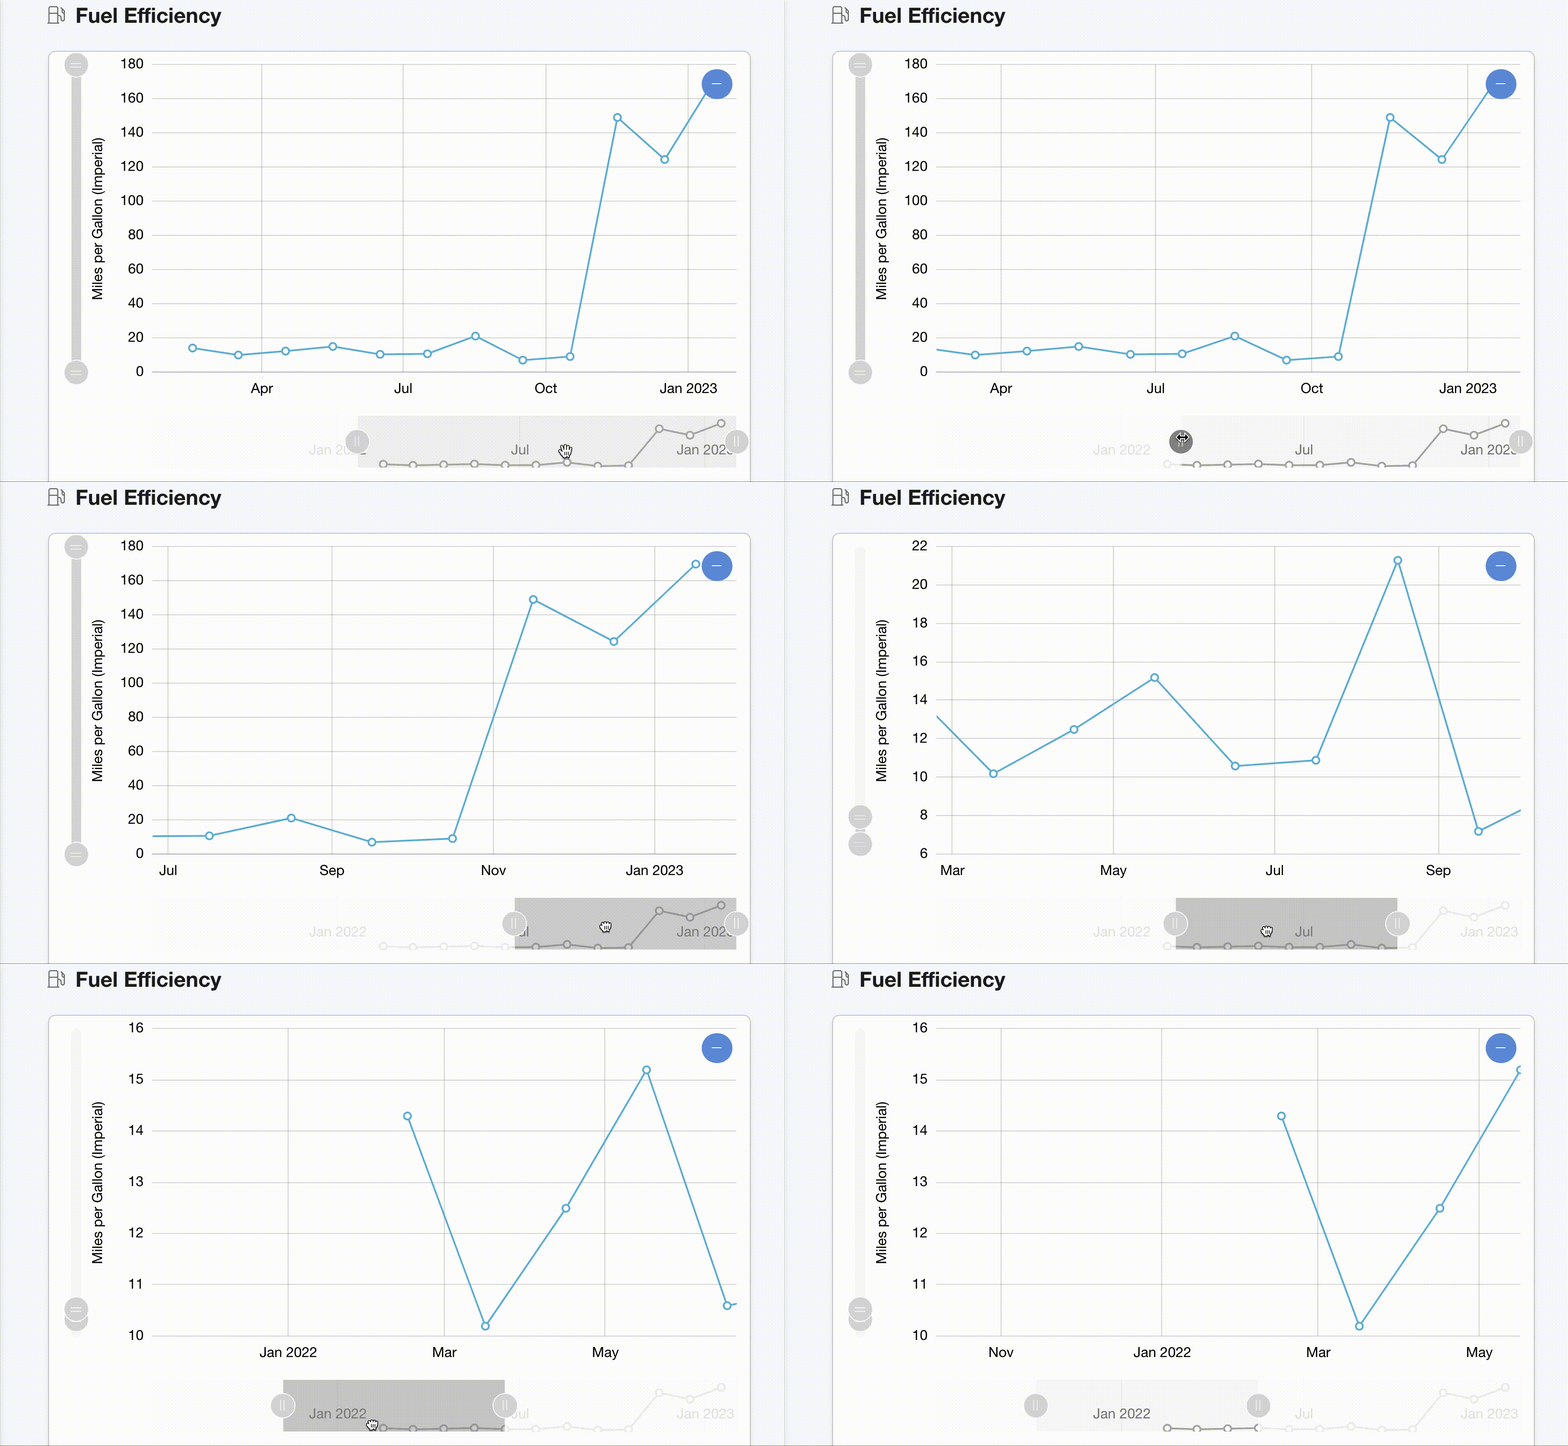
Similarly, along the bottom axis, you’ll see another slider with the months of the year plotted as well as a condensed view of the graph.

In the same way as the Y axis, you can zoom in to the data. To do this, slide the left-hand circle towards the right - and you’ll see in real-time, the scale increases.

Once the scale has been increased on the X-axis, you can navigate the graph by dragging the bar at the bottom left or right. The graph will automatically scale on the Y axis to the point in focus, so you can easily follow the data up close.

Fuel Records

Click on the ‘Fuel Records’ header to scroll to the Fuel Records section.

The Fuel Records Table will now be showing.

This table displays a list of fuel records, shown in order of most recent first.

To download a CSV of the displayed Fuel Records, simply click on the download icon in the top right.


Contracts

In the contracts section, you can view all the contracts associated with the asset.

You can either add existing contracts, create new contracts, or remove contracts associated with this asset.

Adding existing contracts or creating a new associated contract.

Both both adding an existing or creating a new associated contract you should start by clicking the ‘Add’ button from the controls.

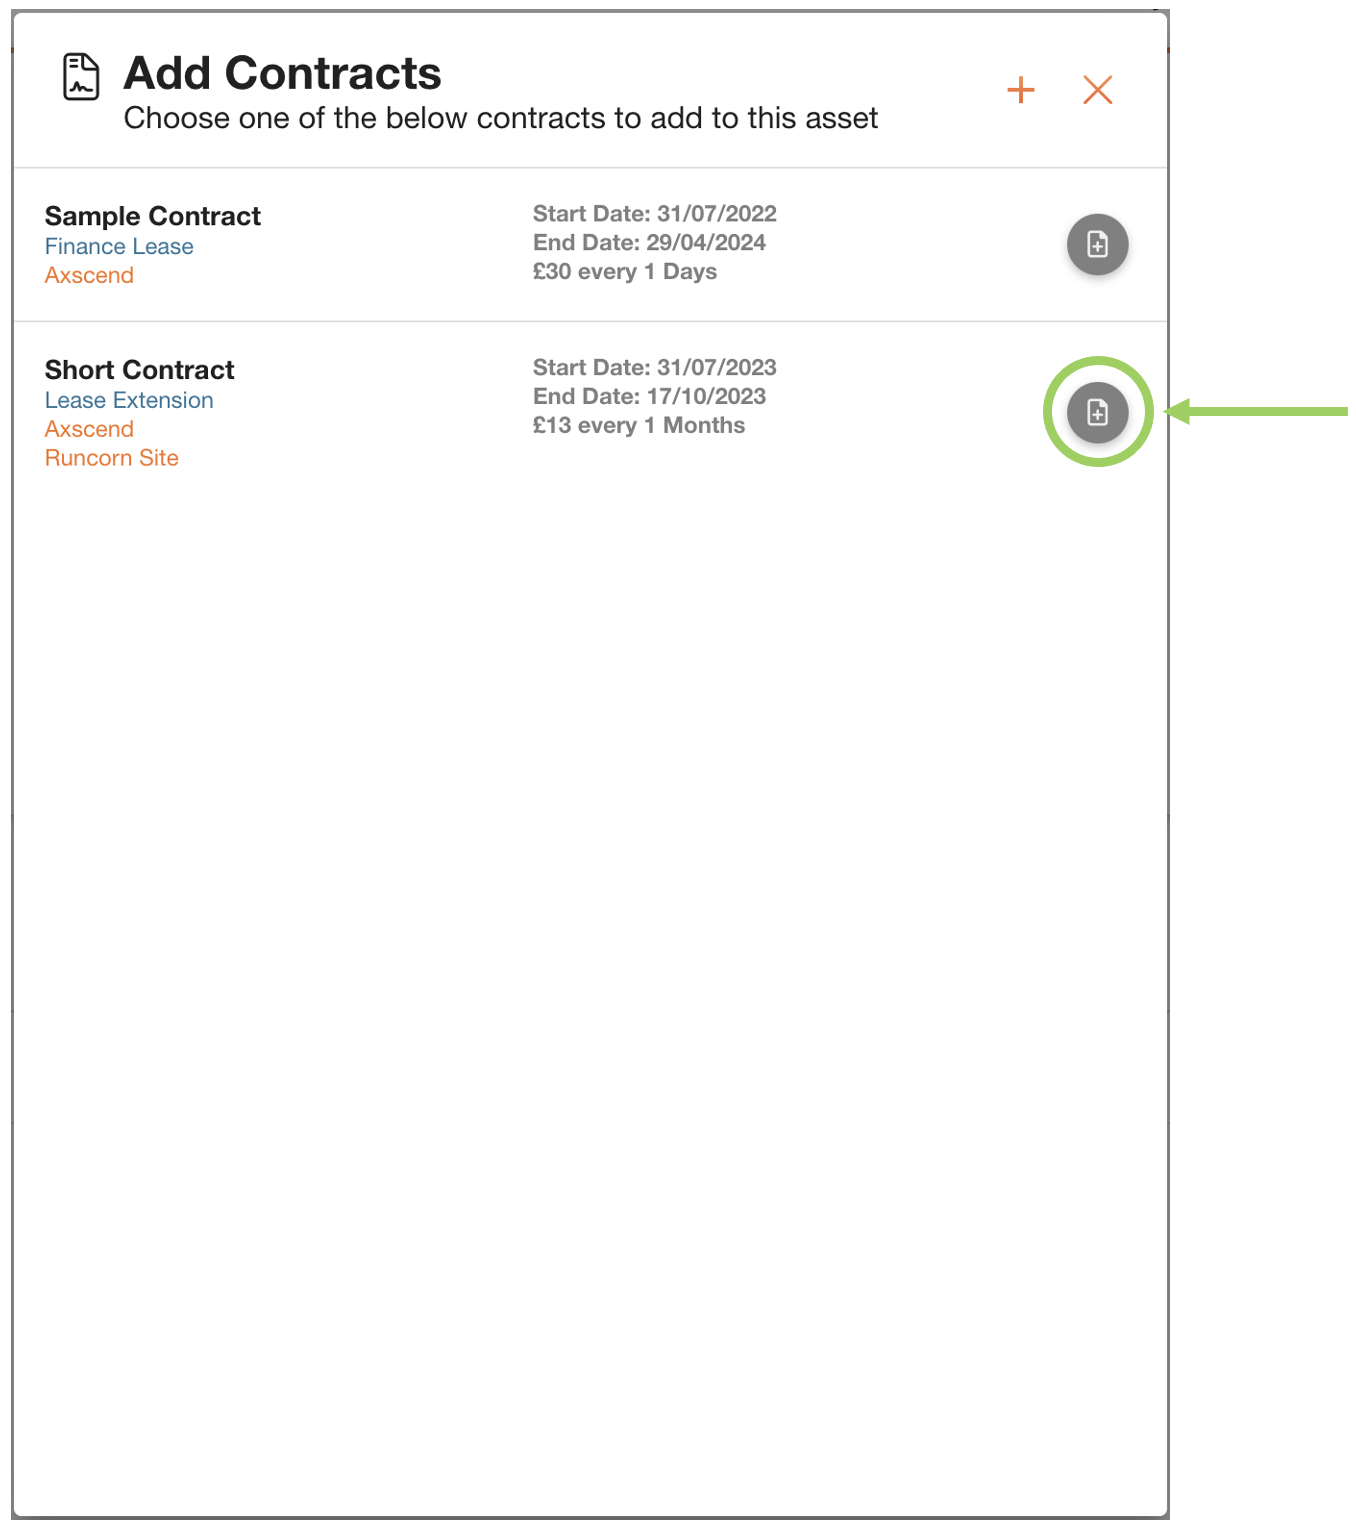
If you want to add an existing contract choose the correct contract from the list, and click ‘add’ the button alongside.

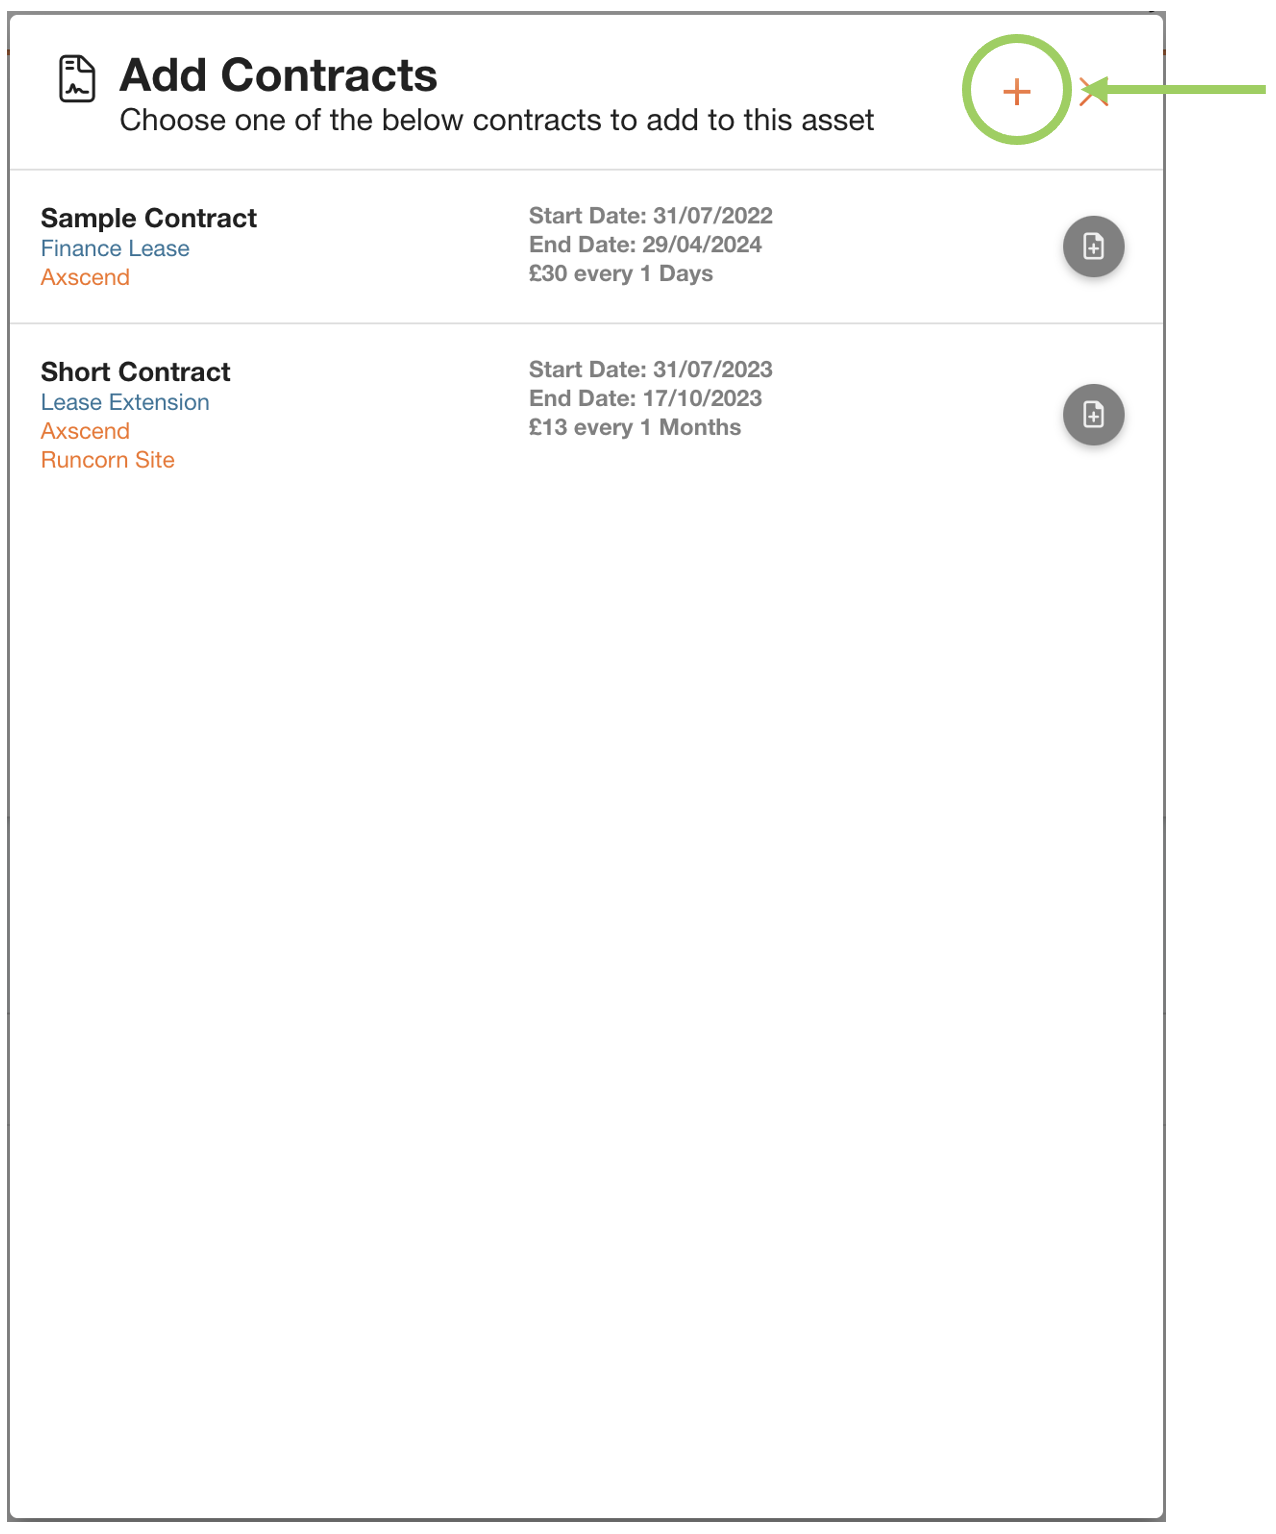
If you want to create a new contract click the ‘+’ button at the top of the dialog box.

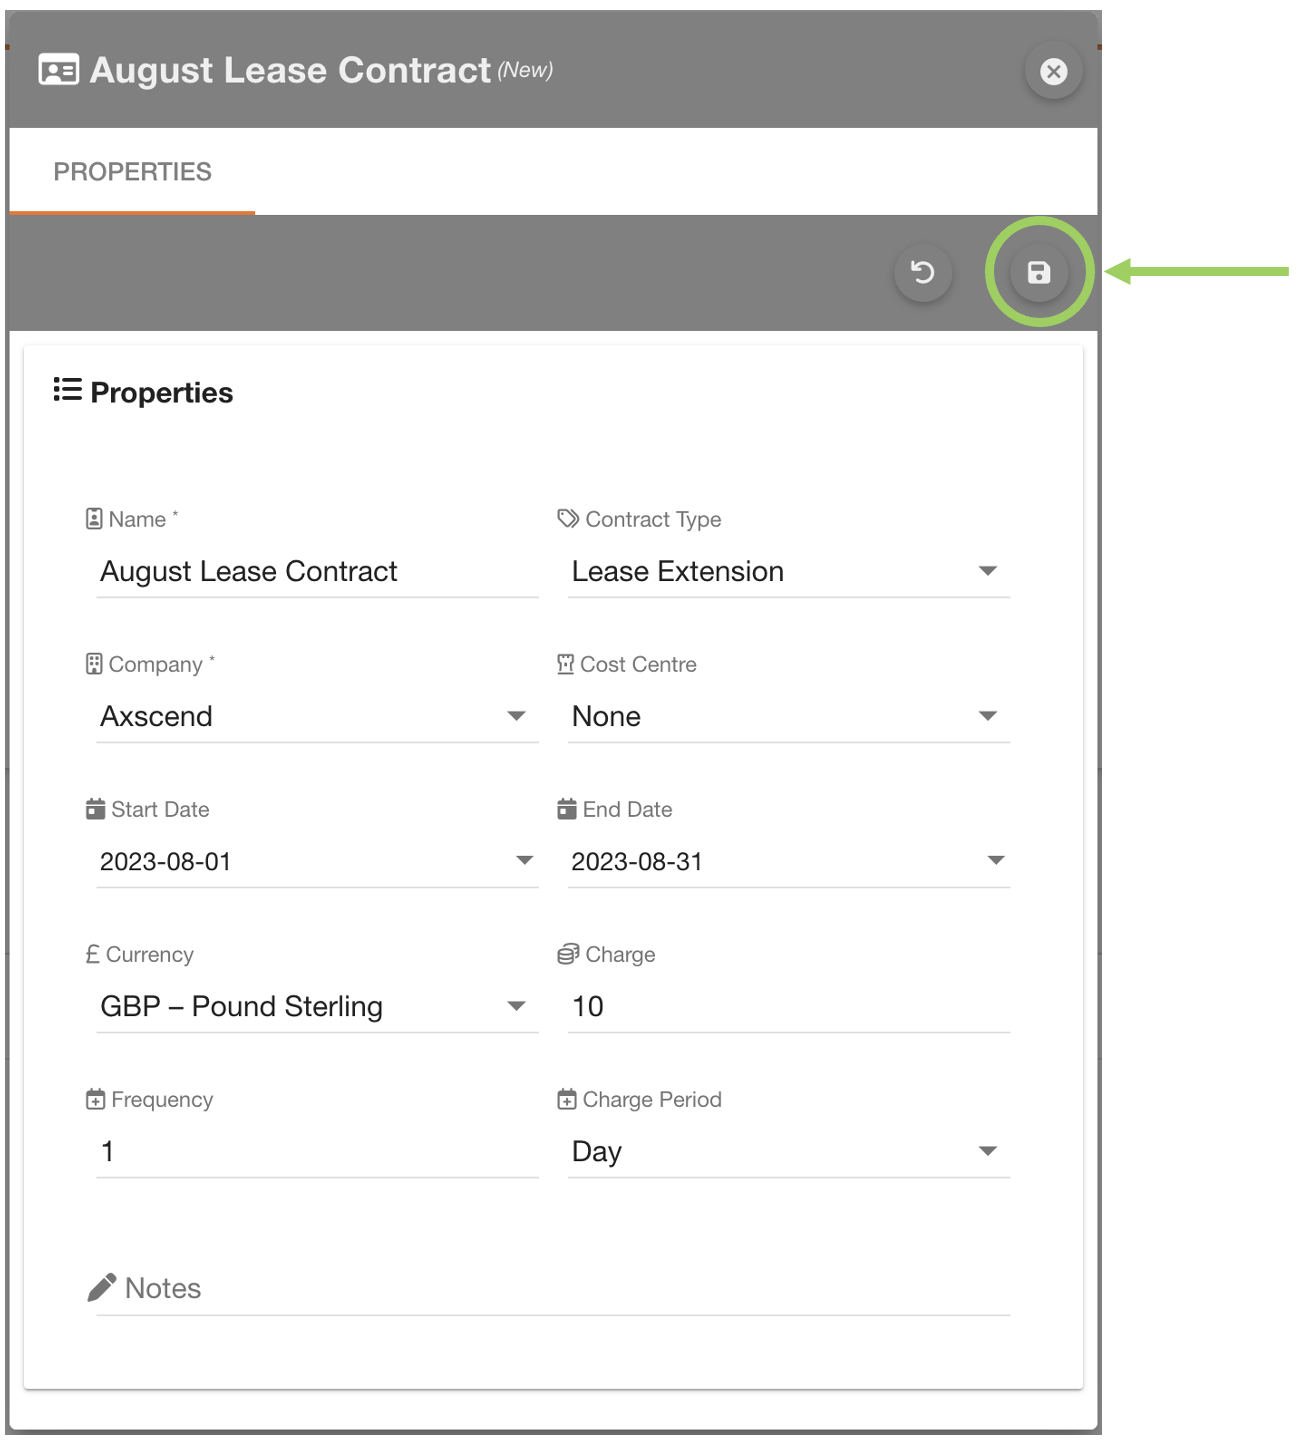
Fill in all the necessary details before clicking the save button to confirm.

You can then choose the new contract from the list, and click ‘add’ the button alongside.

Removing associated contracts

You can remove the contract association with the asset by clicking the trash icon alongside the contract.


(question) Troubleshooting

For any issues or errors that have not been solved please Contact Axscend Support.

JavaScript errors detected

Please note, these errors can depend on your browser setup.

If this problem persists, please contact our support.