.png)
Creating Templates
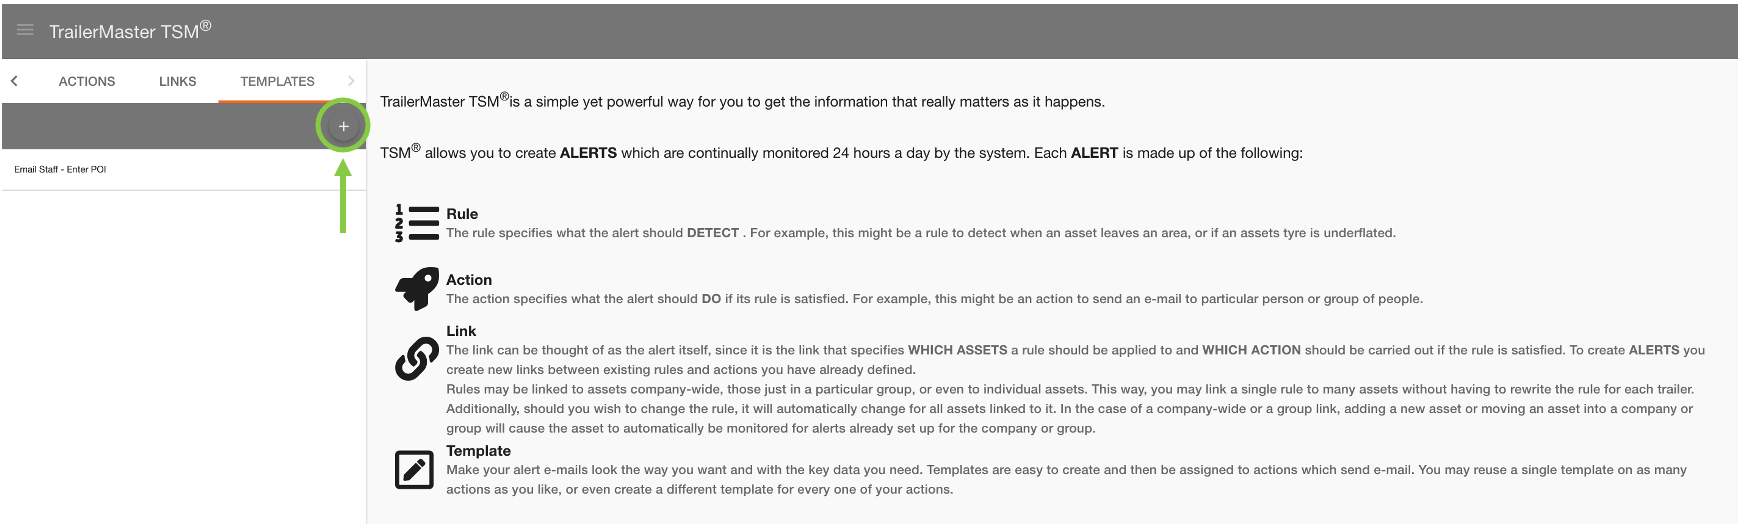
Creating a template is a prerequisite of creating an Action.
When creating new templates you should be on the Manage TSM page and inside the ‘Templates’ tab, for support with navigating here see Templates.
You can create a new TSM template by selecting the ‘Add’ ![]() button on the left sidebar.
button on the left sidebar.
This will open the Template editor - this imitates the layout you may see when creating an email. The Template Name is a standard text field.
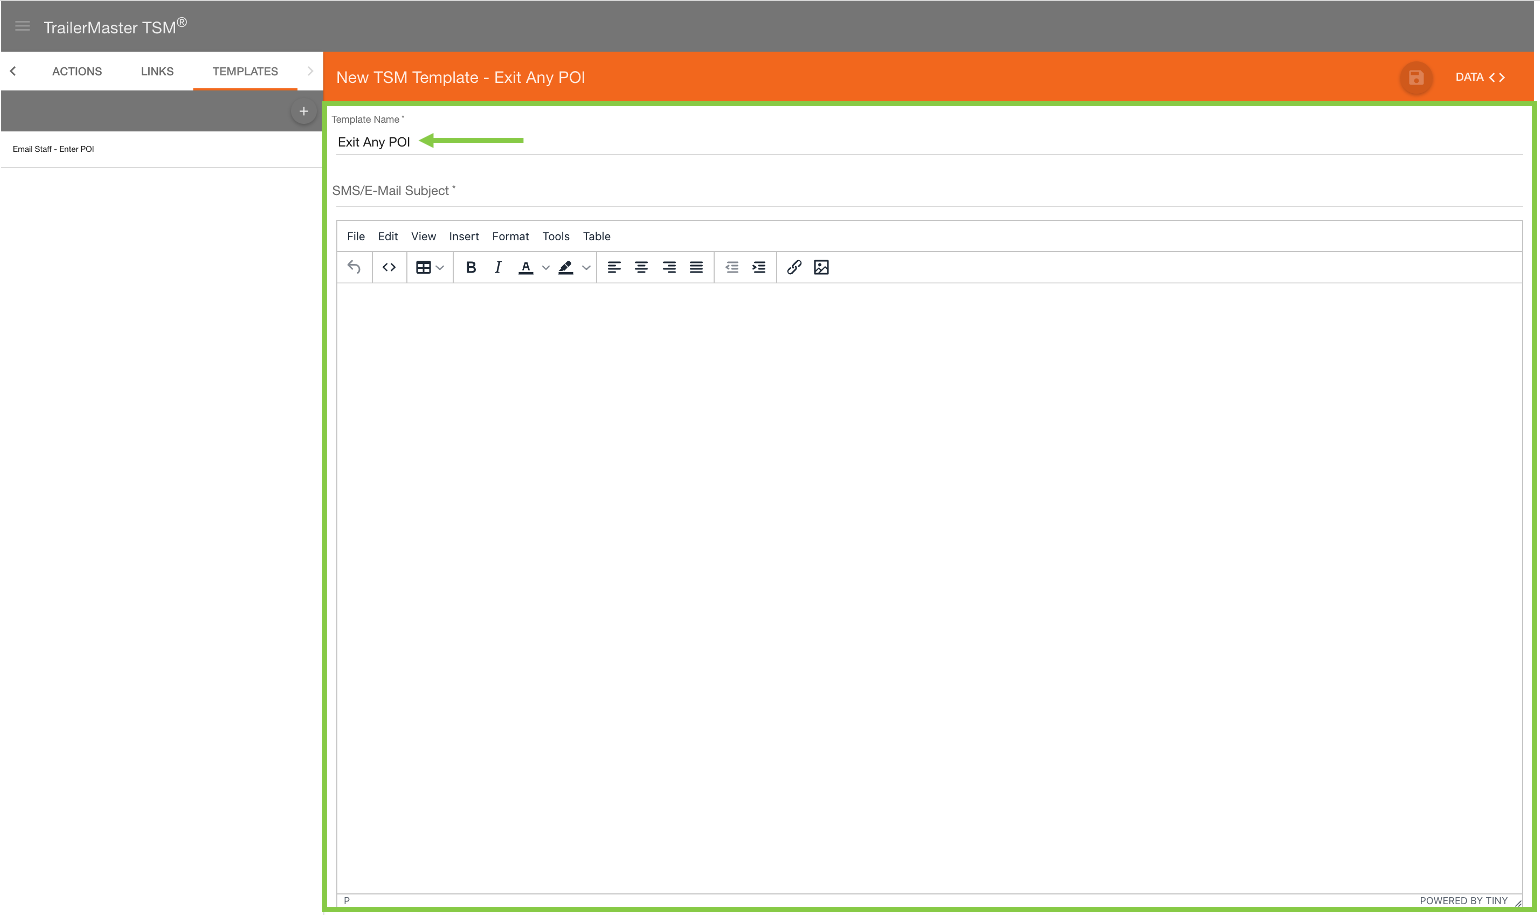
The other components of the template include:
Subject
Body
Tables
Images
Data Objects
Subject
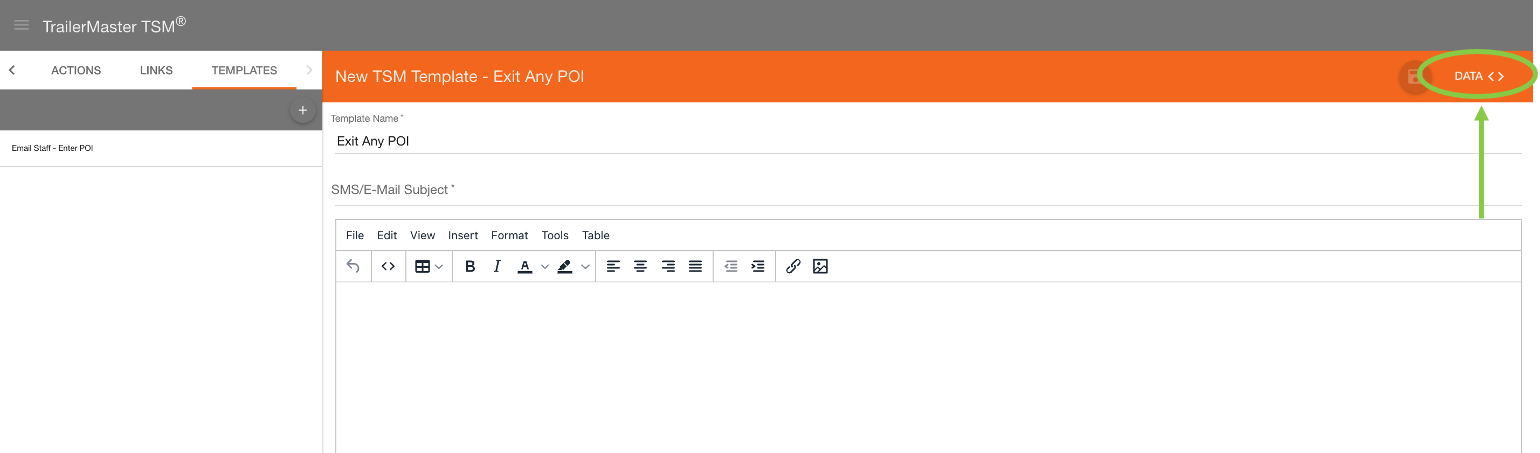
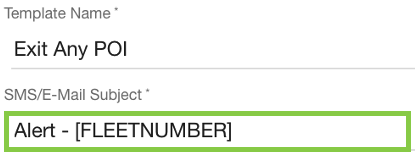
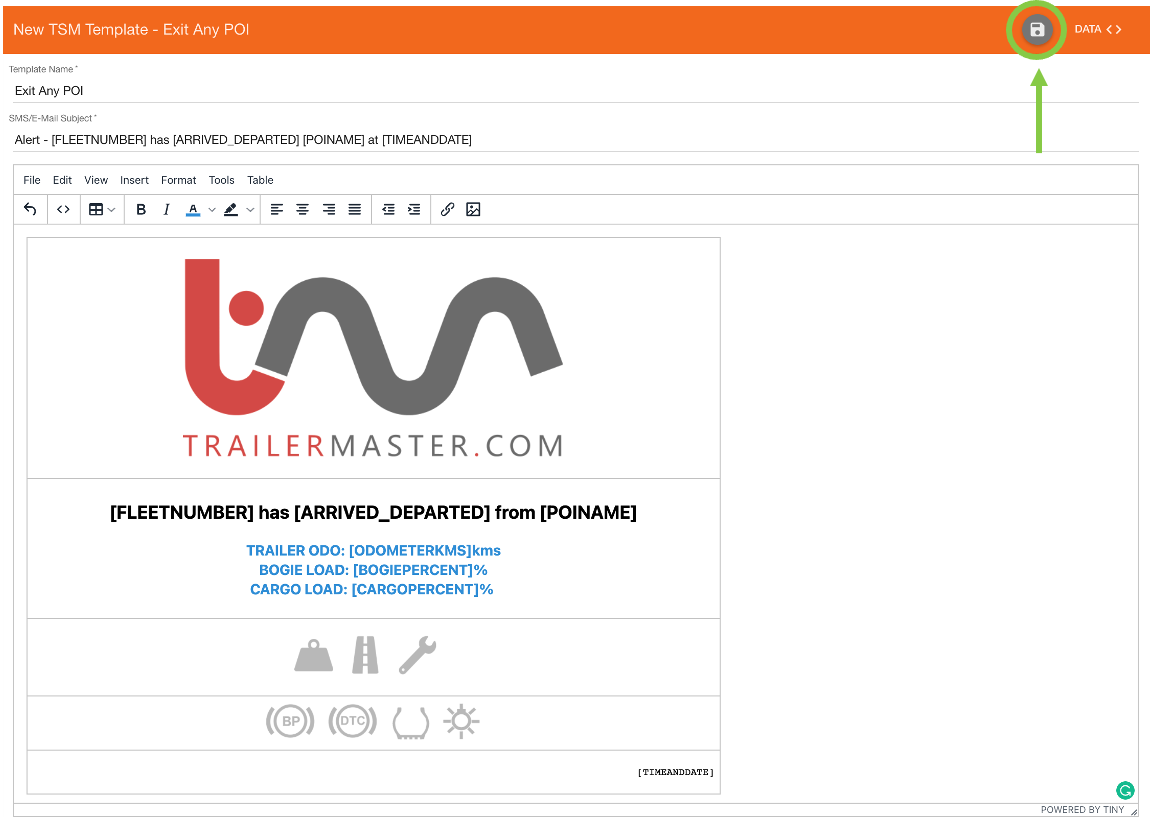
The SMS/E-Mail Subject field can be a simple text subject such as ‘Exit POI Alert’, or can be as specific as you require. To add data objects to your Subject, click within the subject textbox and toggle the right ‘DATA’ sidebar open.
This will open a list of all the data objects you can use in the subject or email body. Here I am selecting Fleet Number.
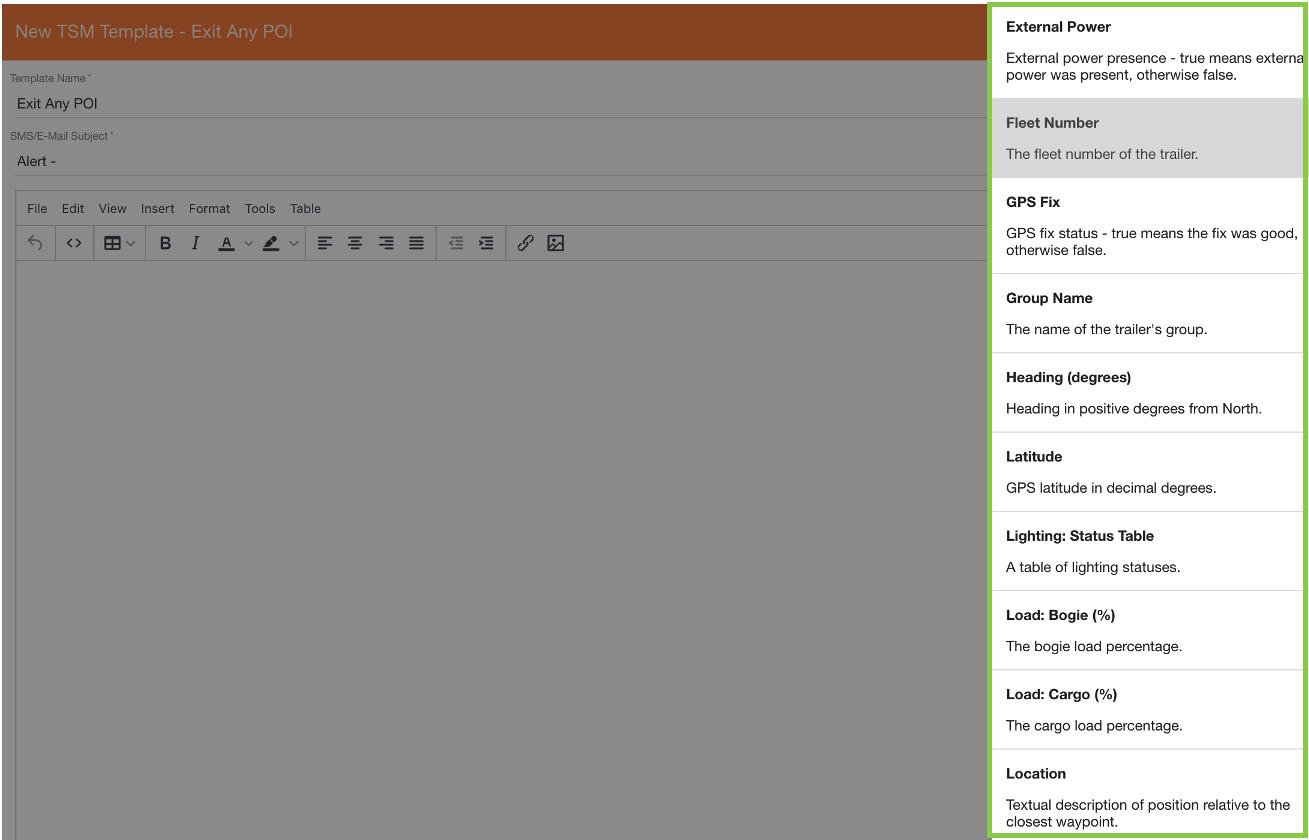
This will appear in the Subject text box as [FLEETNUMBER]
You can also add standard English text between each data object to build an informative subject line.

If this template was used, it would display a subject line of

Body
Alike to creating the Subject, the Body of the template can make use of the data object to build up the information you are interested in seeing when a rule is triggered. The Input field of the body also has additional formatting options, such as adding tables, images or hyperlinks.

Tables
A good way of formatting the template is through tables which can be added from the toolbar of the body editor.
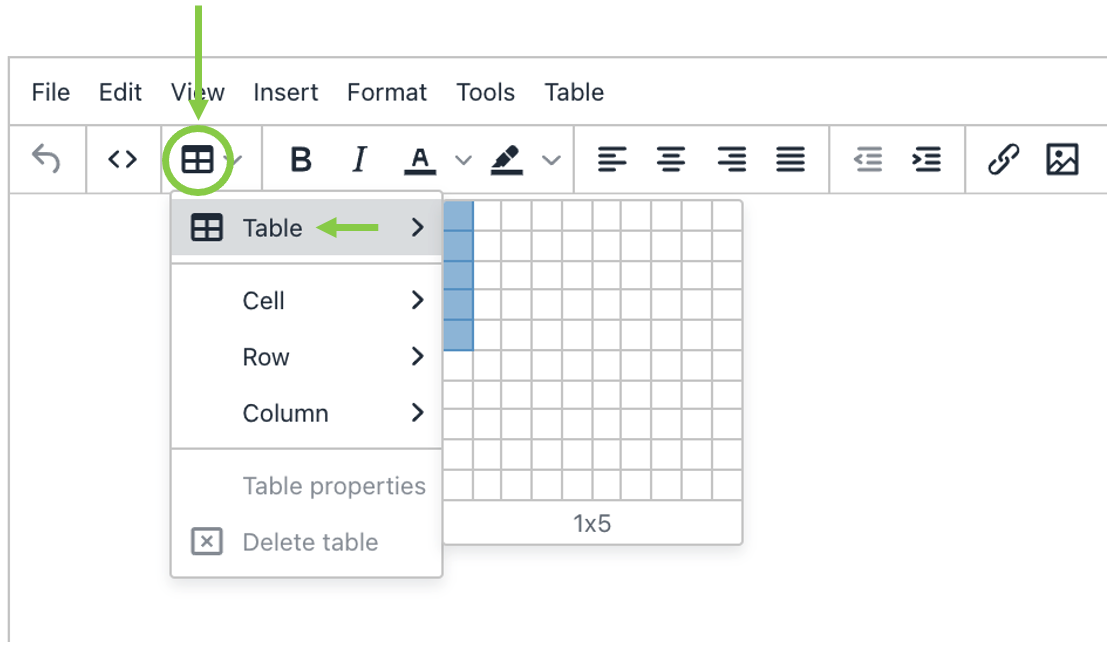
This will insert a blank table of 5 rows.
Images
Within the table or page, you can also add images such as company logos.

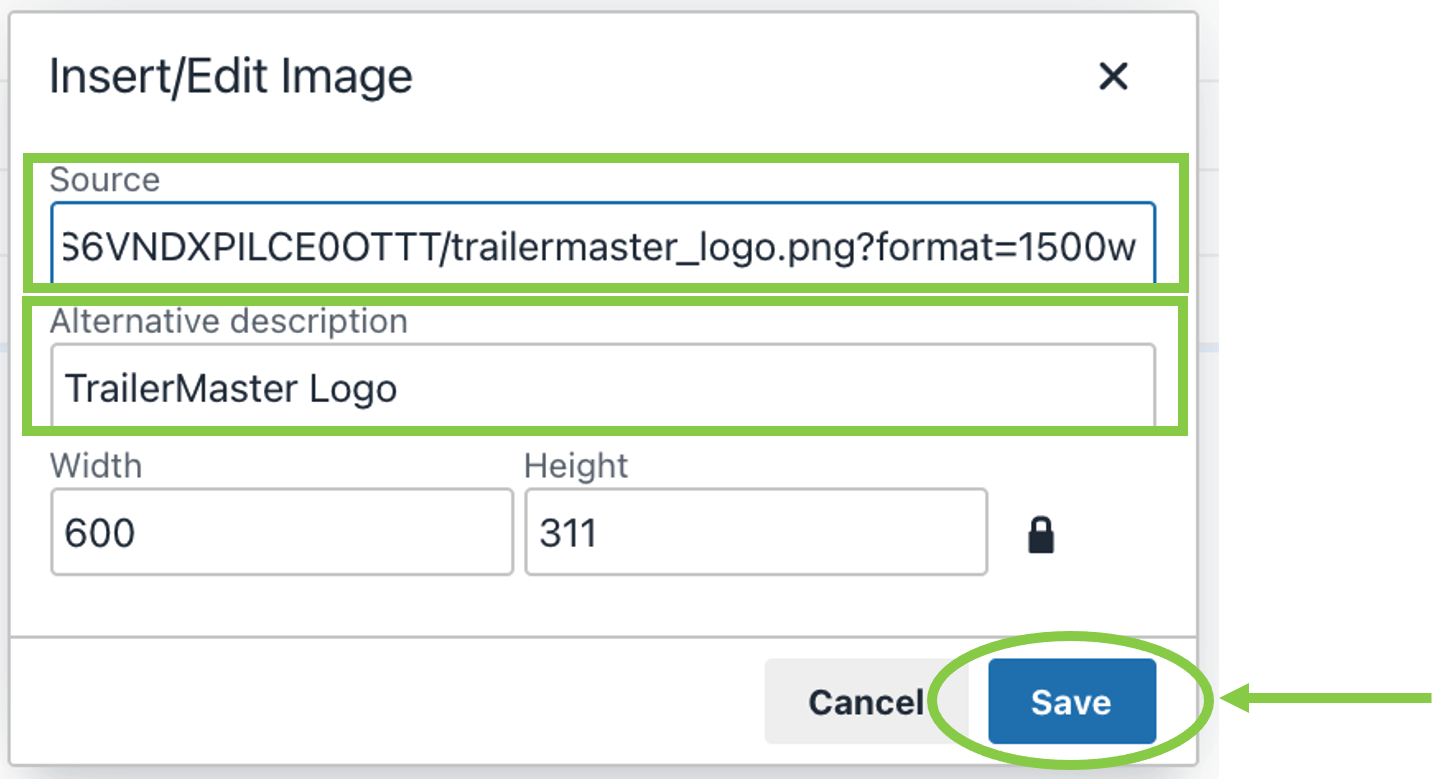
You will be prompted for the ‘Source’ of your image, which will be a URL link to the image. Once the relevant fields are filled you can now save the image.
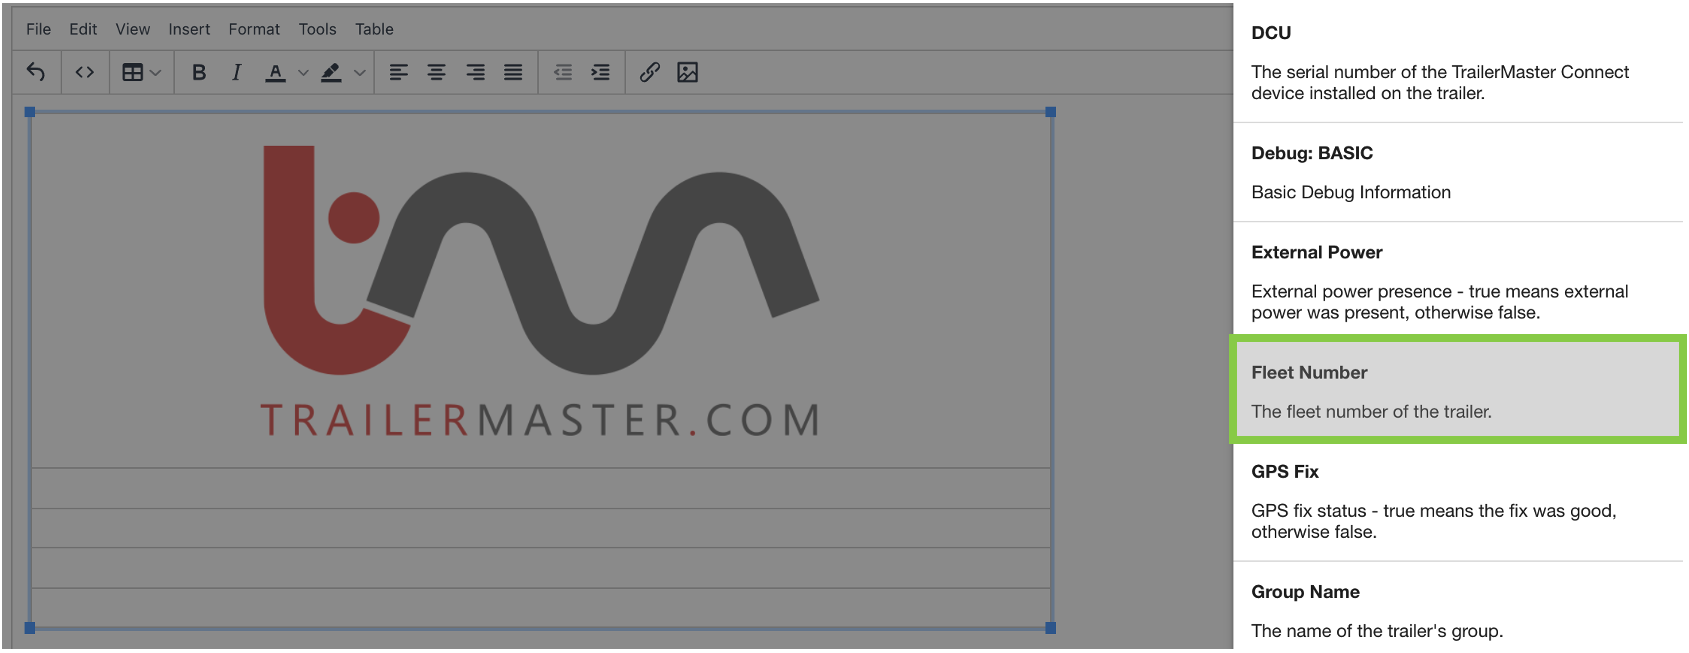
Your selected image will appear in the body. You can now align the image to the centre of the table or page.

Data Objects
You can add data objects to the Body in the same way as whilst creating the Subject. Firstly click into the area of the table or page you want to insert into, then open the ‘DATA’ right sidebar and select the information you want to add.
Now the data object has been inserted into the table you can format it within the format menu on the toolbar.
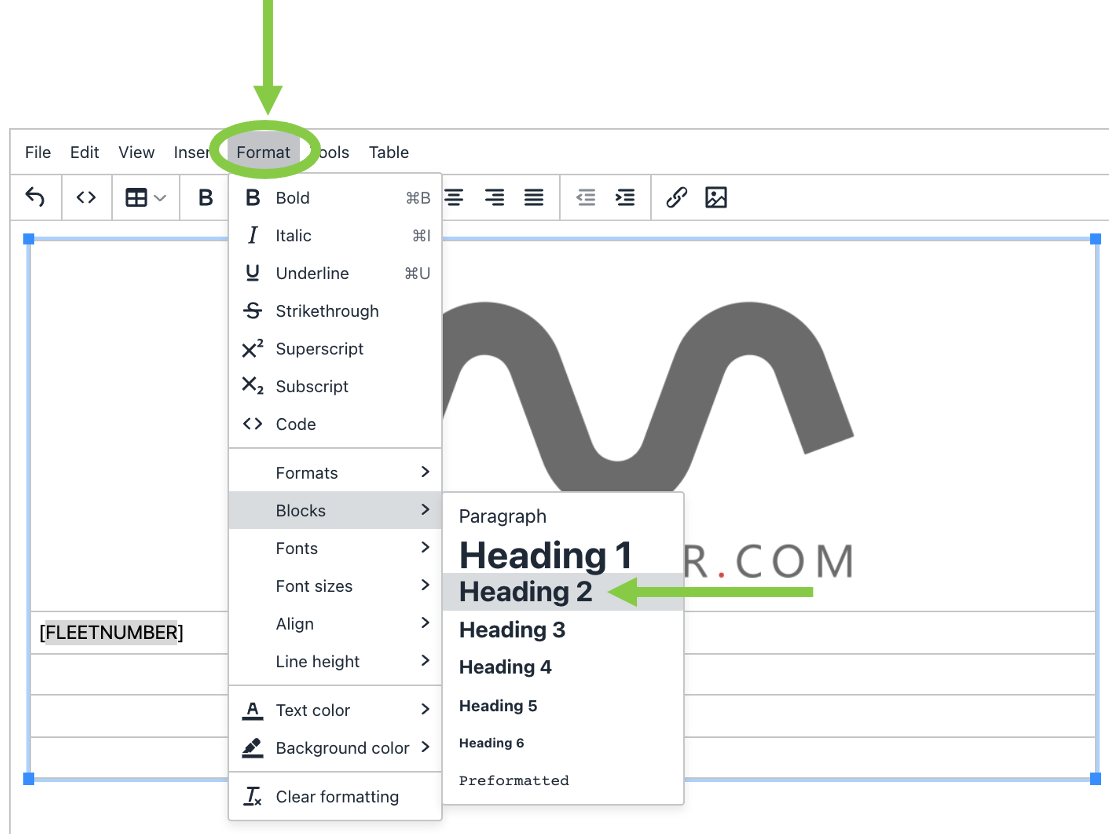
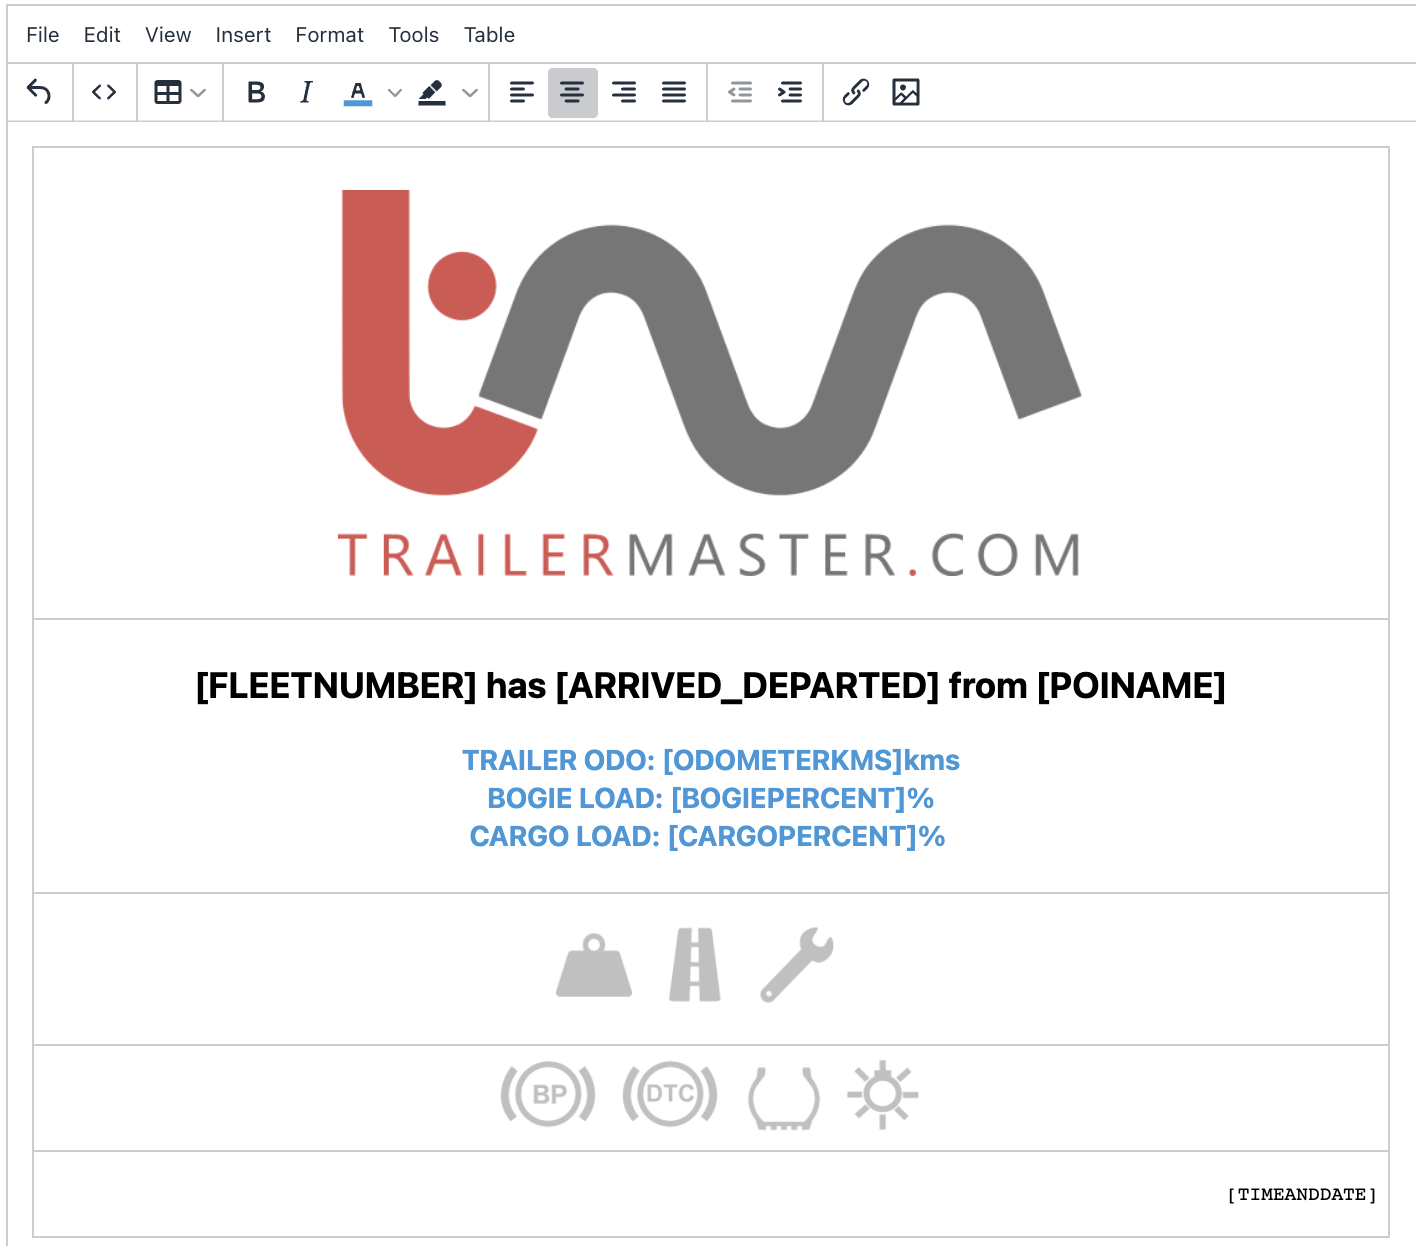
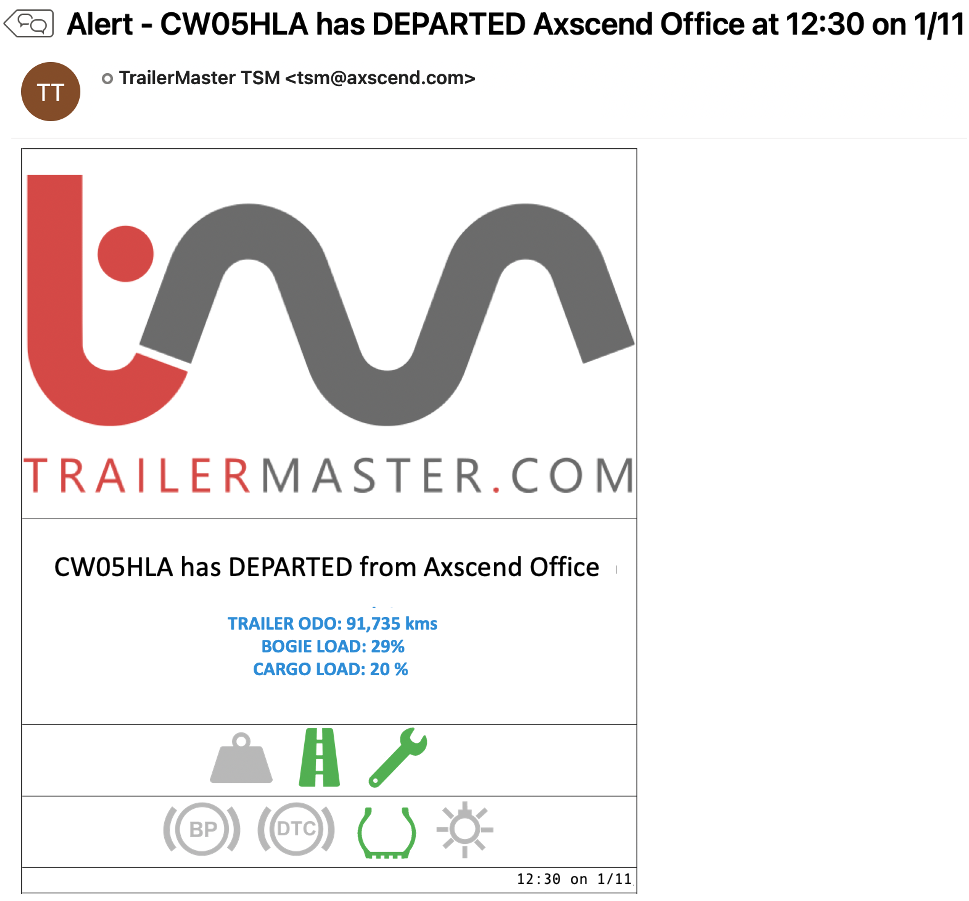
The template shown makes use of tables, images and data objects.
Once you have finished editing the name, subject and body of the template you can save the template using the ‘Save’ 💾 button on the toolbar.
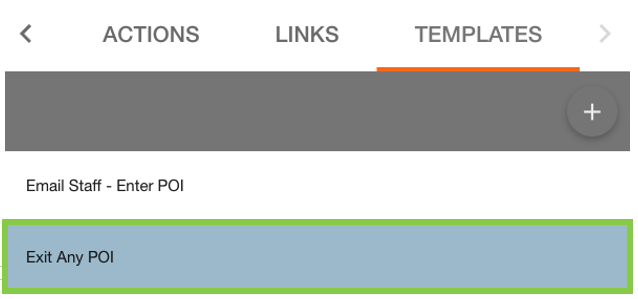
The template will now appear in the left sidebar.
Before templates will be sent as emails they need to be linked to an action and rule.
This particular template will look like this when sent to a user via email.
 Troubleshooting
For any issues or errors that have not been solved please Contact Axscend Support.