Asset Transfer
For support creating a new request see Creating Requests. Once you have selected ‘Asset Transfer’ from the Create Fleet Request window you can see the request has been added to the left sidebar.
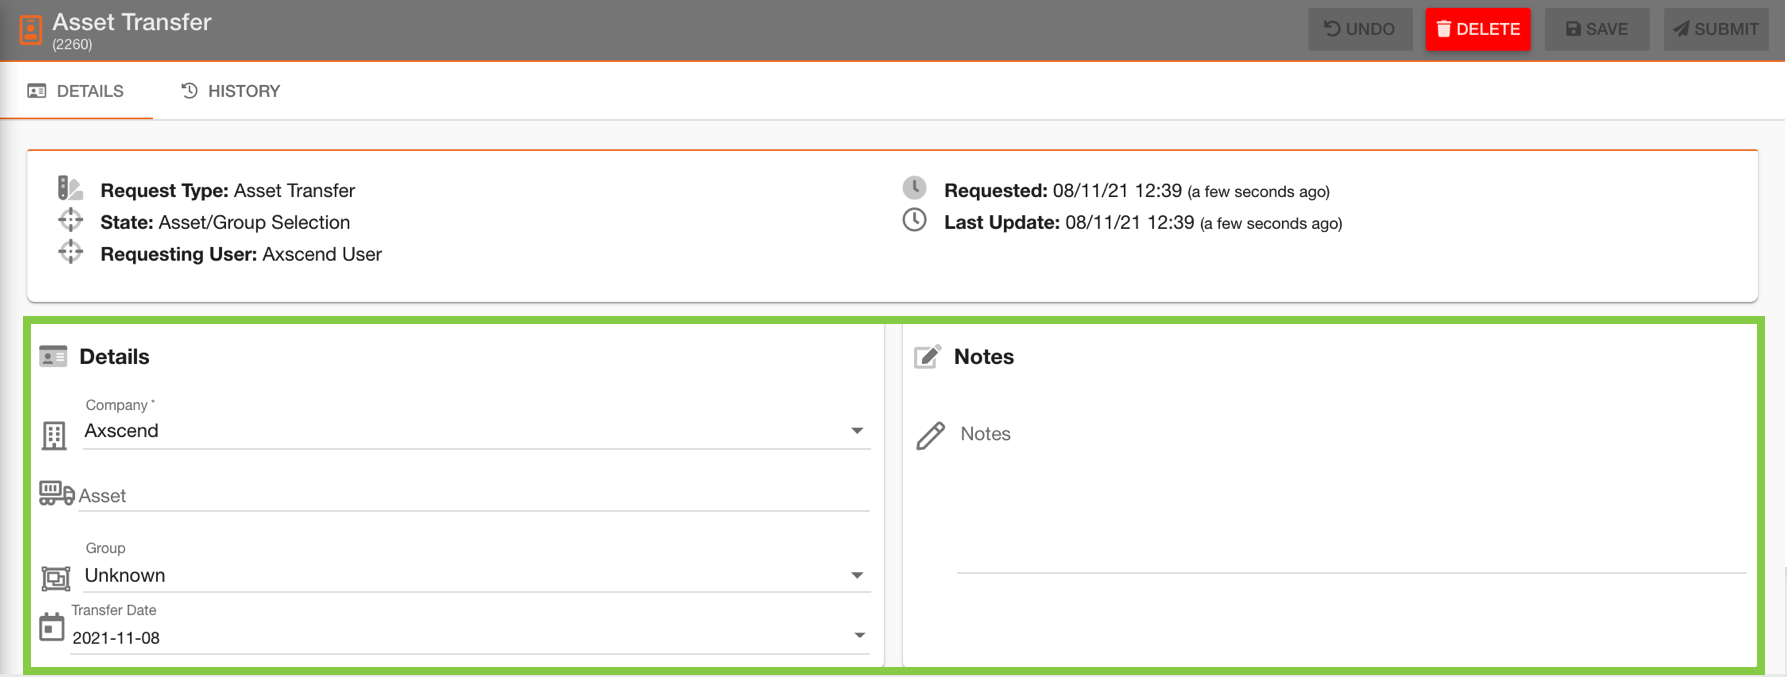
Additionally, the editor is now visible, here you can fill in the details of the request.

For the Asset Transfer request only the ‘Details’ tab needs editing.
Required Information
You can ‘save’ the request to edit later, but until you ‘submit’ the request no action will be taken.
In the Details section of the ‘Details’ tab, you can select the asset to be transferred. Notes for the reason for the transfer can be added in the Notes section.
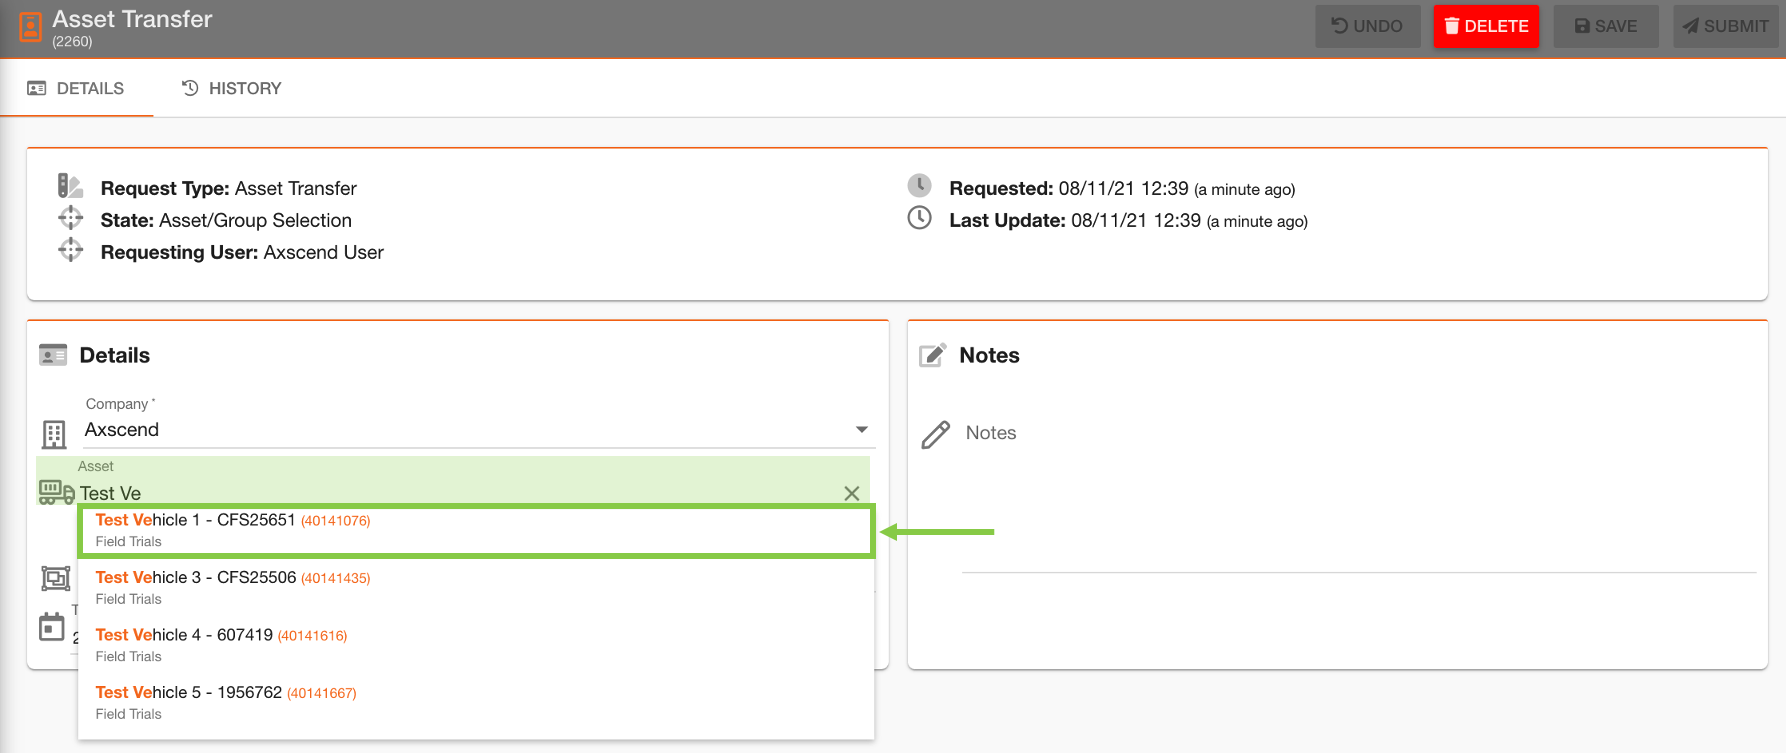
To select the specific asset to be transferring start typing the Fleet Number of the asset in the ‘Asset’ field. After you have type 3 characters, suggestions will appear below the field - click the asset which matches your specifications.
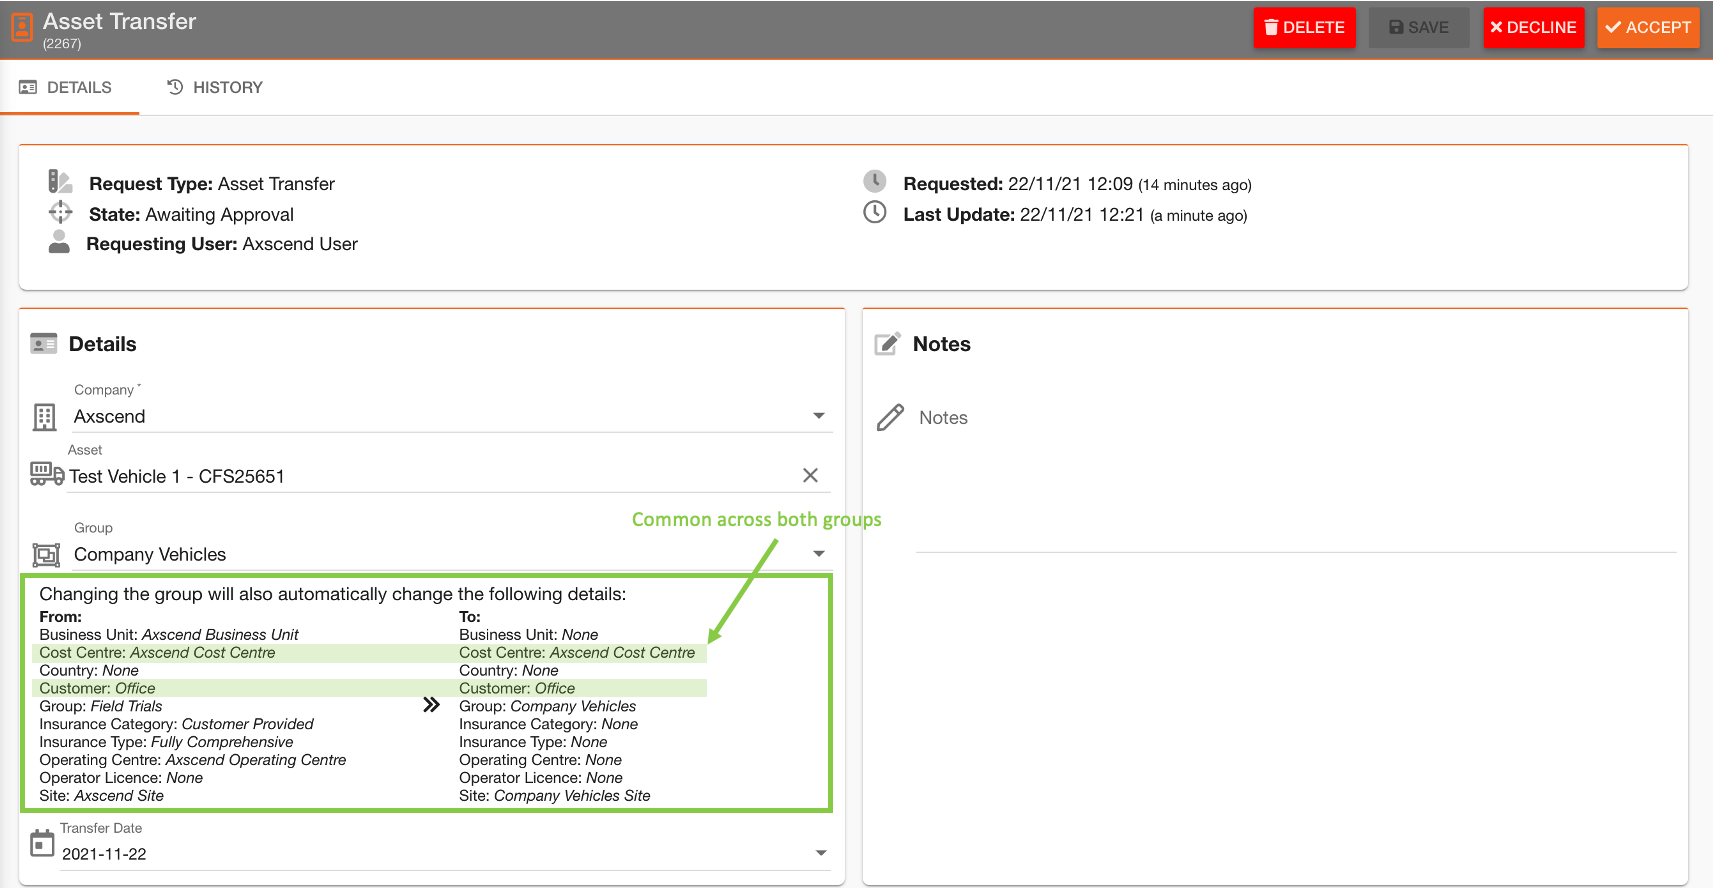
Once you have selected the ‘Group’ using the dropdown to transfer the asset to, you’ll see a summary of the changes which will happen during the transfer.
Asset fields that weren’t previously empty may now be empty if the receiving group doesn’t have access to them.
(i.e. the asset’s Operator Licence is not available to the group the asset will be transferred to so this is empty, but the Cost Centre is accessible by both groups so this field will remain.)
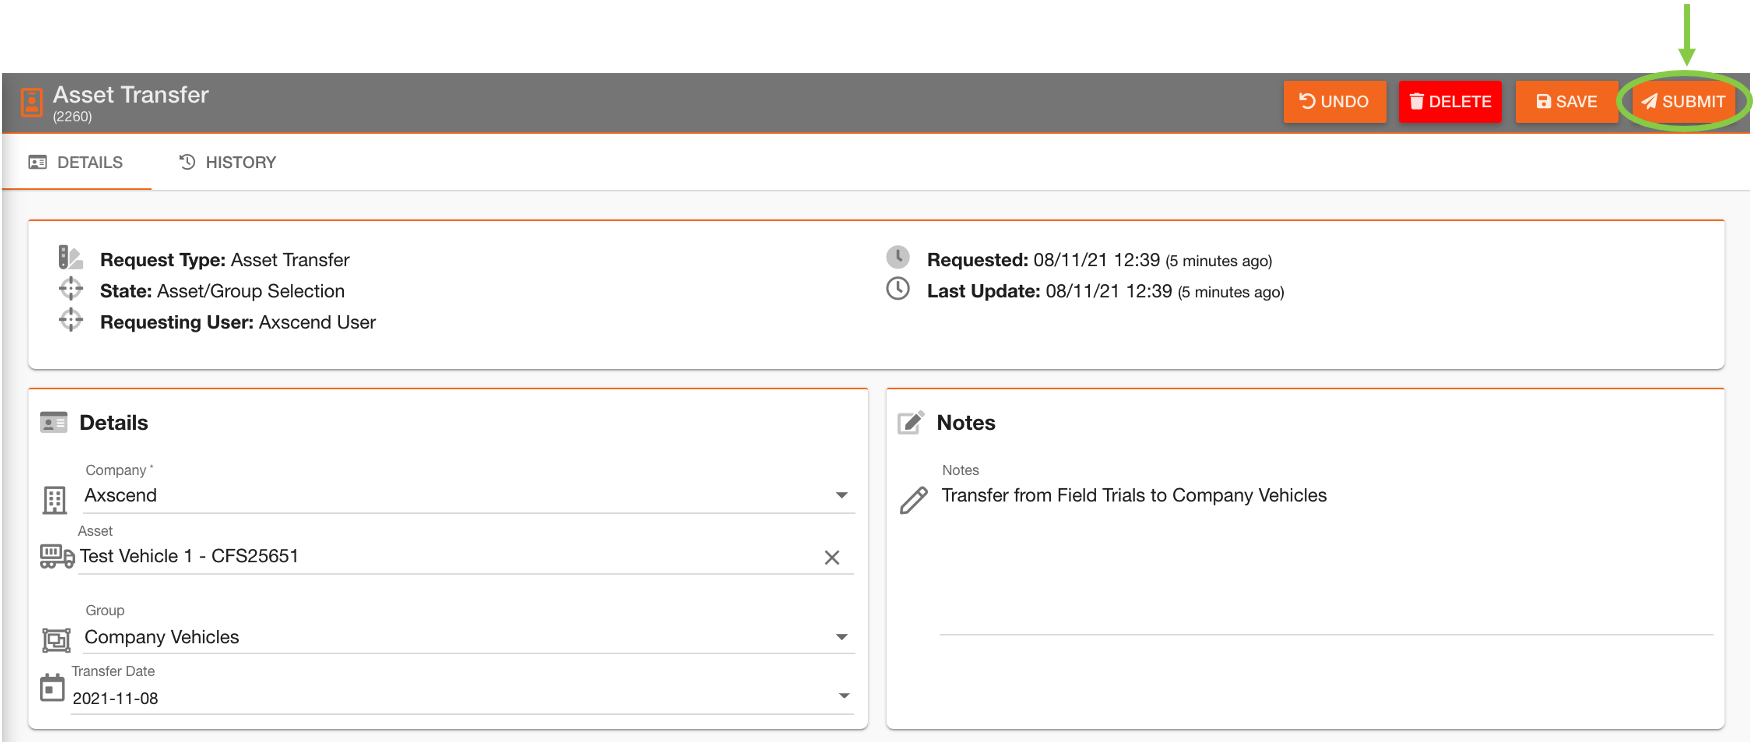
Once all required fields are filled, the ‘Submit’ button will become active.
Submitting Request
Press the ‘Submit’ ✈ button on the toolbar to send the request for review.
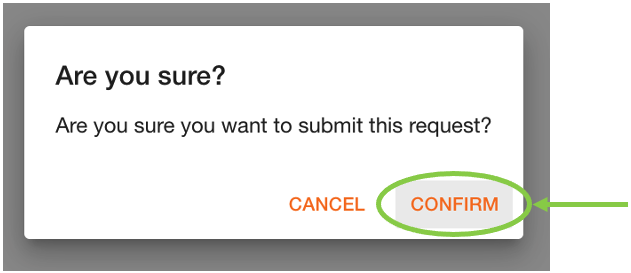
You will be asked to confirm you want to submit the request. If you are sure, click the 'Confirm' button.
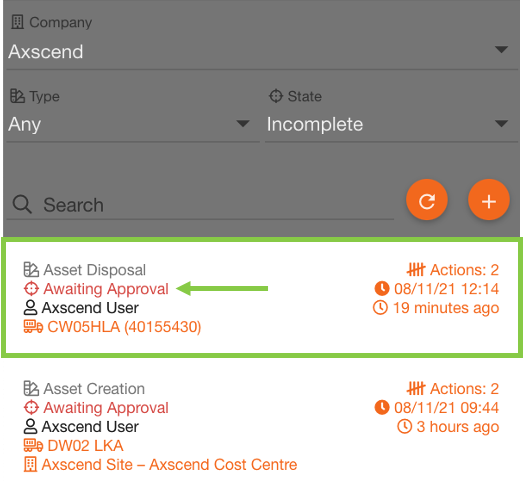
This will change the state of the request in the sidebar to ‘Awaiting Approval’.
No changes have been made until approval is granted.
 Troubleshooting
For any issues or errors that have not been solved please Contact Axscend Support.
.png)