Asset Creation
For support creating a new request see Creating Requests. Once you have selected ‘Asset Creation’ from the Create Fleet Request window you can see the request has been added to the left sidebar.
Additionally, the editor is now visible, here you can fill in the details of the request.

You will need to browse through the tabs at the top of the editor to fill out all the relevant details.
Required Information
You can ‘save’ the request to edit later, but until you ‘submit’ the request no action will be taken.
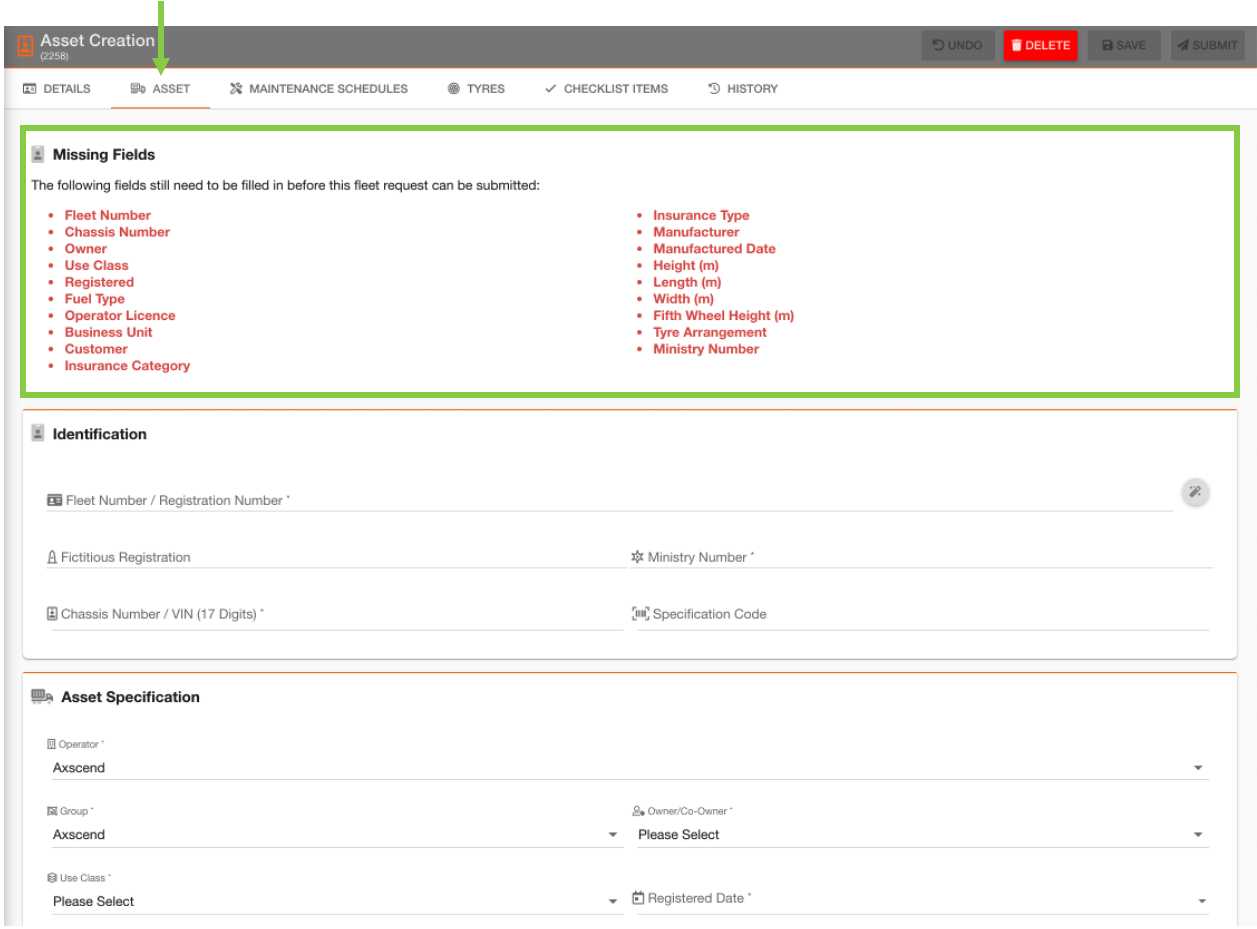
On the ‘Asset’ tab you can enter the information about the asset to be created. The ‘Missing Fields' section is a valuable indicator of what information still needs to be filled in before submitting.

Although the asset creation request can now be submitted, you can optionally add additional detail on ‘Maintenance Schedules’, ‘Tyres’ and ‘Checklist Items’
Maintenance Schedules
To add a maintenance schedule to the asset creation request, ensure you are on the ‘Maintenance Schedules’ tab. On this page use the ‘Add A New Maintenance Schedule’ button.

In the schedule editor section, fill in the details about the schedule.
To remove the schedule click on the 'X' ![]() button in the top right corner of the schedule editor.
button in the top right corner of the schedule editor.

Tyres
To add tyre types to the asset creation request, ensure you are on the ‘Tyres’ tab. On this page use the ‘Add New Tyres’ button.

In the tyre editor section, fill in the details about the tyre you want to add.
To remove the tyre(s) click on the 'X' ![]() button in the top right corner of the tyre editor.
button in the top right corner of the tyre editor.

Checklist Items
To add checklist items to the asset creation request, ensure you are on the 'Checklist Items’ tab. On this page use the ‘Add A New Checklist Item’ button.

In the checklist item editor section, use the dropdown to select the checklist item you want to add.
To remove a checklist item click on the 'X' ![]() on the right of the checklist item field.
on the right of the checklist item field.

Submitting Request
Once you have filled in all the required fields for the request, press the ‘Submit’ ✈ button on the toolbar.

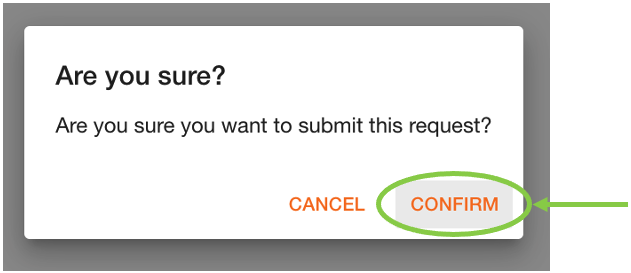
You will be asked to confirm submitting the request. If you are sure, click the 'Confirm' button.

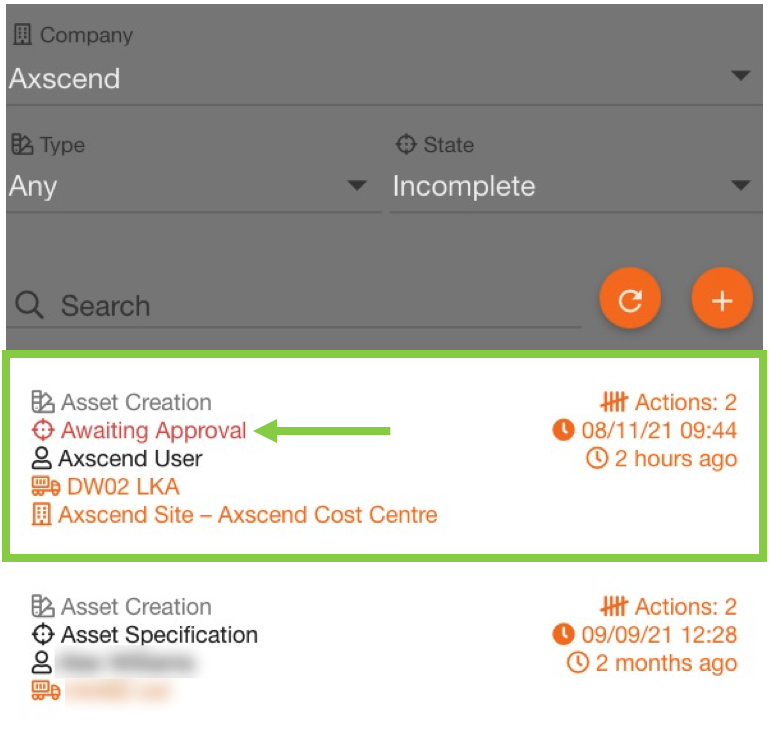
This will change the state of the request in the sidebar to ‘Awaiting Approval’.
No changes have been made until approval is granted.

 Troubleshooting
For any issues or errors that have not been solved please Contact Axscend Support.
.png)